Little Cabin Big Woods
Contact
Gallery
12 March 2020 - Growing Pains
It’s a bit of a good thing we didn’t immediately switch from living in our house to living completely off grid in Vera, our pop-up trailer. We simply didn’t know what we didn’t know about living in a camper at all. The learning curve was steep and we came across all sorts of things from how the power works to using the toilet.
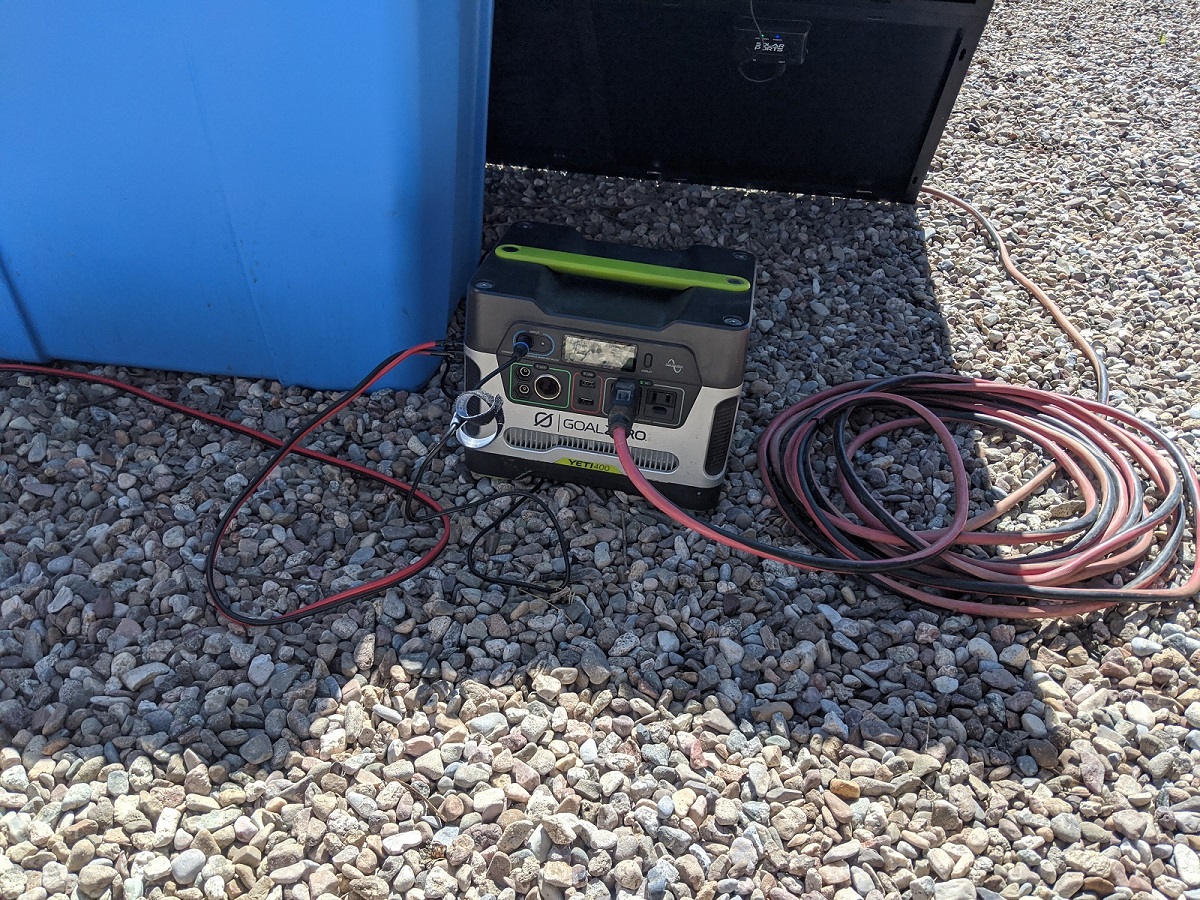
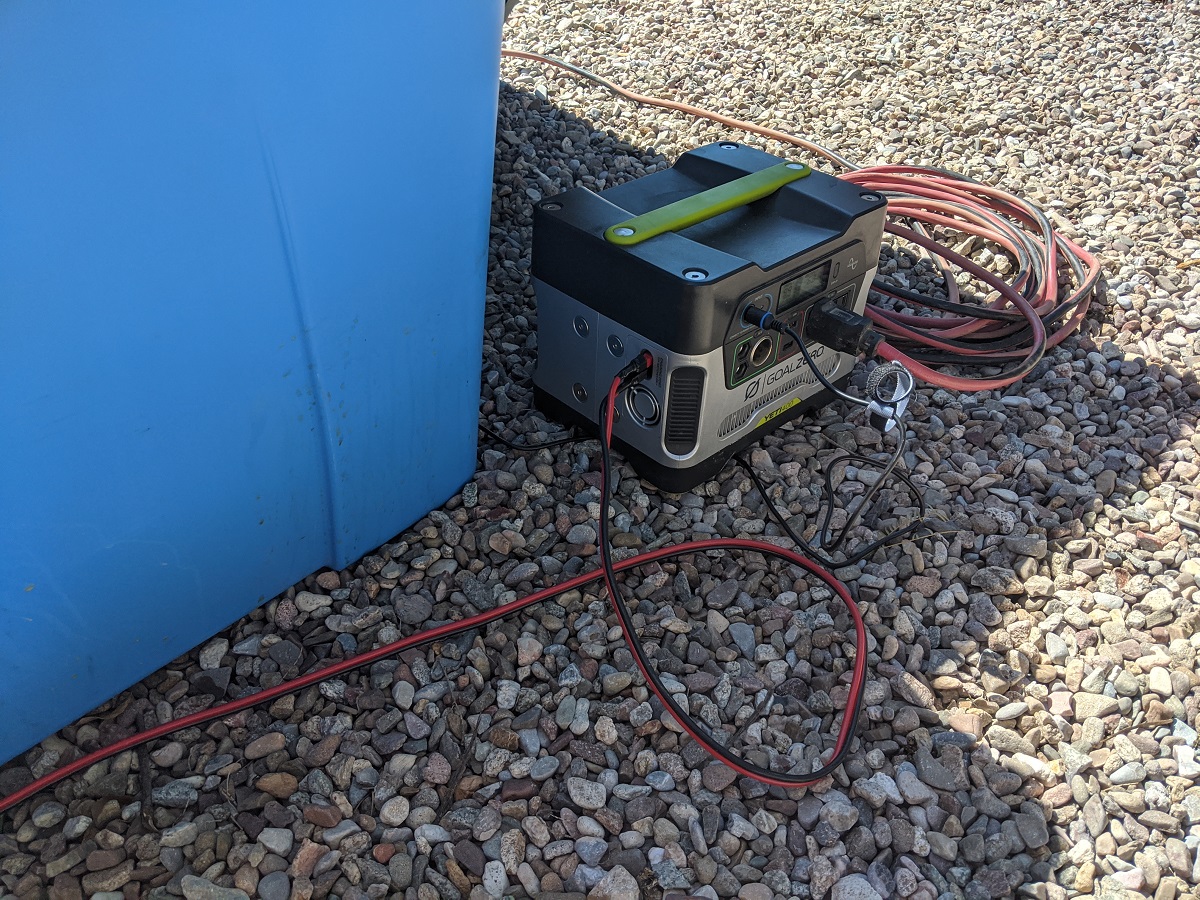
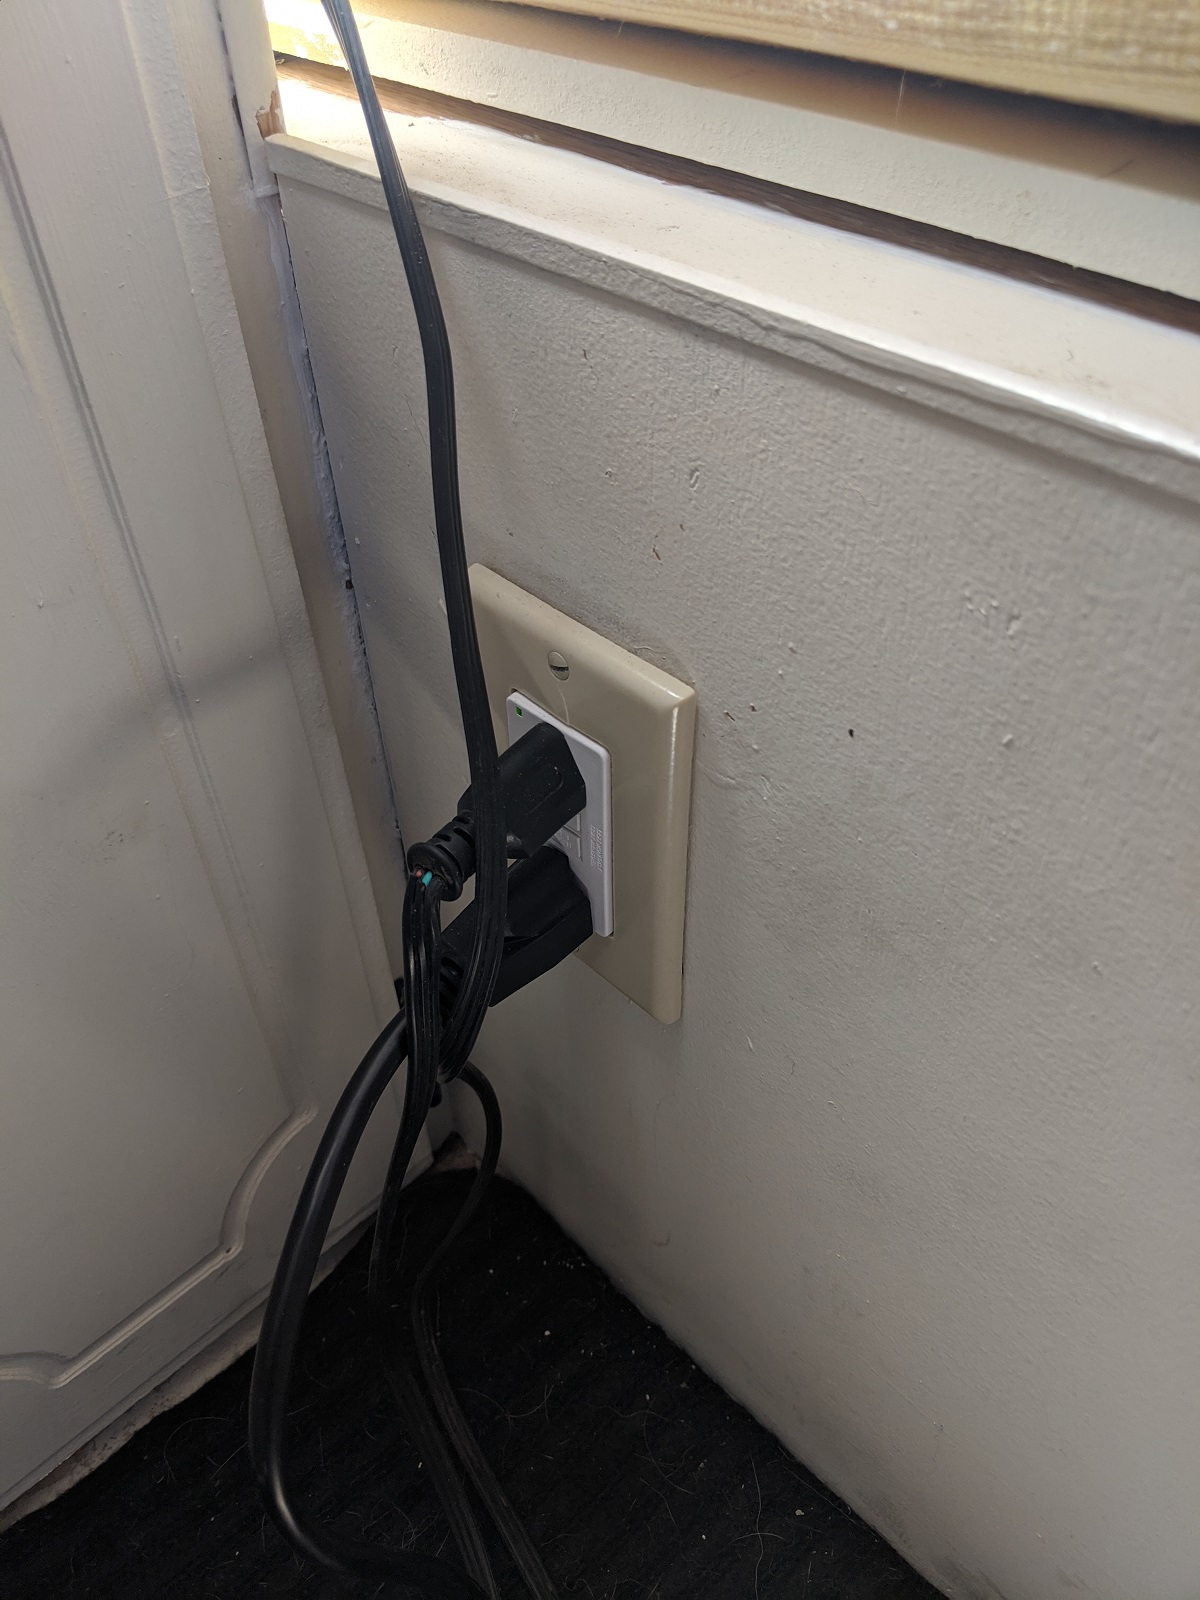
On the power side of the equation, I was under the impression the power unit was a DC to AC inverter already. Oh, how wrong I was. This led to the confusion of why none of the outlets worked when the power unit’s switch was turned to battery. I even went so far as to change out the GFCI outlet in hope of making it work. The outlet in question needed replacement anyway as we believe it to be original from 1992. When that didn’t work we researched the issue online. We learned the outlets only work when the power unit is switched to outside power. So we plugged into the outlet in the backyard we’re renting and voila! The outlets work! This doesn’t mean we still can’t run in full off-grid mode. The Goal Zero Yeti 400 we have has two 20 Amp (A) outlets. With a simple “dog bone” adapter I was able to convert the 30A connector to a 20A typical 3 pronged outlet. This also let me test out the full setup.
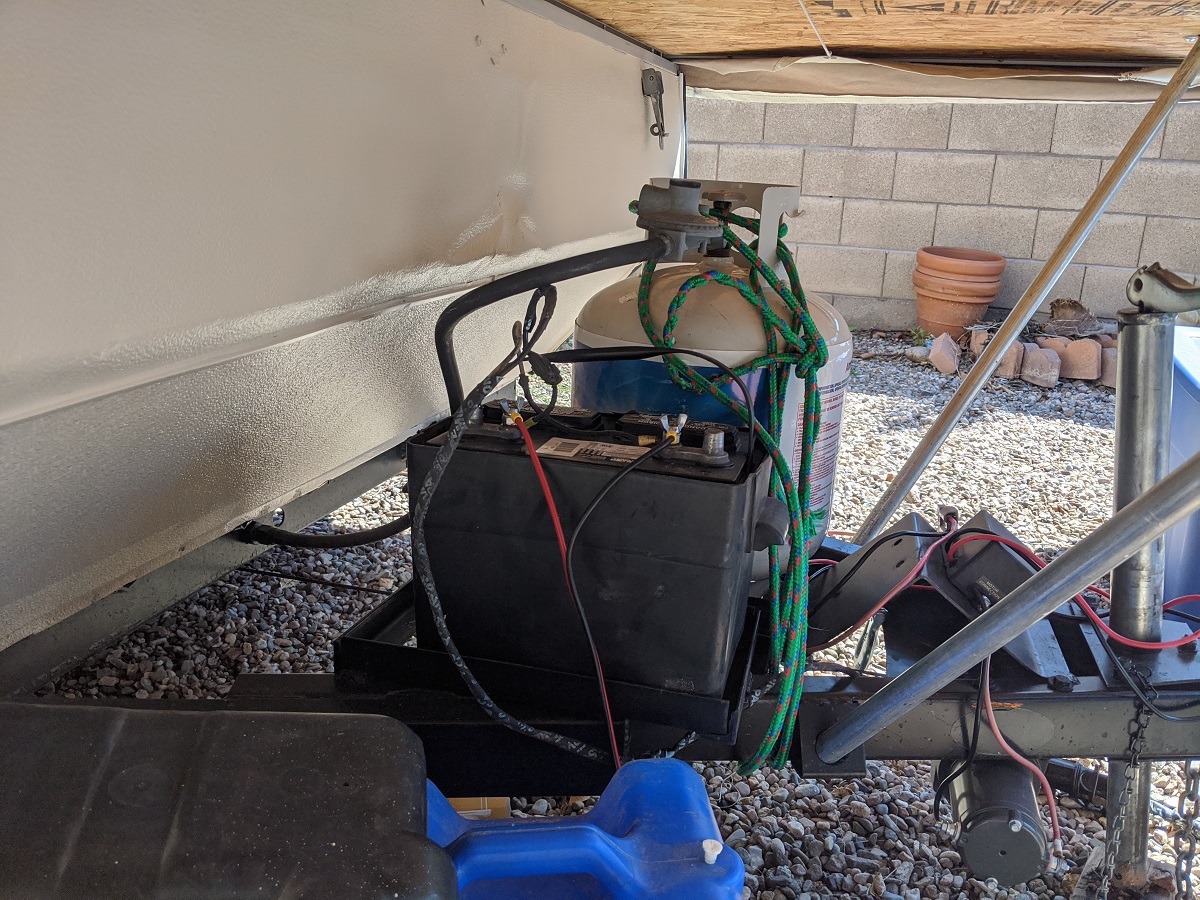
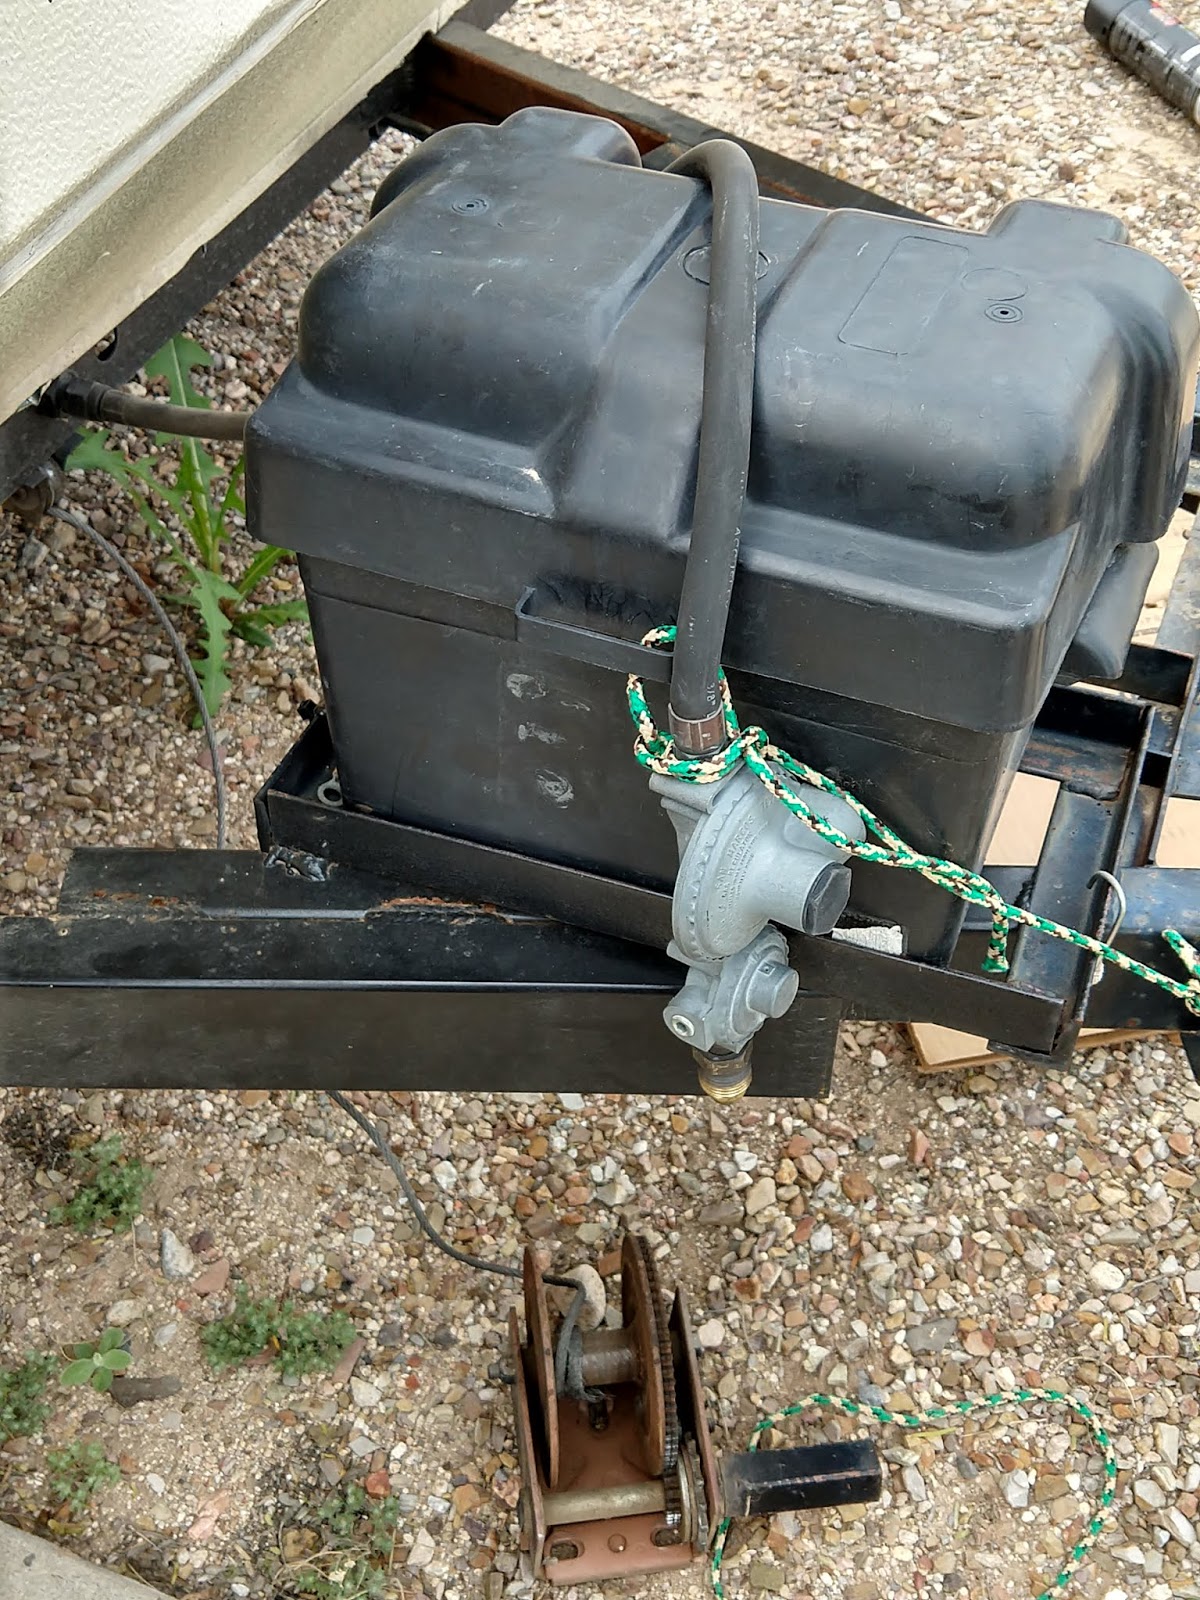
Our solar setup consists of three parts. The first part is the Goal Zero Yeti 400. This wonderful device is not very big and only has a 33 Amp/Hour battery. The magic of the Yeti is the electronics that convert the solar panels into a charging unit. The Yeti has two 20A outlets, two USB connectors, and a 12v output. The input comes via an 8mm proprietary connection. This leads us to the second part: the solar panels. We scoured the internet for deals on the Goal Zero 30 Watt solar panels and eventually pieced together the four we needed to maximize the input to the Yeti 400. These little panels are extremely efficient and daisy-chain together easily. In the bright Arizona sun our power input from the panels registers between 110 Watts to the full 120 Watts advertised. The third and last part is the battery storage. The little 33 Amp/Hour battery is simply not enough to run a full trailer off grid for even a full day. The trailer has a battery box on the receiver and I replaced the original worn out battery with an Advanced Glass Mat (AGM) battery with another 570 Amp/Hours. This plugs into the Yeti with a couple small connectors I sourced from a local electrical supply store. (This is also where we bought the quick connectors for the winch.)
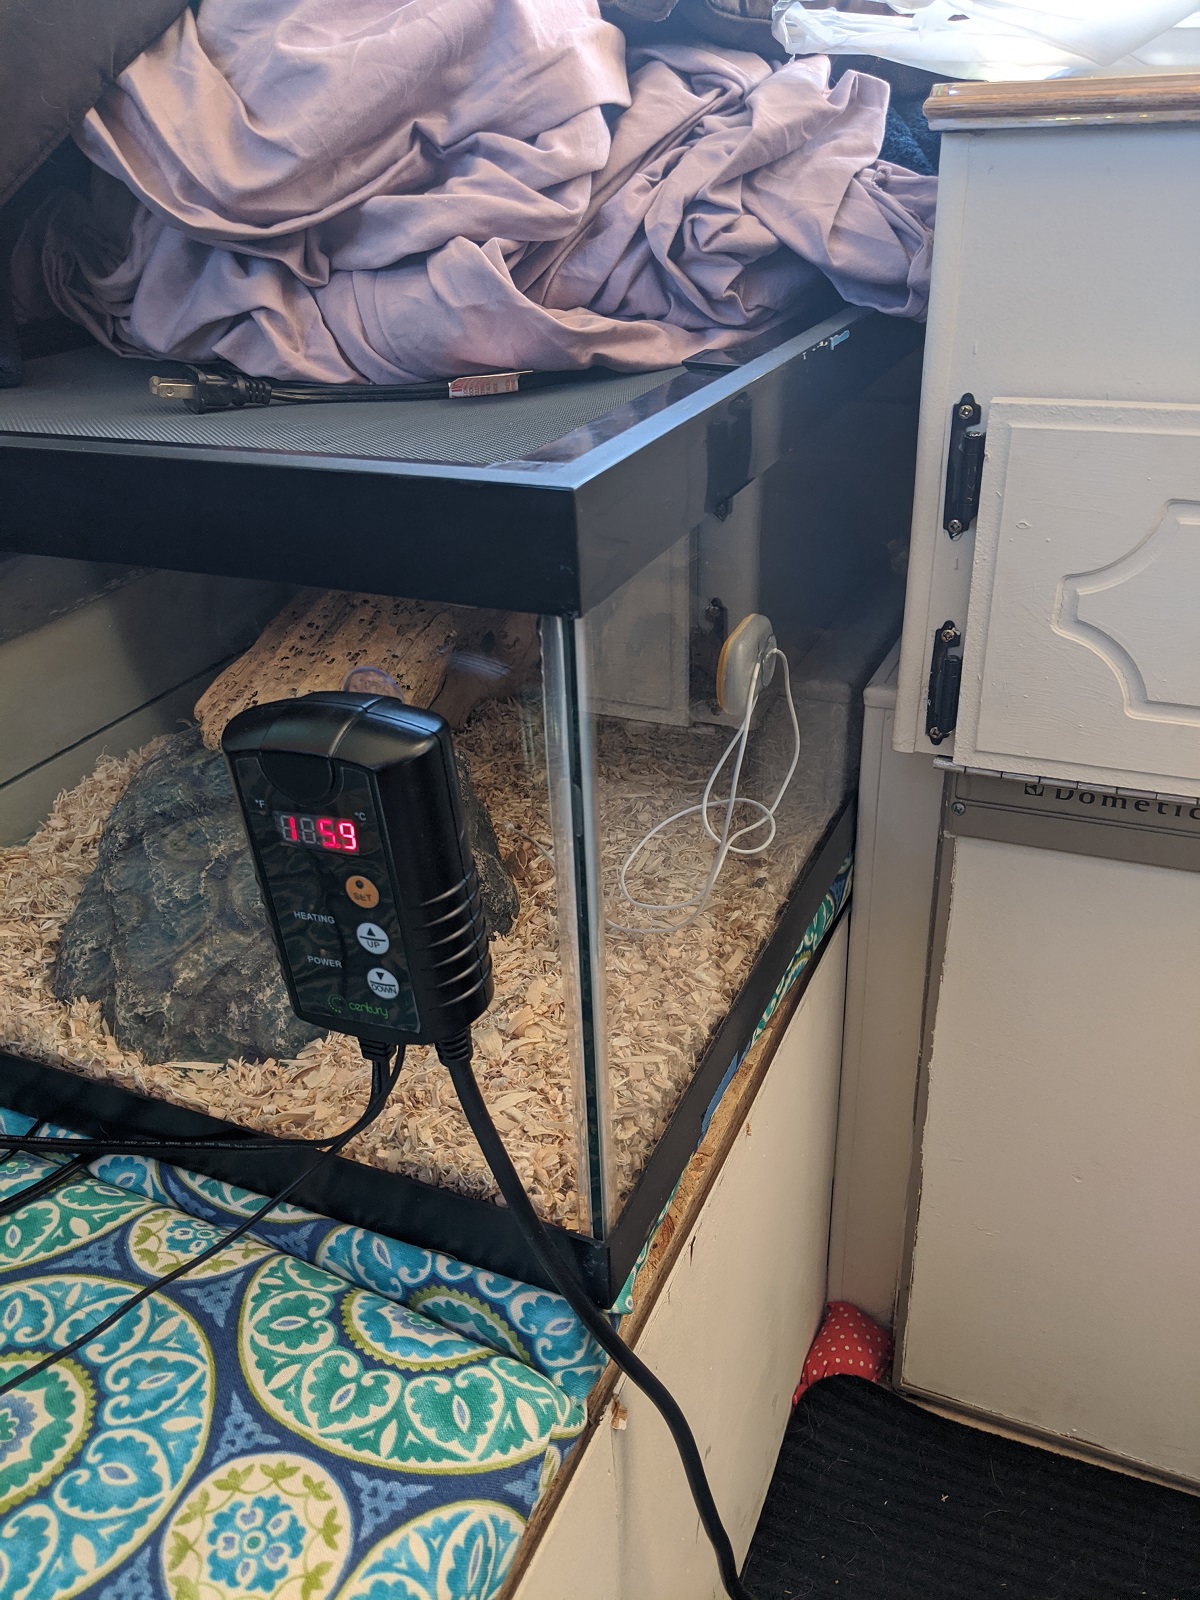
The trailer with every outlet being used and charging various devices, including the snake’s heating mat, pulls roughly 70 Watts at approximately 12 Amps. This could theoretically give us just over 50 hours of continuous use without recharging. The panels produce enough power during the day to fully recharge both batteries in about 10-12 hours as long as we keep them pointed at the sun.
We also had some challenges learning where the drain spout for the sink is. The water tank was a bit musty but a quick flush of the system freshened things up nicely.
The last thing we worked on was the stability of the trailer. With three fully grown adults and 3 dogs, one of which is the size of a full grown adult, the trailer tended to tip from one side to the other depending on which beds were occupied. While strolling through our local big-box store I spotted the smallest jack stands I have ever seen. These were perfect for the trailer! I bought four of them and installed them under each corner of the trailer’s frame. This added much needed stability, closed up the gap in the door jam and allowed us to perfectly level the trailer. A nice bonus was to get a lot of the weight off of the tires. This will help the tires stay fresher longer with the pounding Arizona sun.
19 February 2020 - We call her Vera
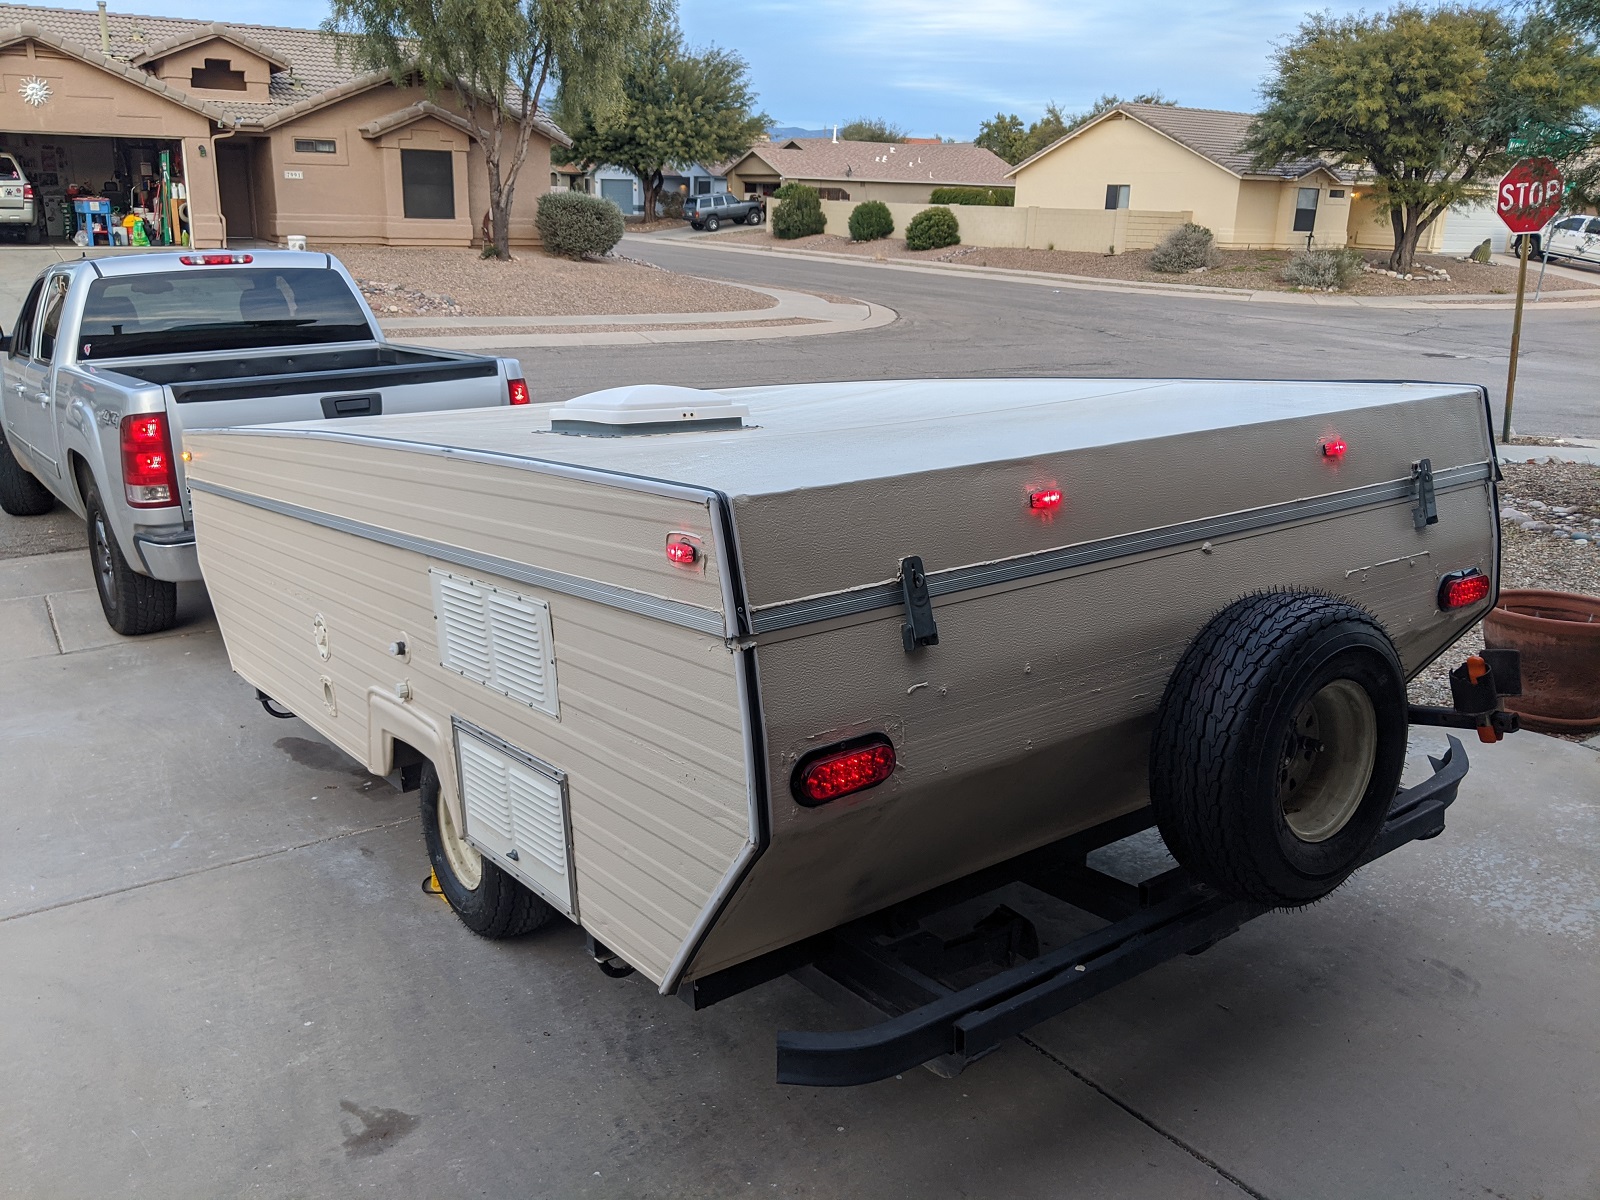
We move into our pop-up camper this weekend. Life is about to get interesting, living in it full-time with two adults, a 17 year old, three dogs, and a snake. It is hard to believe it is actually happening! We talked about doing something like this for years, but after a life-changing experience last year, we knew the time was right to start the process. We cleaned out our 2,200+ square foot home, put it up for sale in January, and sold it in under 24 hours. Our youngest is graduating high school at the end of May, so we are staying locally in the pop-up (we call her Vera) until then. After that, we are off to the Appalachian Mountains somewhere and will build a small cabin as our permanent home. We hope to have several acres on which to build our cabin and to plant a variety of food crops. Eventually we would like to have a couple outbuildings to use as an office, workshop and such.
So what brought us to this point? We live in a city of over a million people. I grew up 2,000 miles away in a rural area, while my husband is native to this area. We have been here 17+ years and as time passed, we realized we just aren’t happy in our surroundings. There are houses stacked up against one another, neighbors on top of neighbors, constant noise, and thanks to codes and regulations, a complete lack of freedom. There are restrictions on where you can park, what you can plant, what pets you can have. It is time to go somewhere with space, privacy, and the freedom to live in our own way.
As for the life-changing experience that brought us here? It was the Camino de Santiago. My husband and I walked the 500 mile pilgrimage in August-October 2019. I can do a separate, detailed post about it another time, but basically we lived out of our backpacks the entire time. We had no idea where we would sleep each night, where we would eat, or what would happen. It was a challenge, mentally, physically, and emotionally. We learned a lot about ourselves and about one another, even after two decades of being together. We also learned that the stuff that fill our home is exactly that: just “stuff.” We were perfectly happy having just what was in our packs. Everything else simply takes up space as unnecessary luxuries. We came home and looked around, questioning what the point was to having all this stuff that truly doesn’t make a difference in our lives.
It was time to let go. We had a garage sale, sold items online, and made dozens of trips to local charity shops with our truck full of goods. There were times when we fought emotions, wanting to hold onto some items that had been with us for years, such as things that belonged to parents and grandparents. We kept a couple, but mostly we donated them after coming to the realization that it wasn’t about an object itself; it’s about the story and memory behind it. We do have a storage unit, since Vera can’t hold much and we are staying here for a couple months longer before the big move. It is for basic furniture and household items, and is amazing to see how little is left after getting rid of probably 80% of what was in our home.
We look forward to sharing our day-to-day struggles and successes after we move this weekend. It will be a journey, learning to live in tiny space with others. We will move around with Vera and adjust to our surroundings. If you live in an RV/camper/cabin, we would love to hear your advice, tips, must-haves and have-nots, anything you think would be helpful for us as we adjust to our new life!
Thursday, October 24, 2019 - Renovation mania
Life was a bit crazy and I apologize for the absence but I'm back at it now!
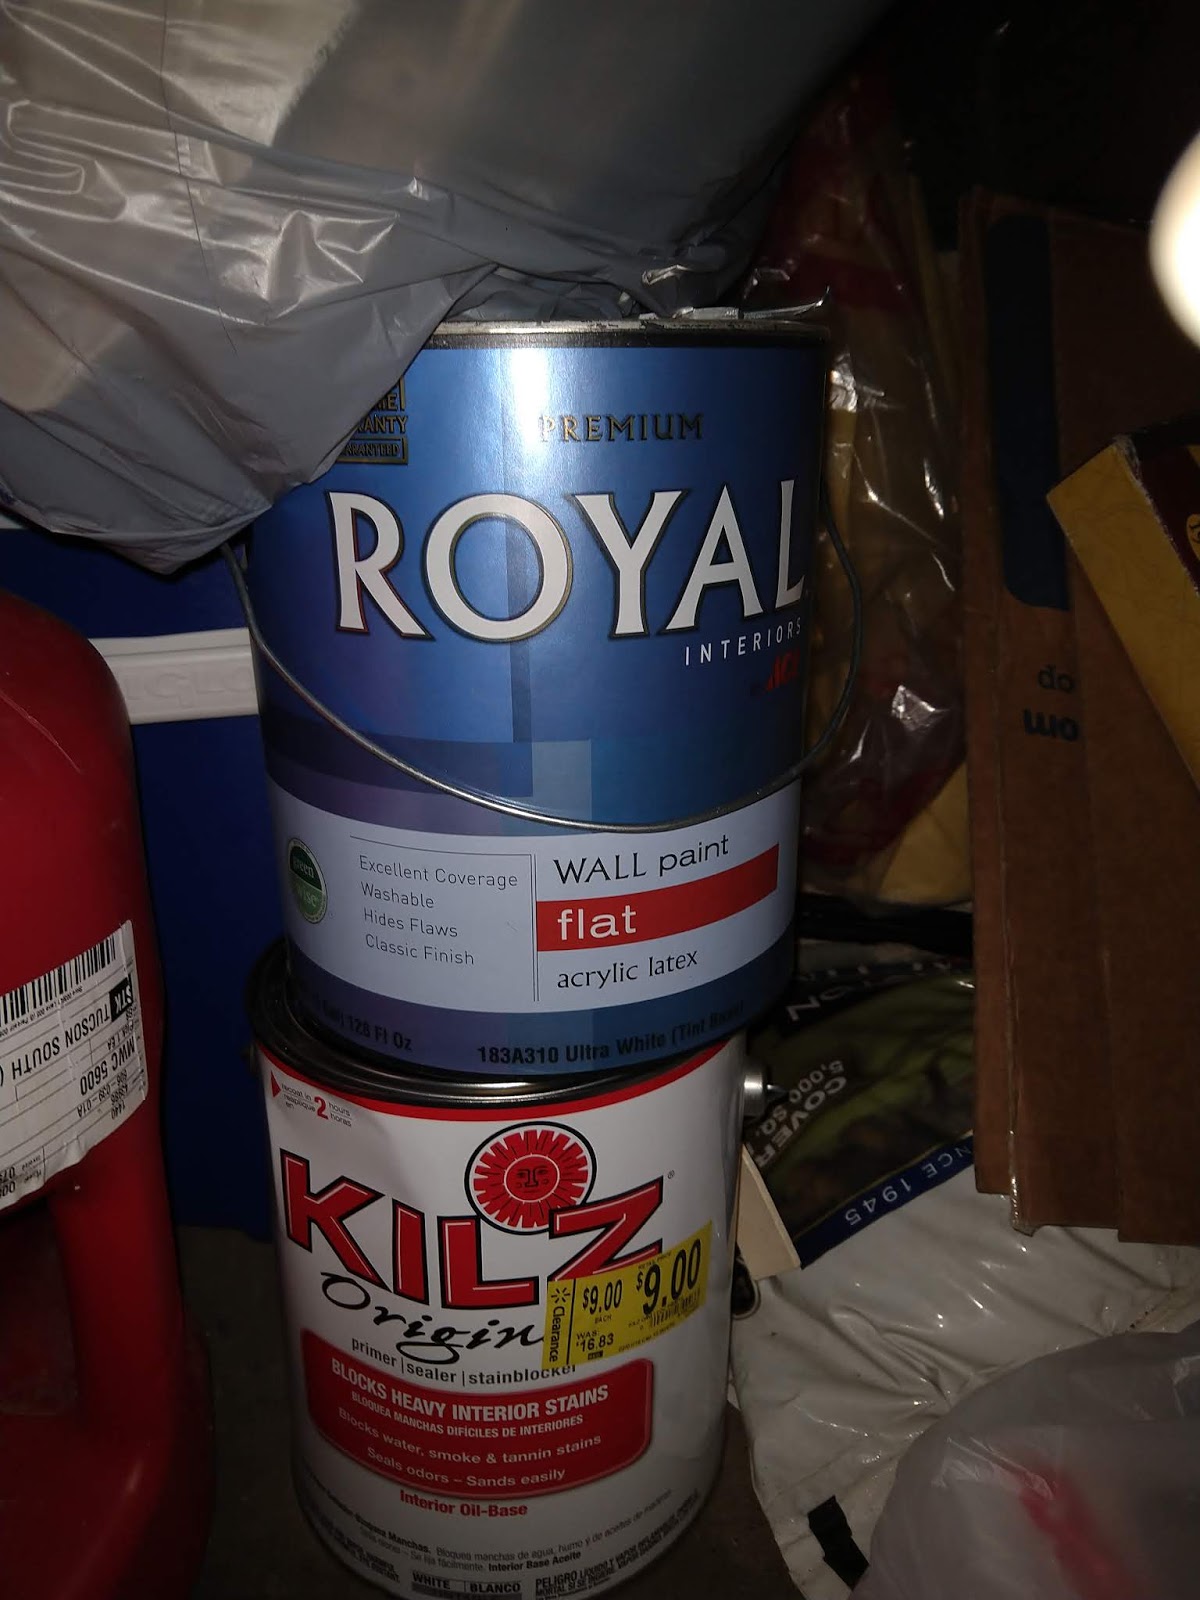
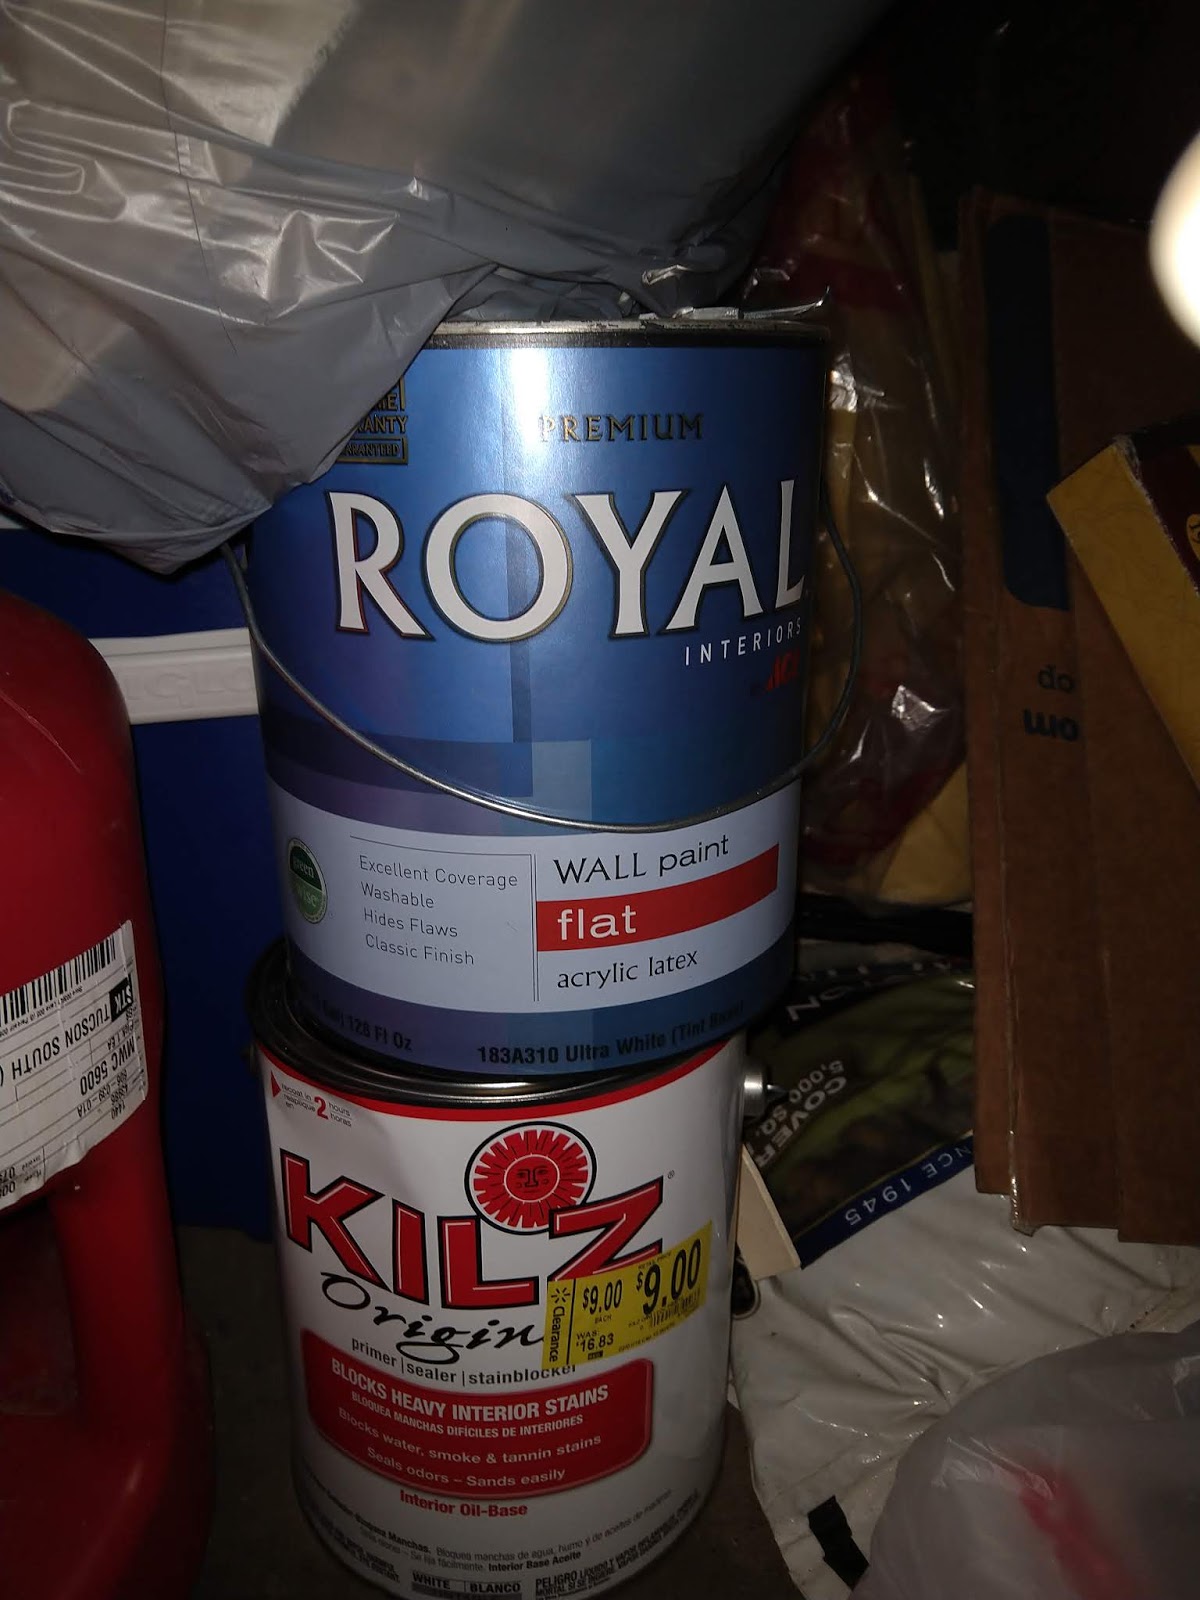
Friday I primed most of the pop-up camper cabinets with Kilz, but first I had to sand them all. My little Black & Decker Mouse sander has been heaven-sent! If you have any neuropathy or hand issues, I highly recommend it. The laminate was easy to sand and took no time at all.
Saturday my 17 year old ("R") joined me. We knocked out the rest of the priming. It was a warm, sunny day, so each coat dried much faster than expected. We got the first coat of color done as well. I went with kind of a light, cream color, although I have no idea of the actual name since I bought it for $5 as an "Oops!" can from the local Ace Hardware. Don't you just love those good deals?
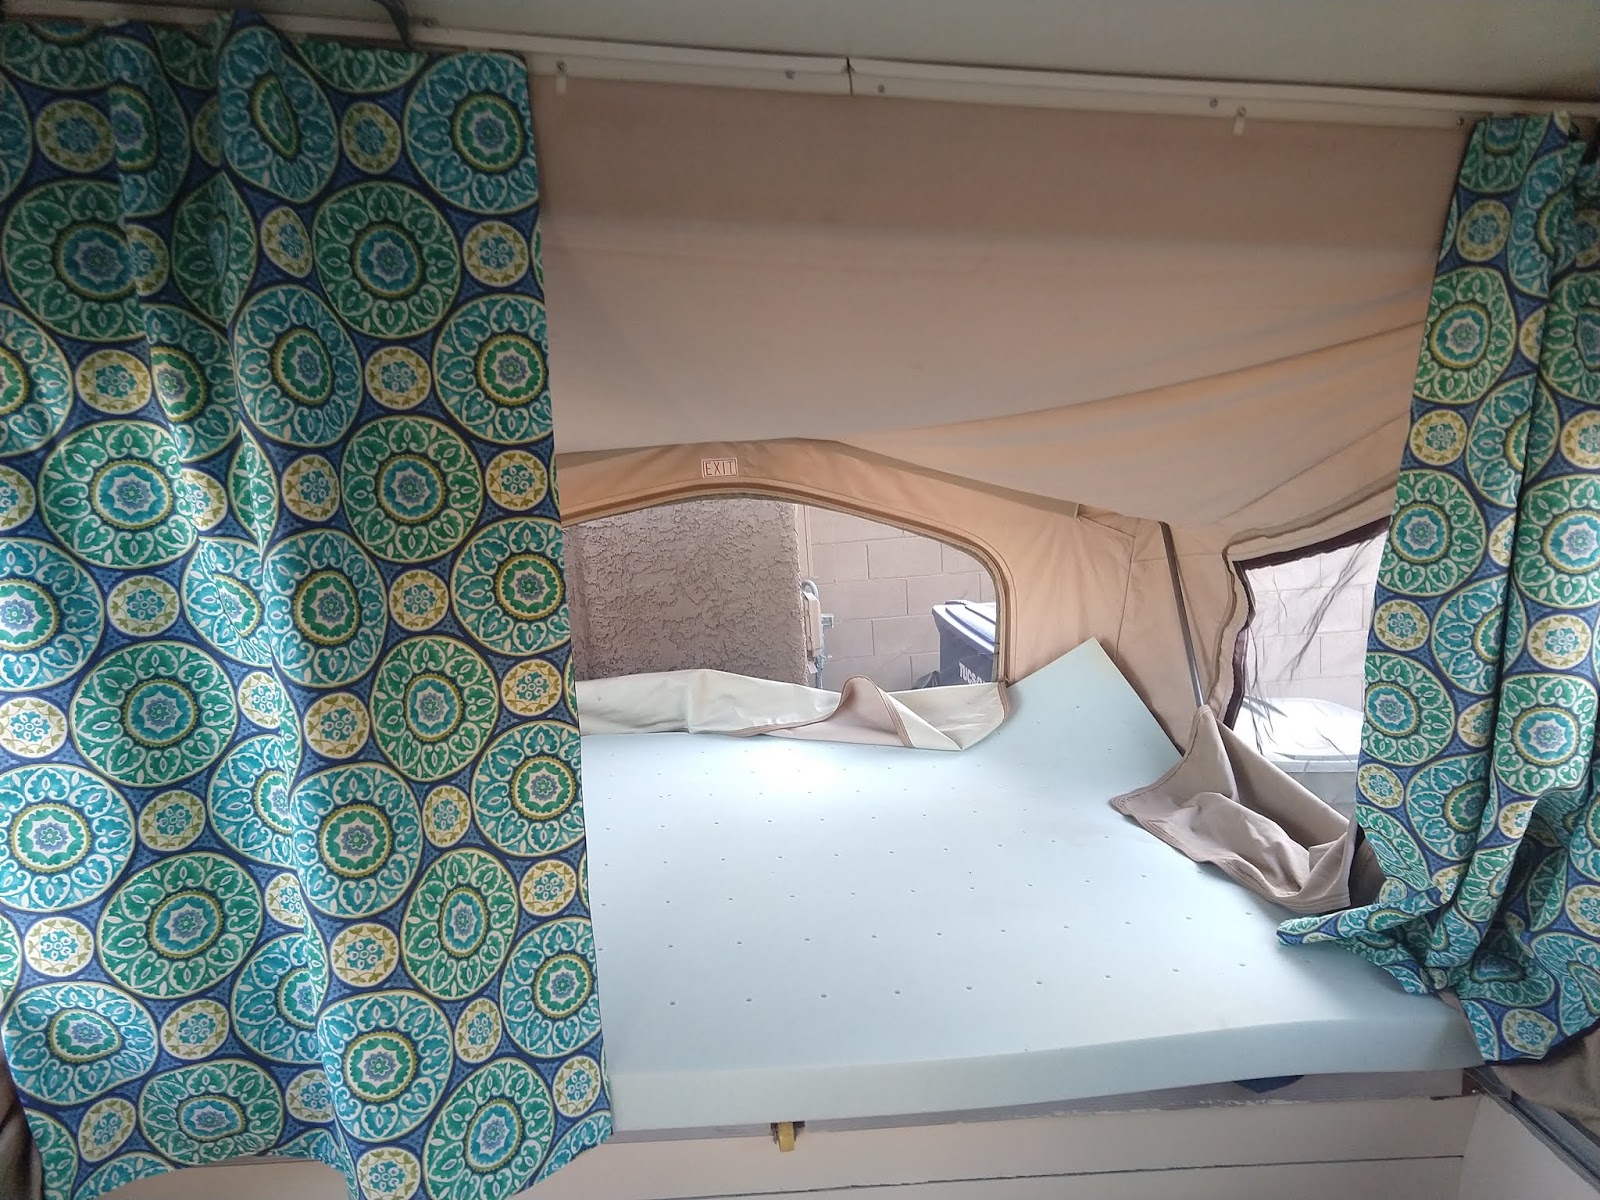
I also put one of the two beds in on Saturday. Earlier this year I stalked Craigslist for lightly used foam or gel toppers since we are on a ridiculously tight budget, but then I spotted an Amazon Lightning Deal. I bought two Lucid beds before the timer ran out, and for less than the used ones on Craigslist. They come in a smallish box, shrunk down in shrink wrapping. It took about a day before it fully expanded, and is surprisingly comfortable!
Sunday the two of us finished painting and put the second bed in. We put up the curtains and reinstalled the cabinet drawers and doors. I forgot to charge the battery for my drill, so R had the pleasure of reattaching all the hinges while I did the much easier job of putting the hardware back on.
Monday I took a rest day.
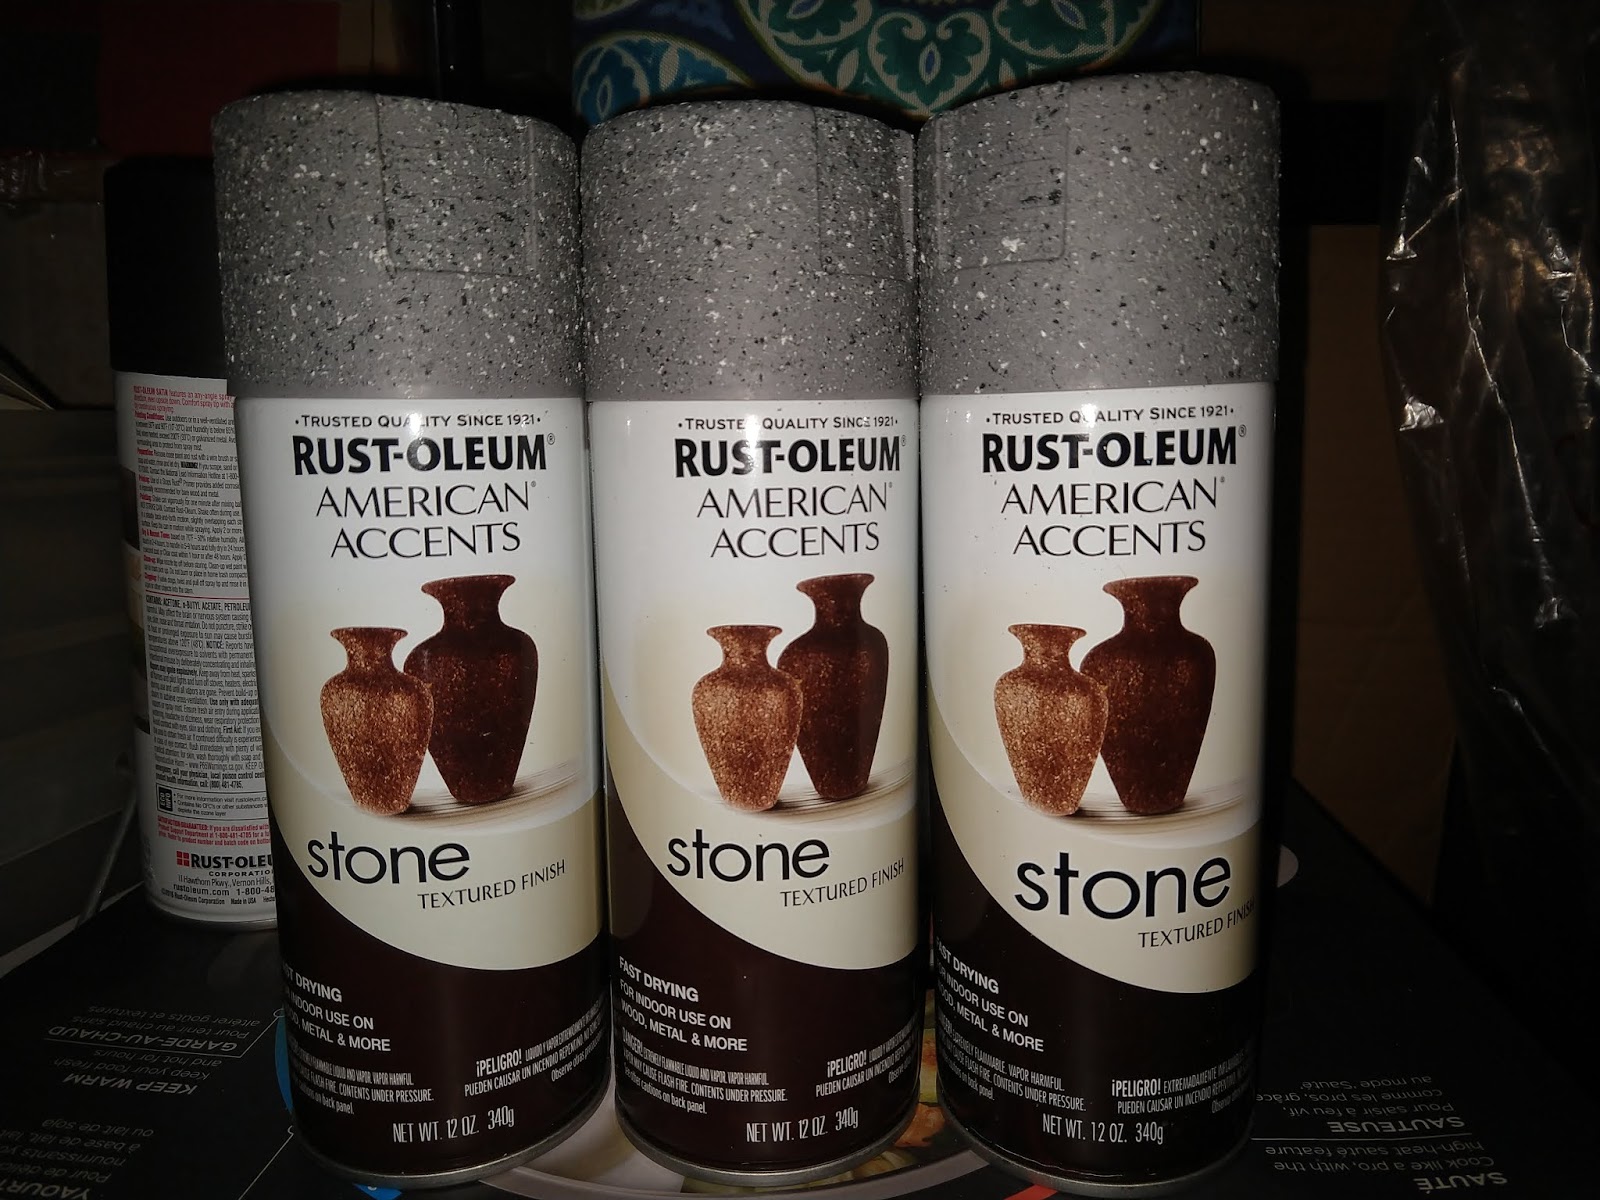
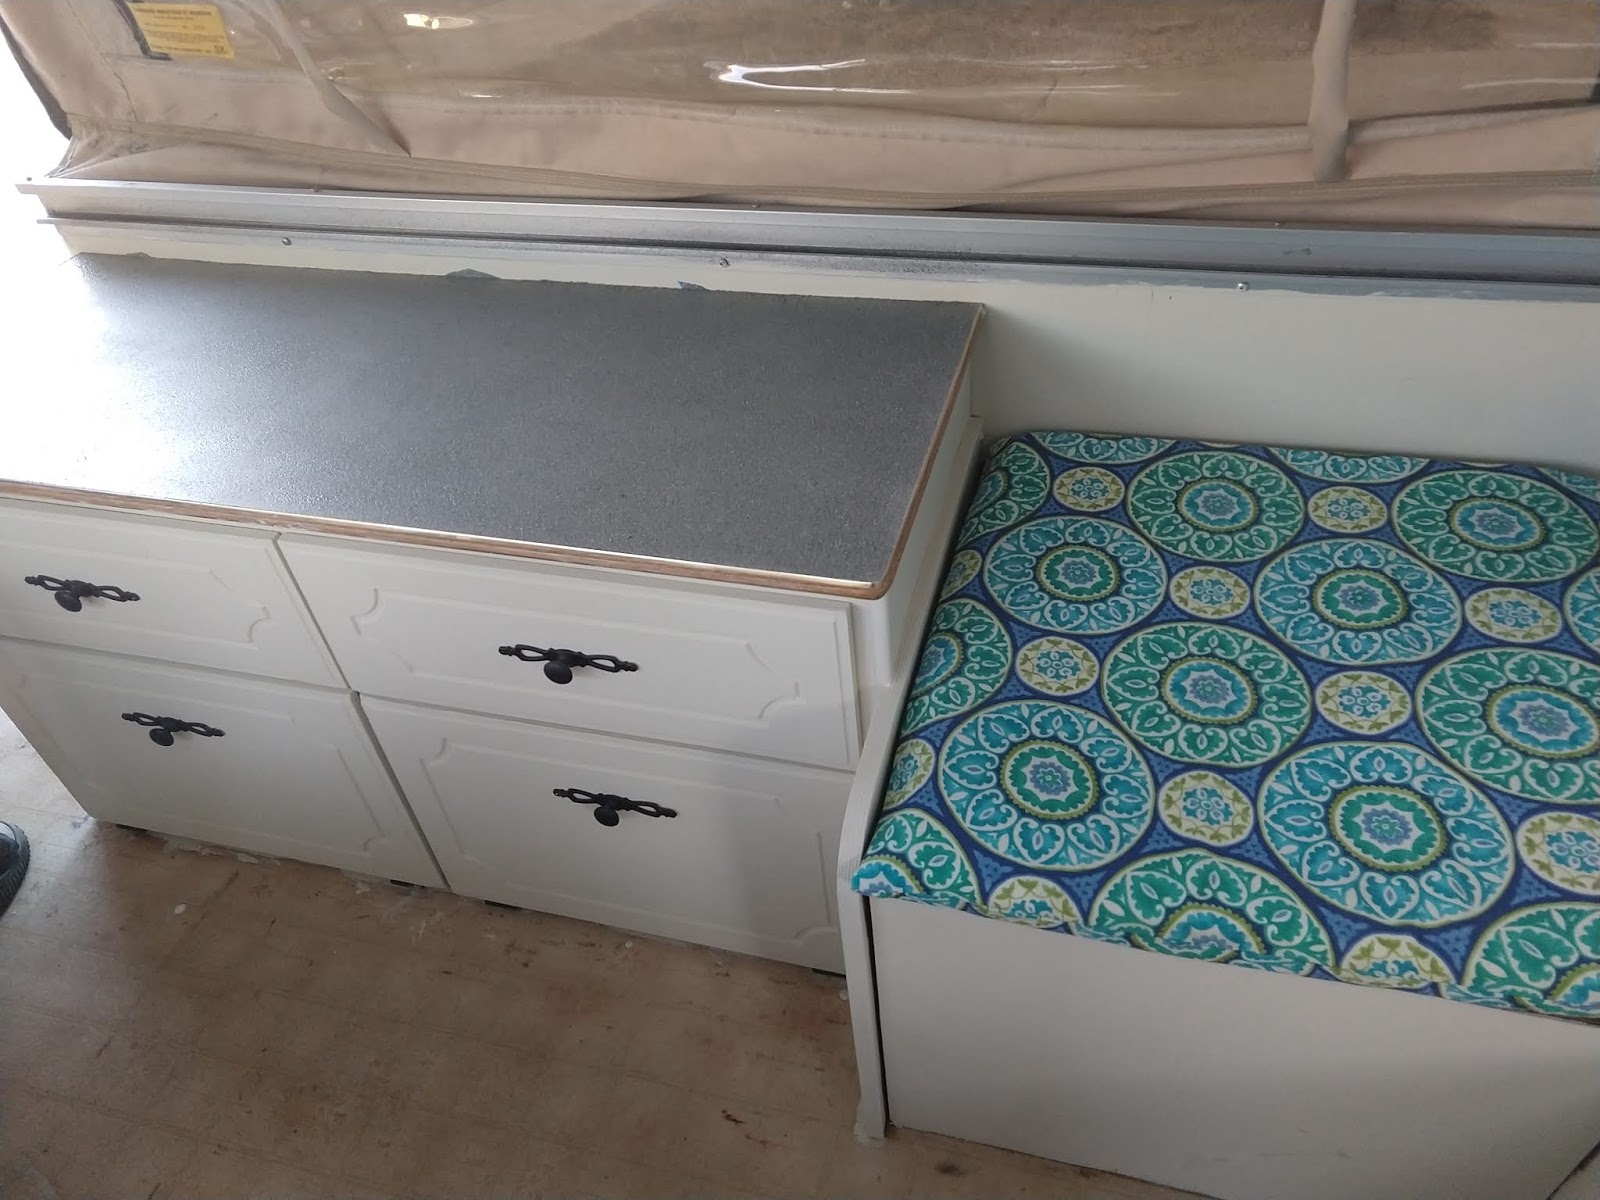
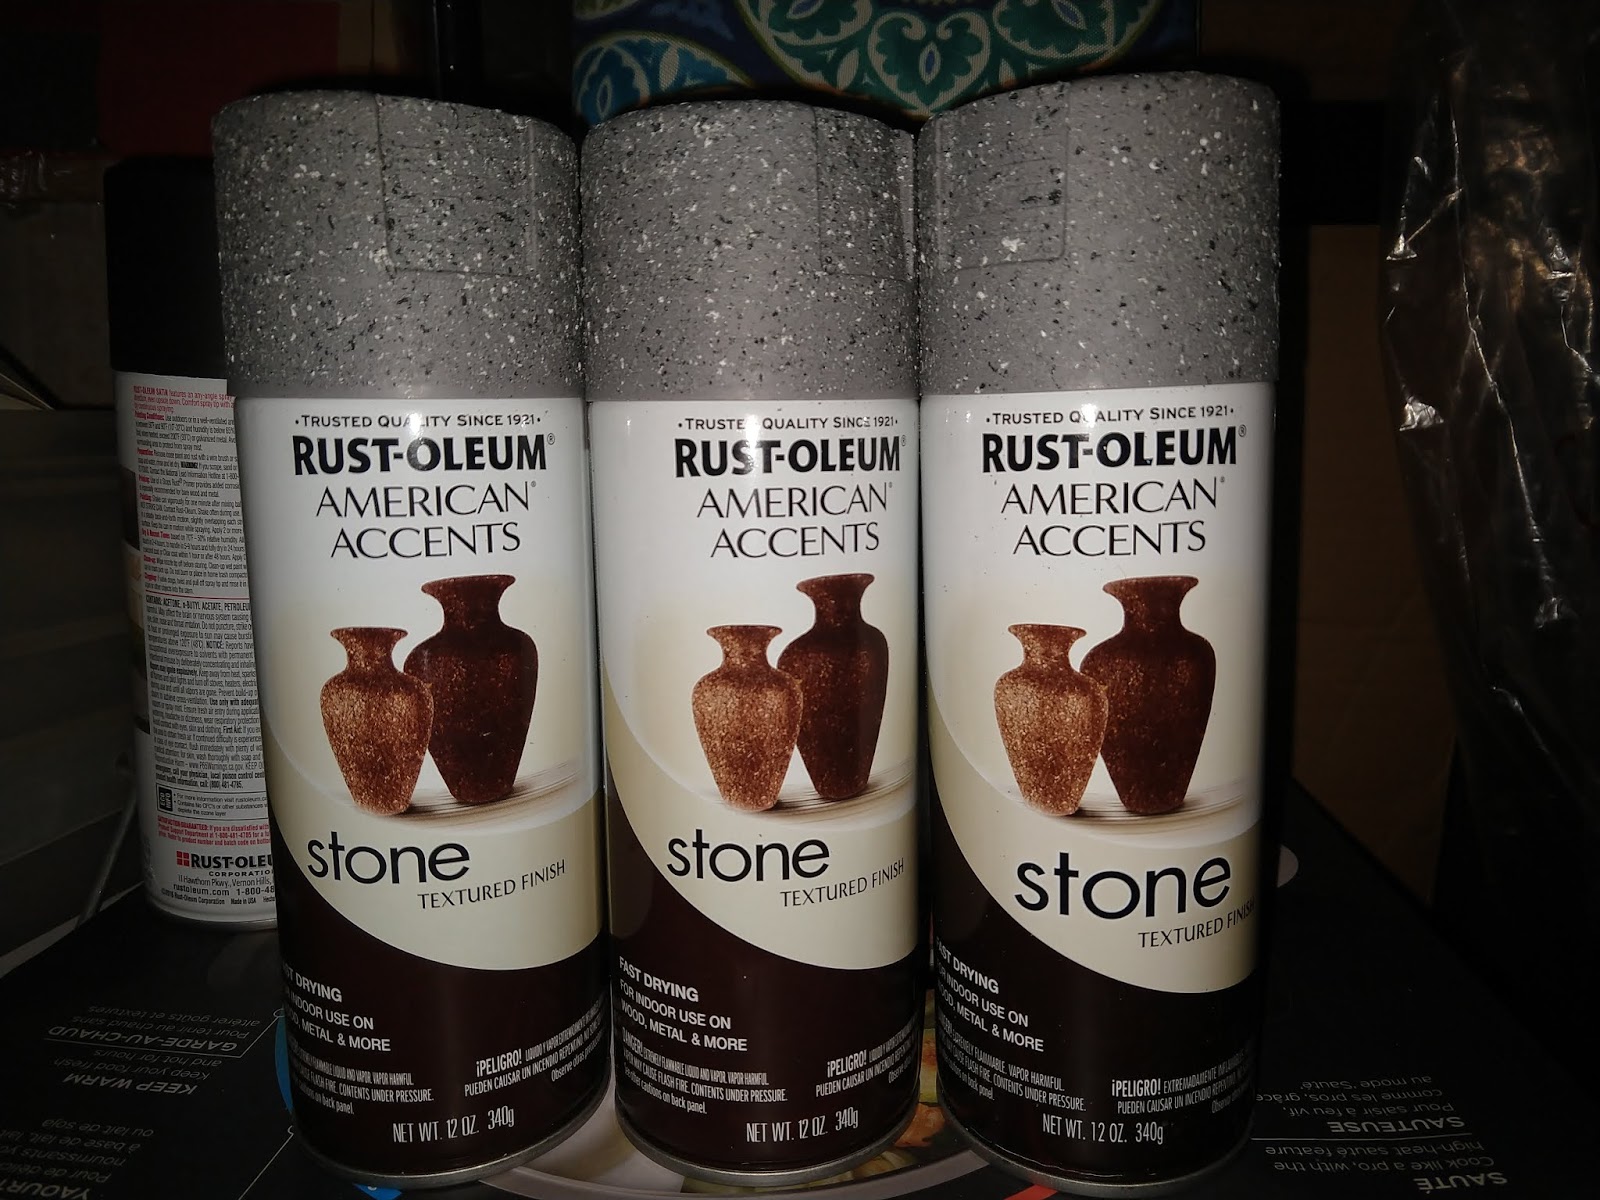
Tuesday I removed the dinette table and did two coats of Rust-Oleum 2X spray primer, followed by two coats of their Stone Accents spray. I also primed the counter top and did two coats of spray. Admittedly I was nervous about trying this stuff, but it is looking good! It is kind of a stone textured look. Heads up though that the Stone Accents spray splatters a bit so have everything in the area covered. Yep, I had some small touch-ups to do on the cream colored paint. It took 2 1/2 cans to complete the table and counter top.
Wednesday I sprayed the first top coat on the table, and a third Stone Accents coat on the countertop.
Today (Thursday) I finished the top coats and the touch-ups from the mess I caused with the Stone Accents.
This weekend I plan to finish the final seat cushion for the long bench in front of the one of the beds. We also hope to mount the hardware for the solar panels, and replace the outside lighting.
It's been amazing to see this all come together in only a week!
Thursday, March 21, 2019 - Dinette cushions: Check!
Renovating a pop-up camper is definitely a challenge. As someone with a chronic illness, it is all the more difficult. I am barely into the beginning stages of the renovation, and already I am so grateful it's a family affair. I take things one day at a time and go easy on myself if I just can't do anything on a given day. I am finding it much easier to do something small most days instead of trying to hammer out a project in a single day.
My husband and I cut foam, plywood for the dinette seat back bottom cushion supports, and used a staple gun to attach the fabric on the back side. Technically it's cheating but it means a lot less sewing, less material used, and such. Yesterday my 16 year old and I measured and cut foam. Today we completed the dinette seat rear cushions.
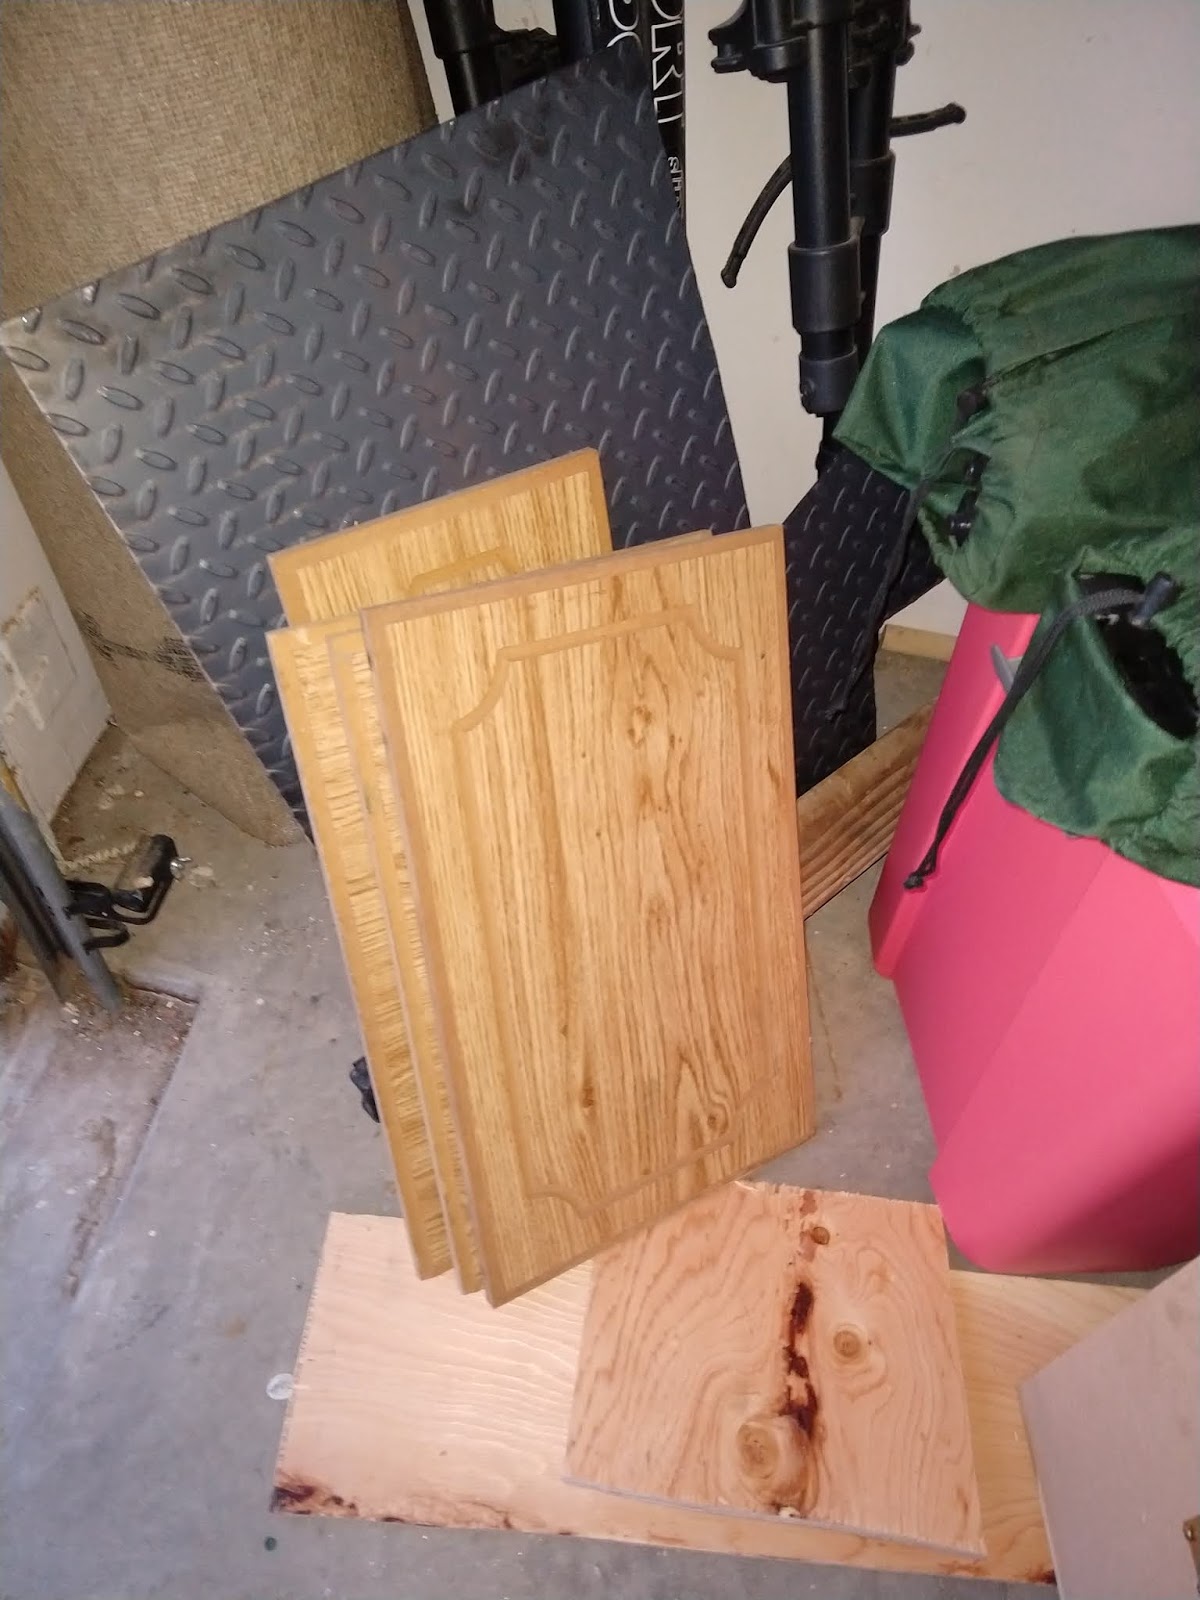
After putting them in the camper, we jumped on in and removed all the original brass hardware: knobs, hinges, etc all out! The cabinet faces are now all outside and ready to be painted. The hardware is ready as well. After that, it will be time to paint the interior (from inside as I have no plans on removing the cabinets to get that done).
Removing the cabinet doors was fairly easy. All the hardware was metal and seemed original. The odd thing was there was wood glue used on several of the hinges. The glue basically shattered. Tomorrow I hope to paint the hardware, and possibly get Kilz on the removed cabinet faces in preparation for paint.
Next week: paint cabinets and hopefully order the foam for the beds.
Saturday, March 16, 2019 - Winches and ferrules and crimpers...oh my!
The winch installation process for our 1992 Palomino Filly pop up camper:
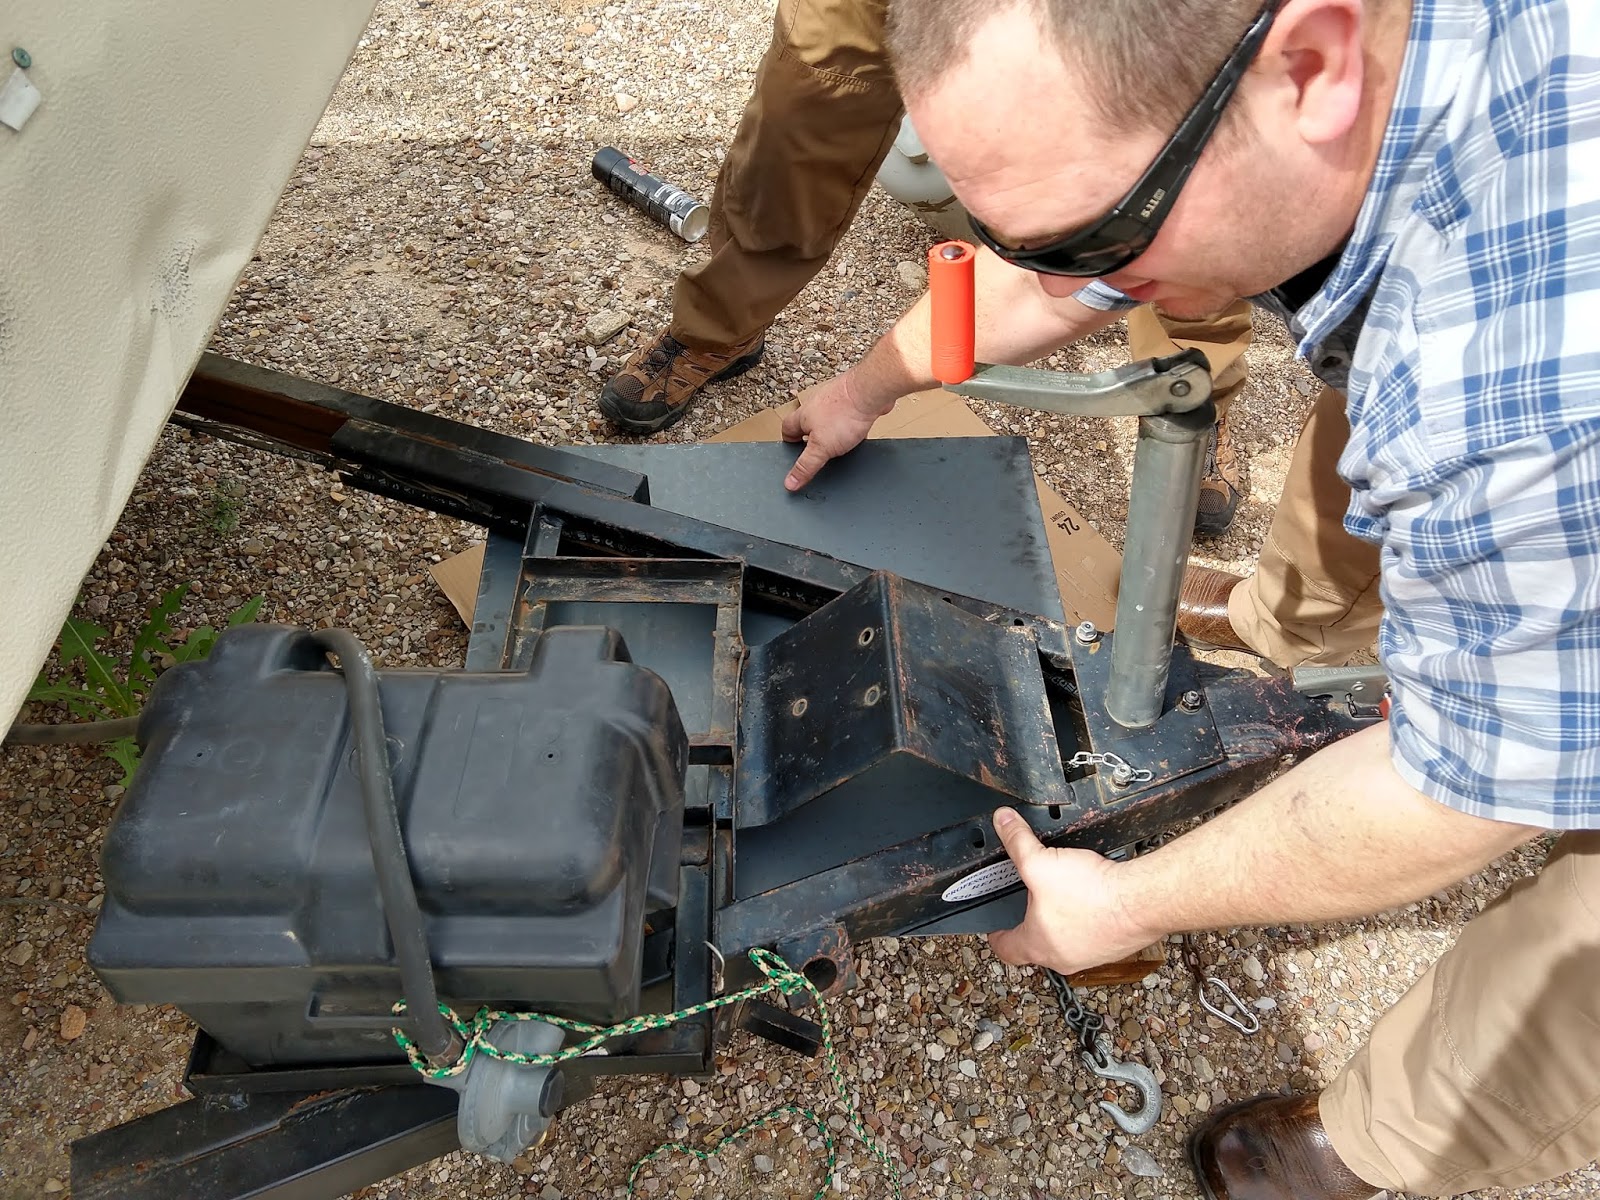
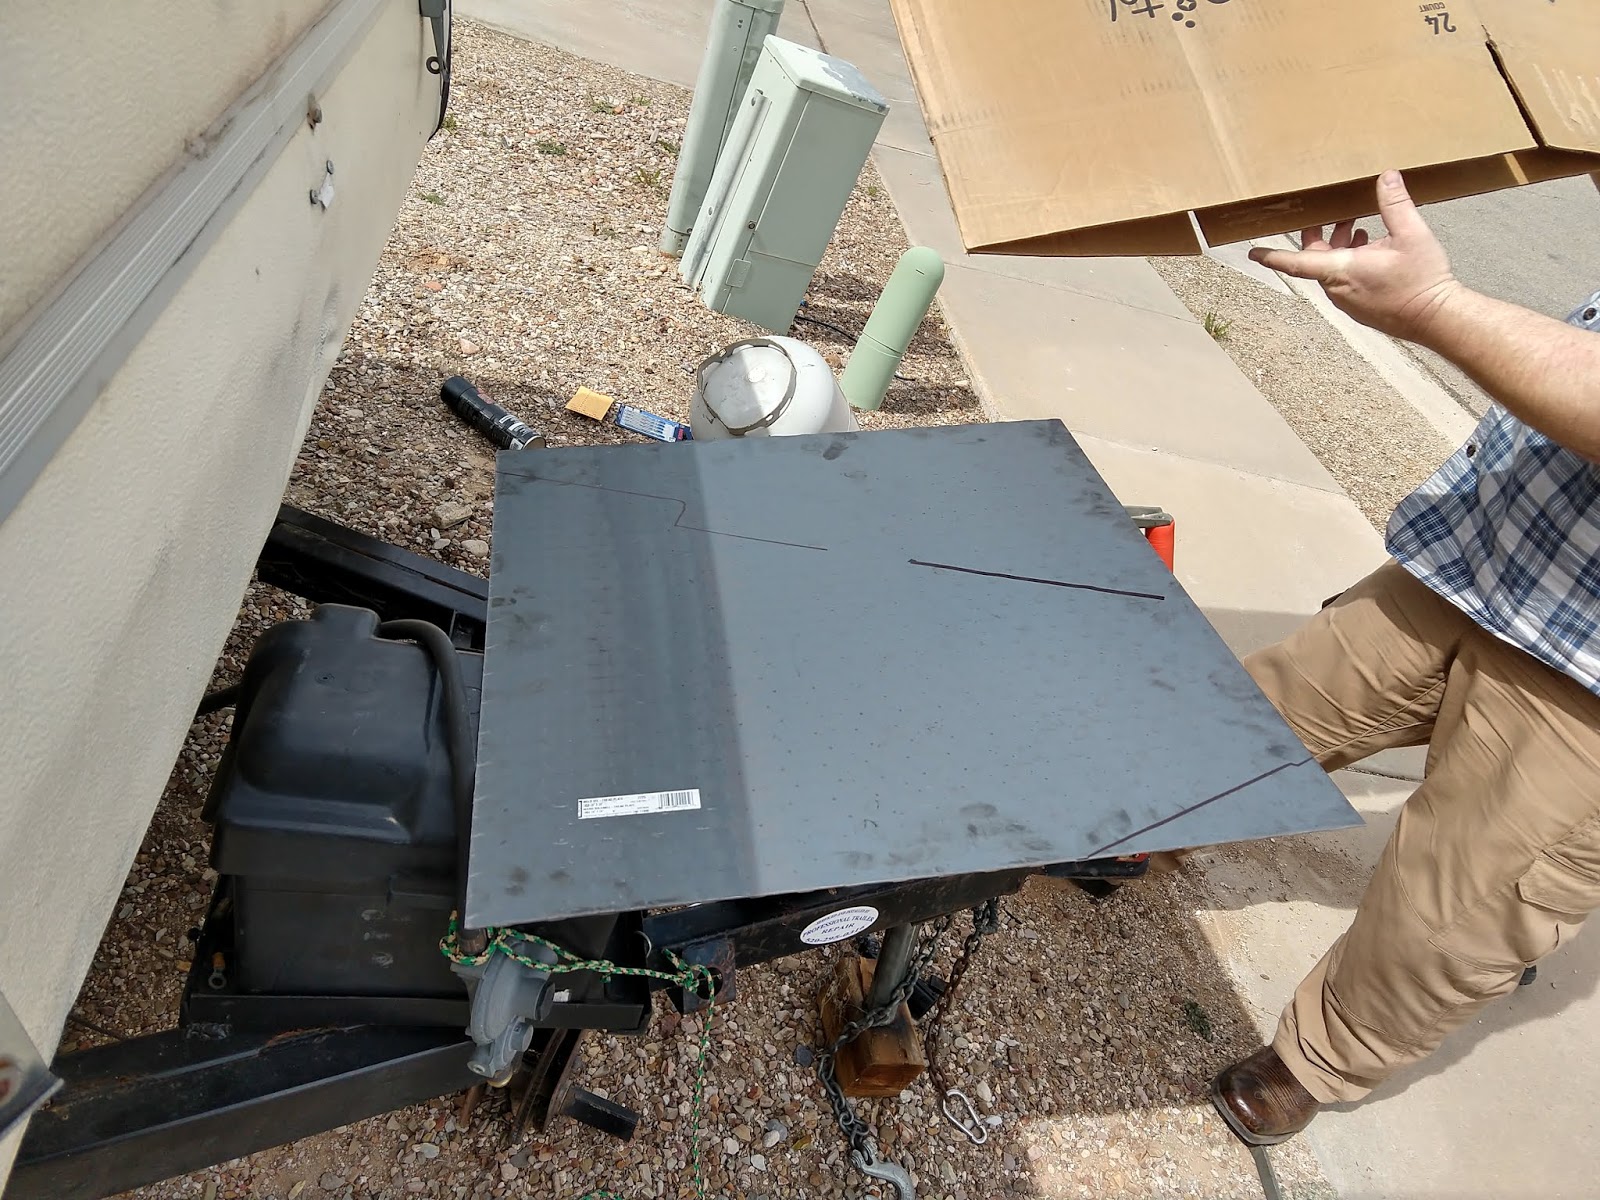
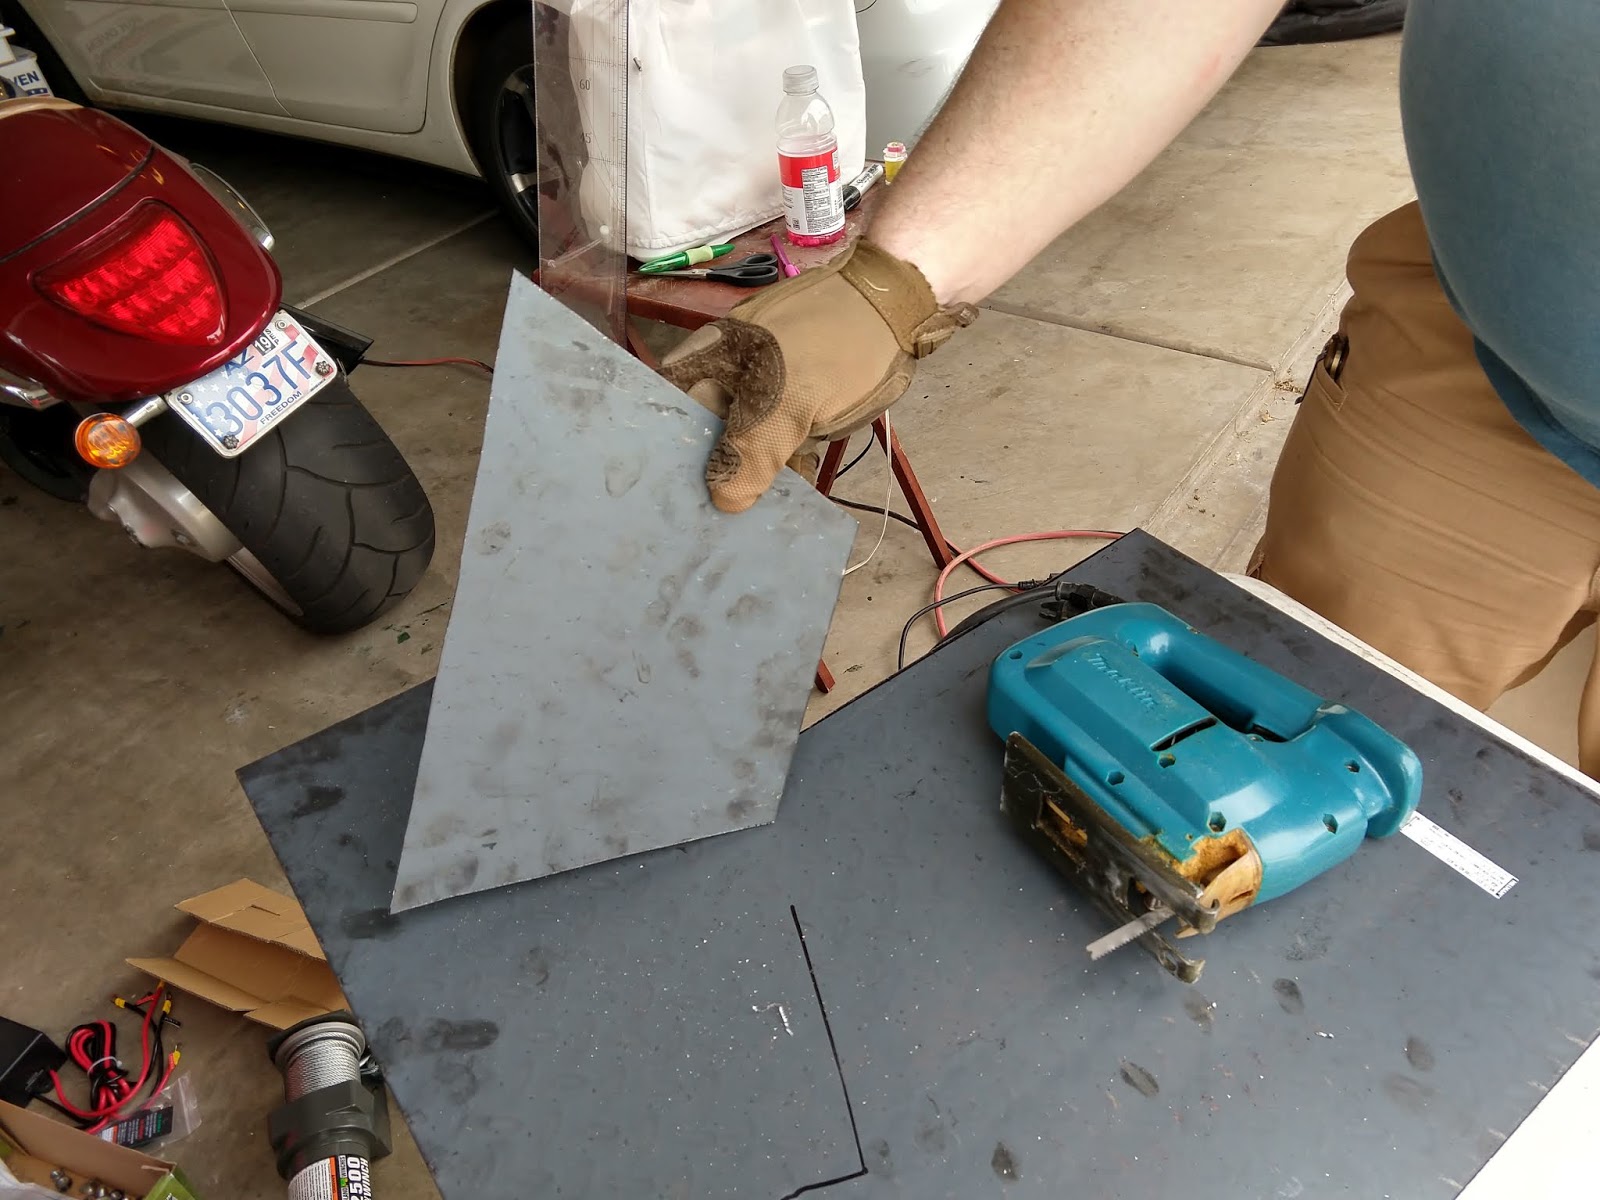
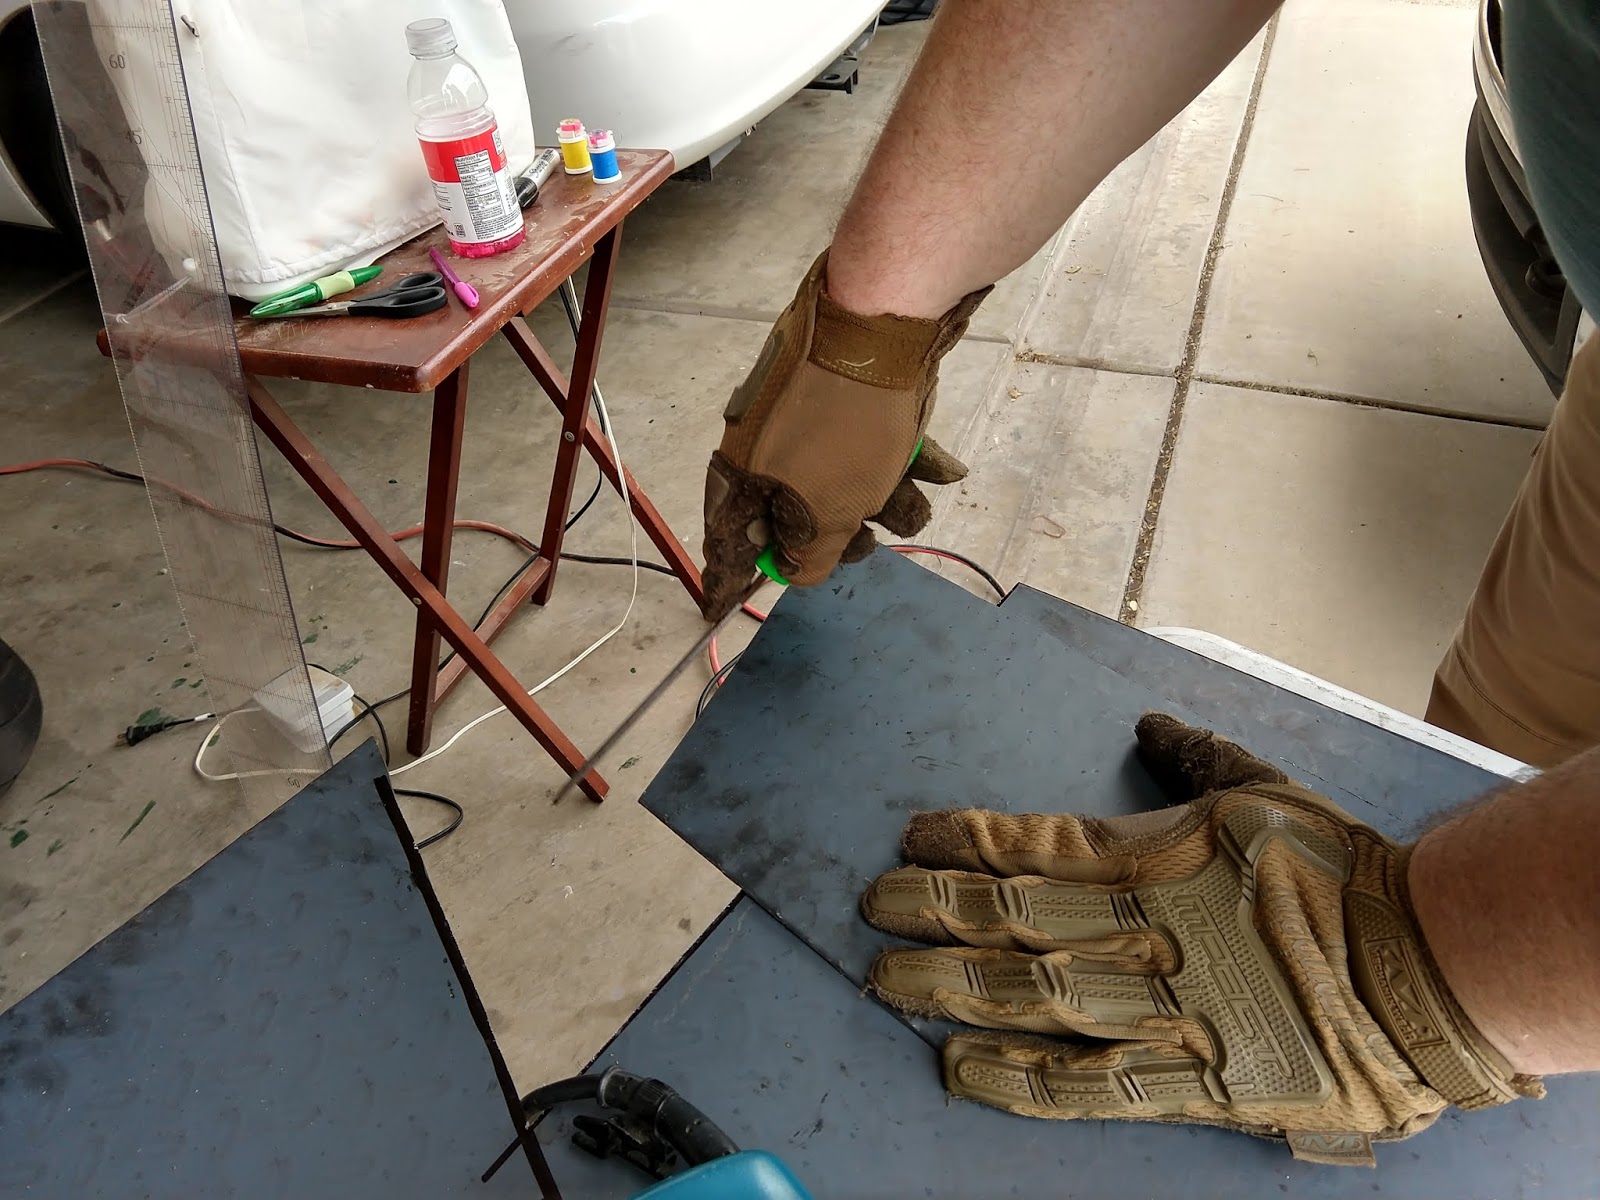
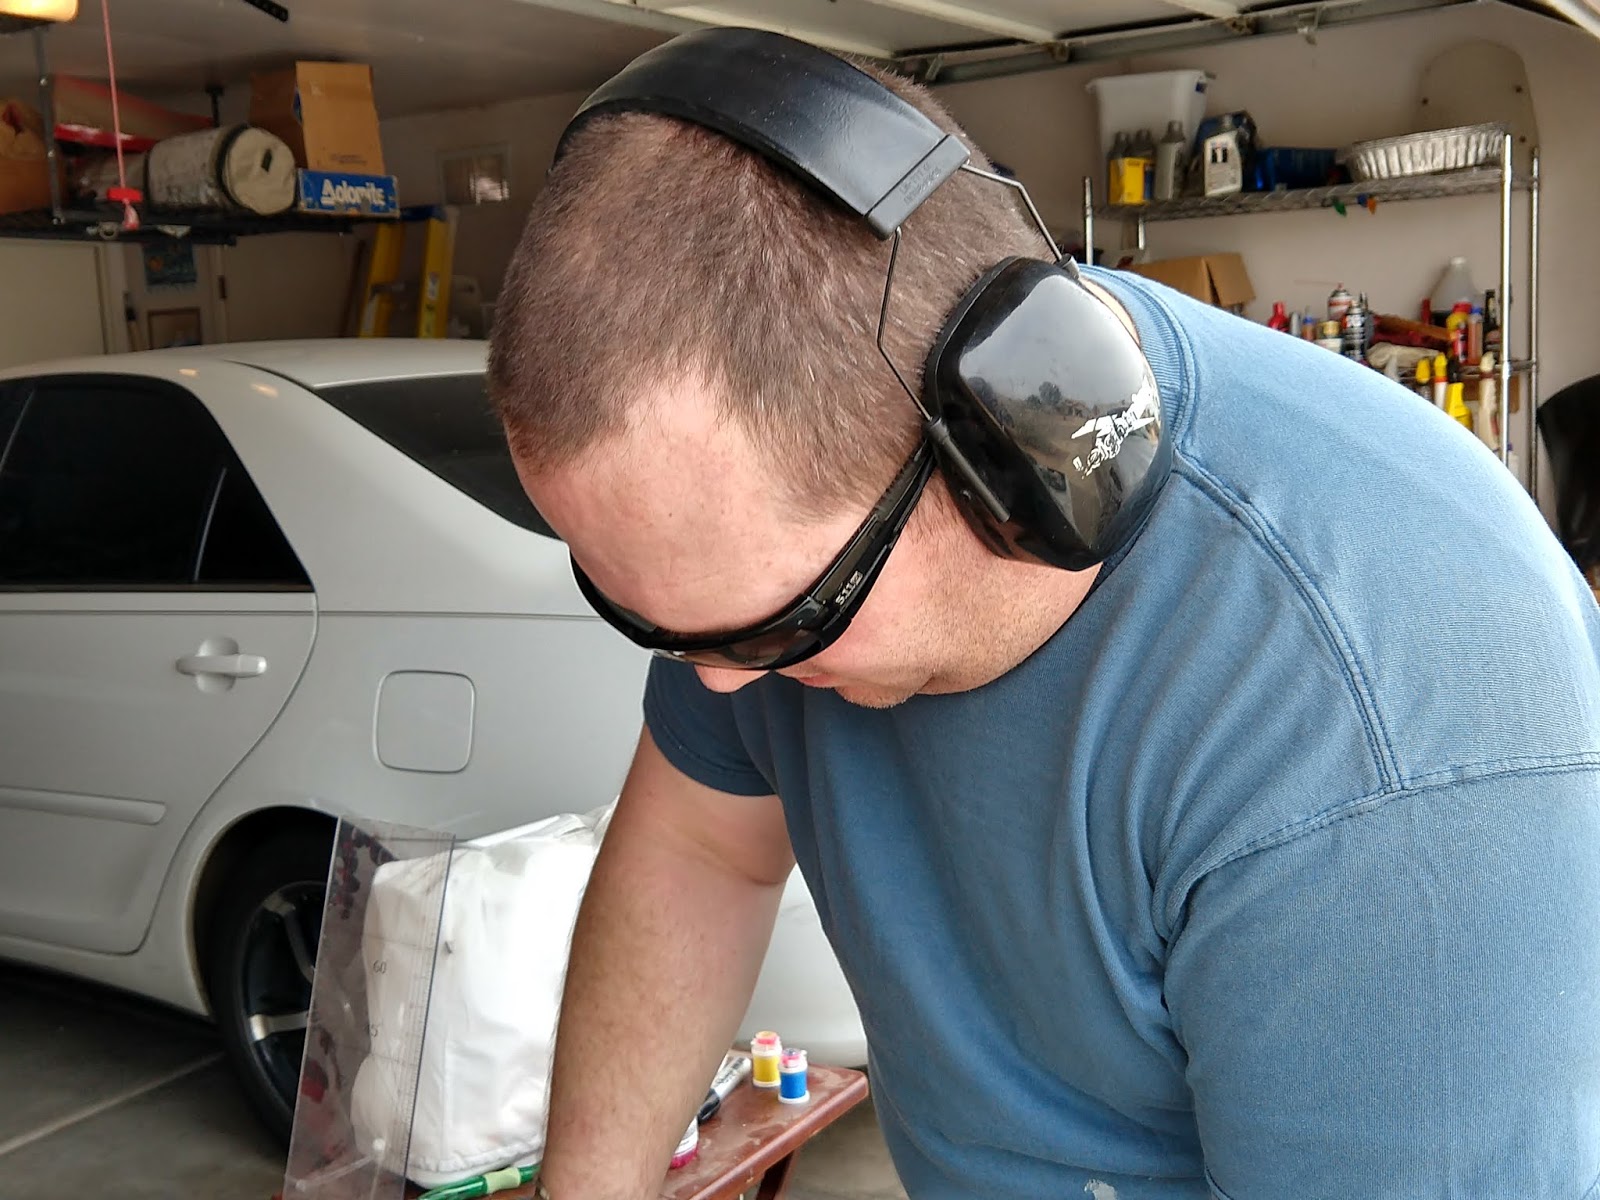
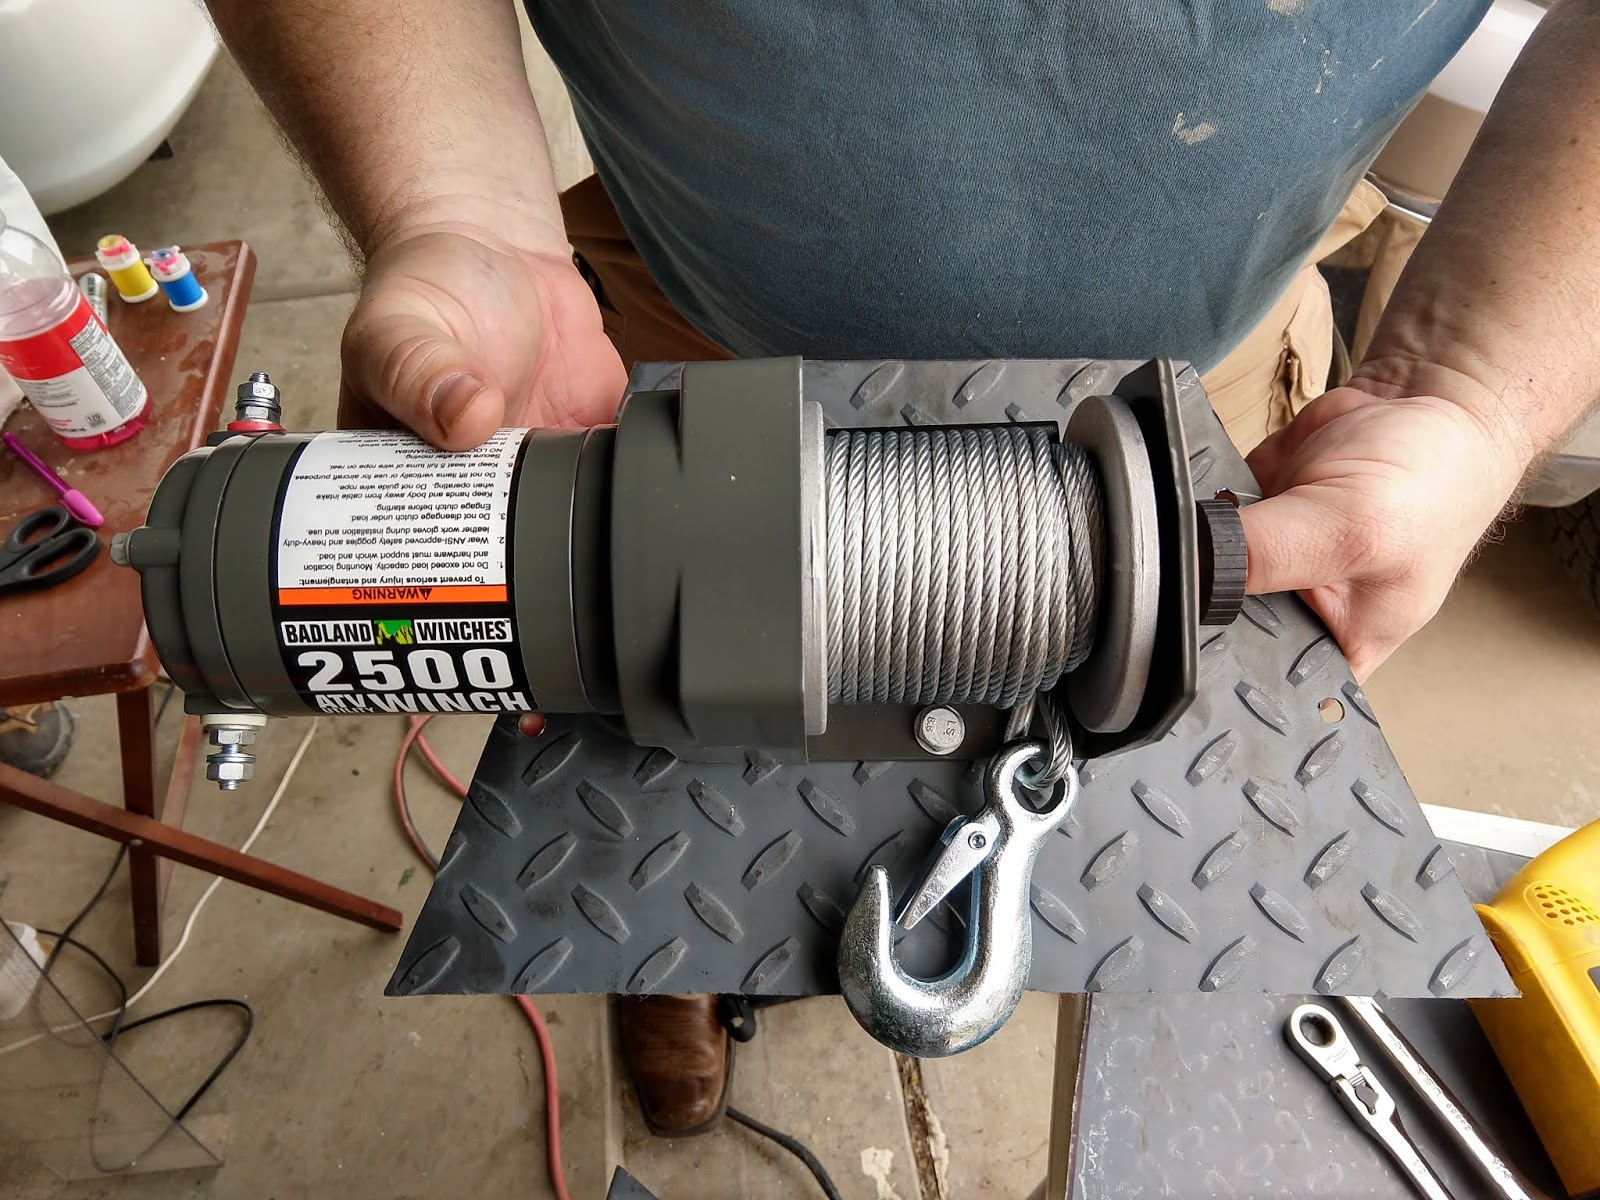
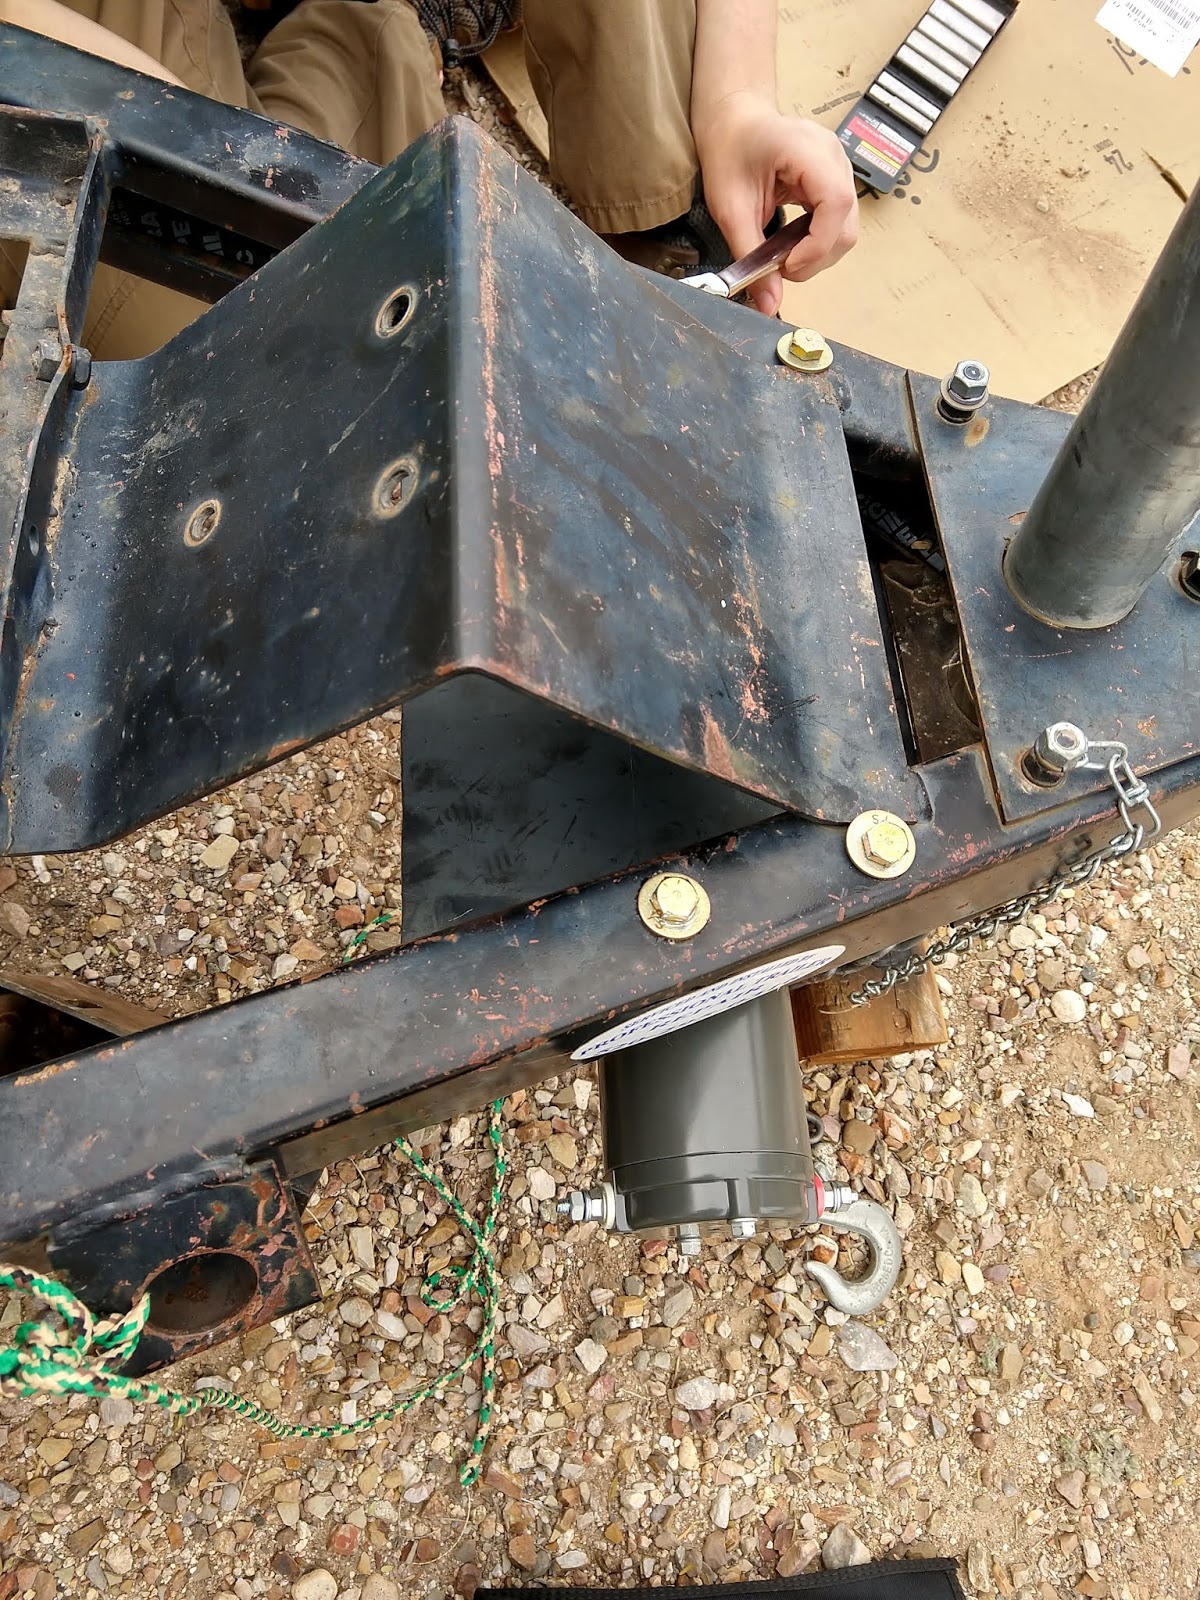
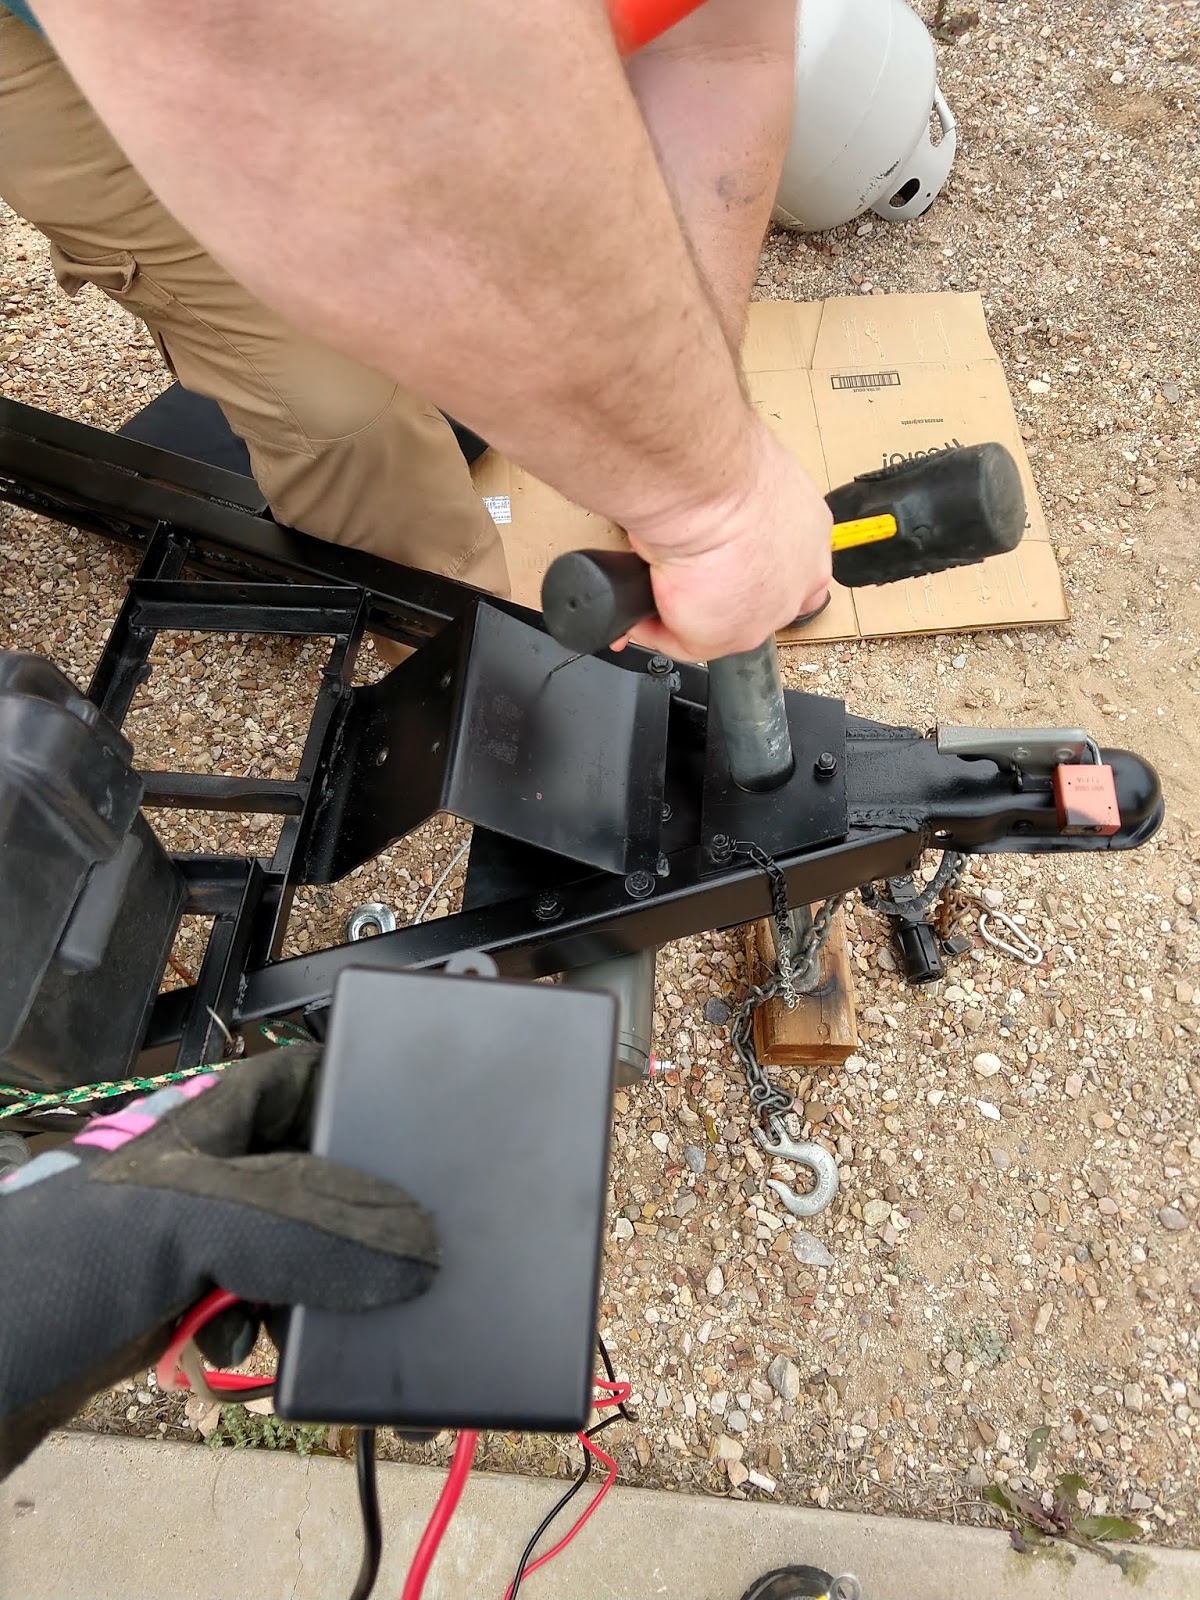
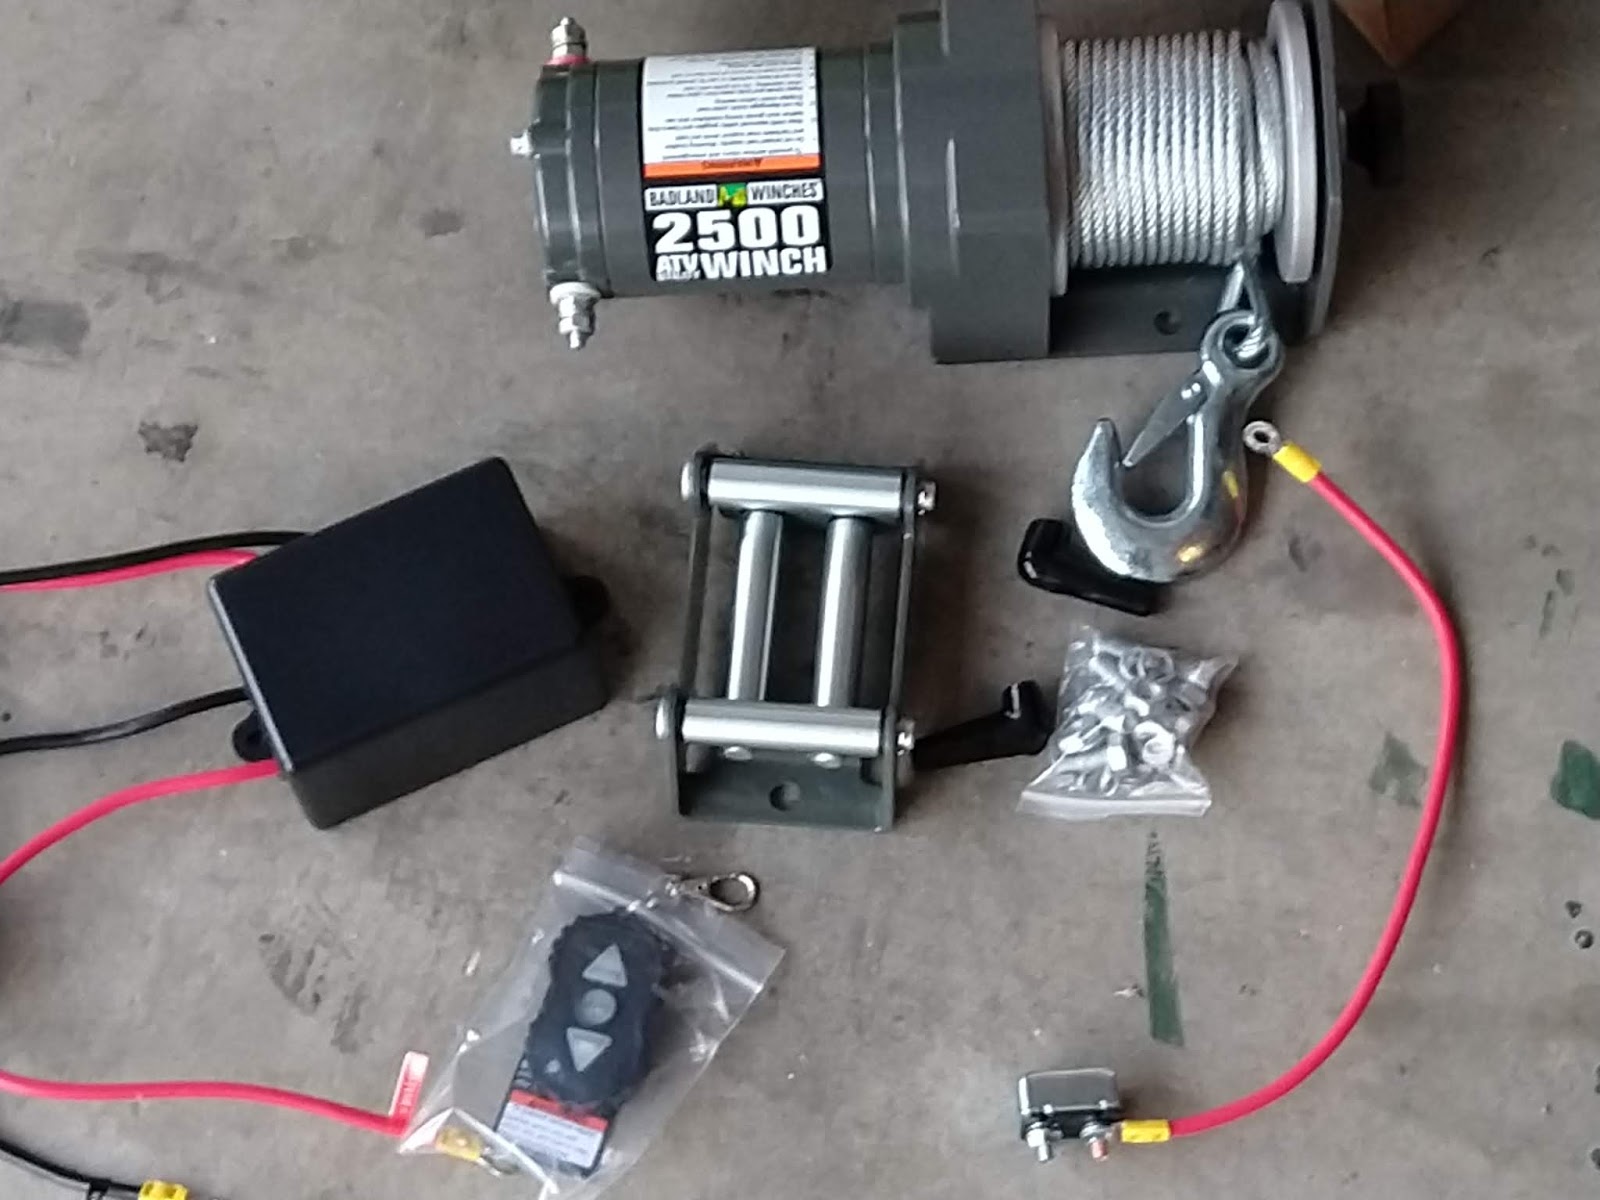
First we had to determine the best spot to mount the winch. Given the welded bulkheads, we chose a spot under the frame next to the tow hitch. Holding up a piece of diamond plate steel, we traced out the shape and size we needed; the tracing can also be done on cardboard and then transferred. We used a jigsaw with a blade specifically for thick metal plate to cut out the shape. A metal file was used to smooth down the edges of the plate. Mounting holes were drilled to coincide with the existing holes on the frame. We temporarily mounted the plate to get a position for the winch. Once we had a position, we drilled the mounting holes using grade 8 bolts and red Threadlocker. Then we mounted the plate and winch to the frame using three and a half inch grade 8 bolts, lock washers, red Threadlocker, and Ny-Locks. The same process was used to mount the control box.
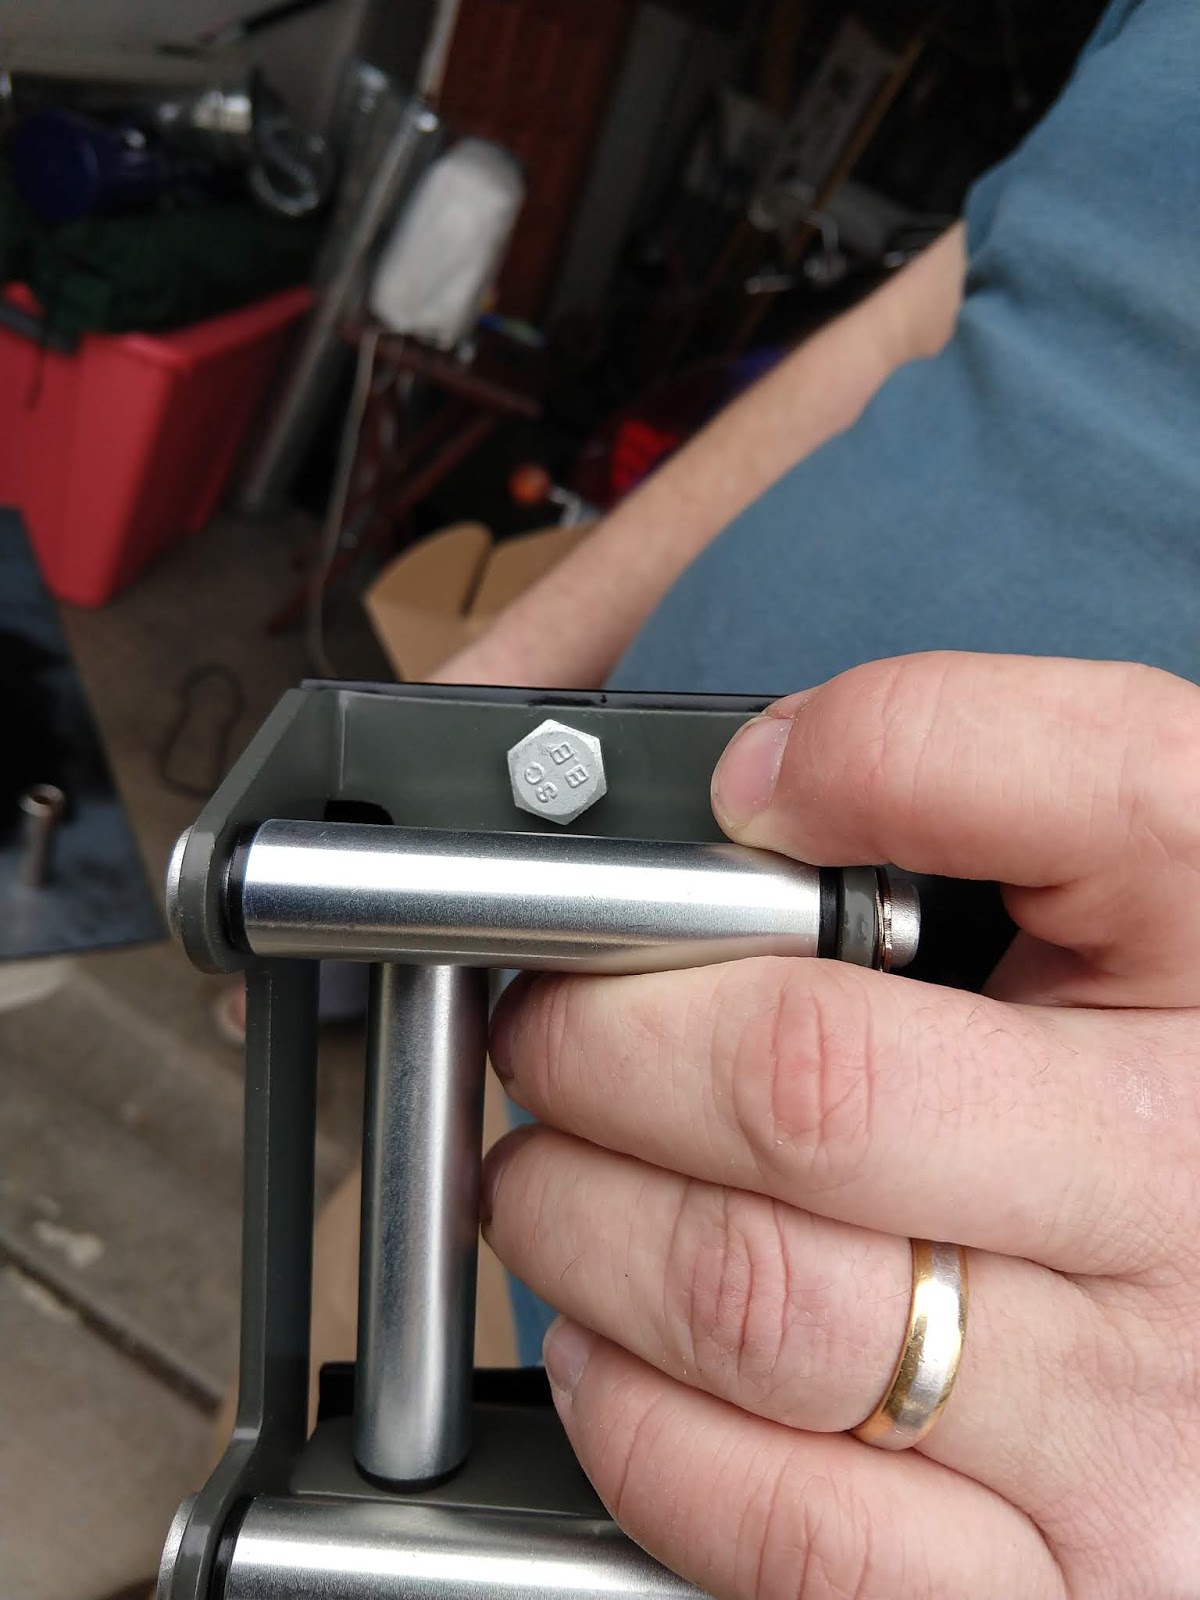
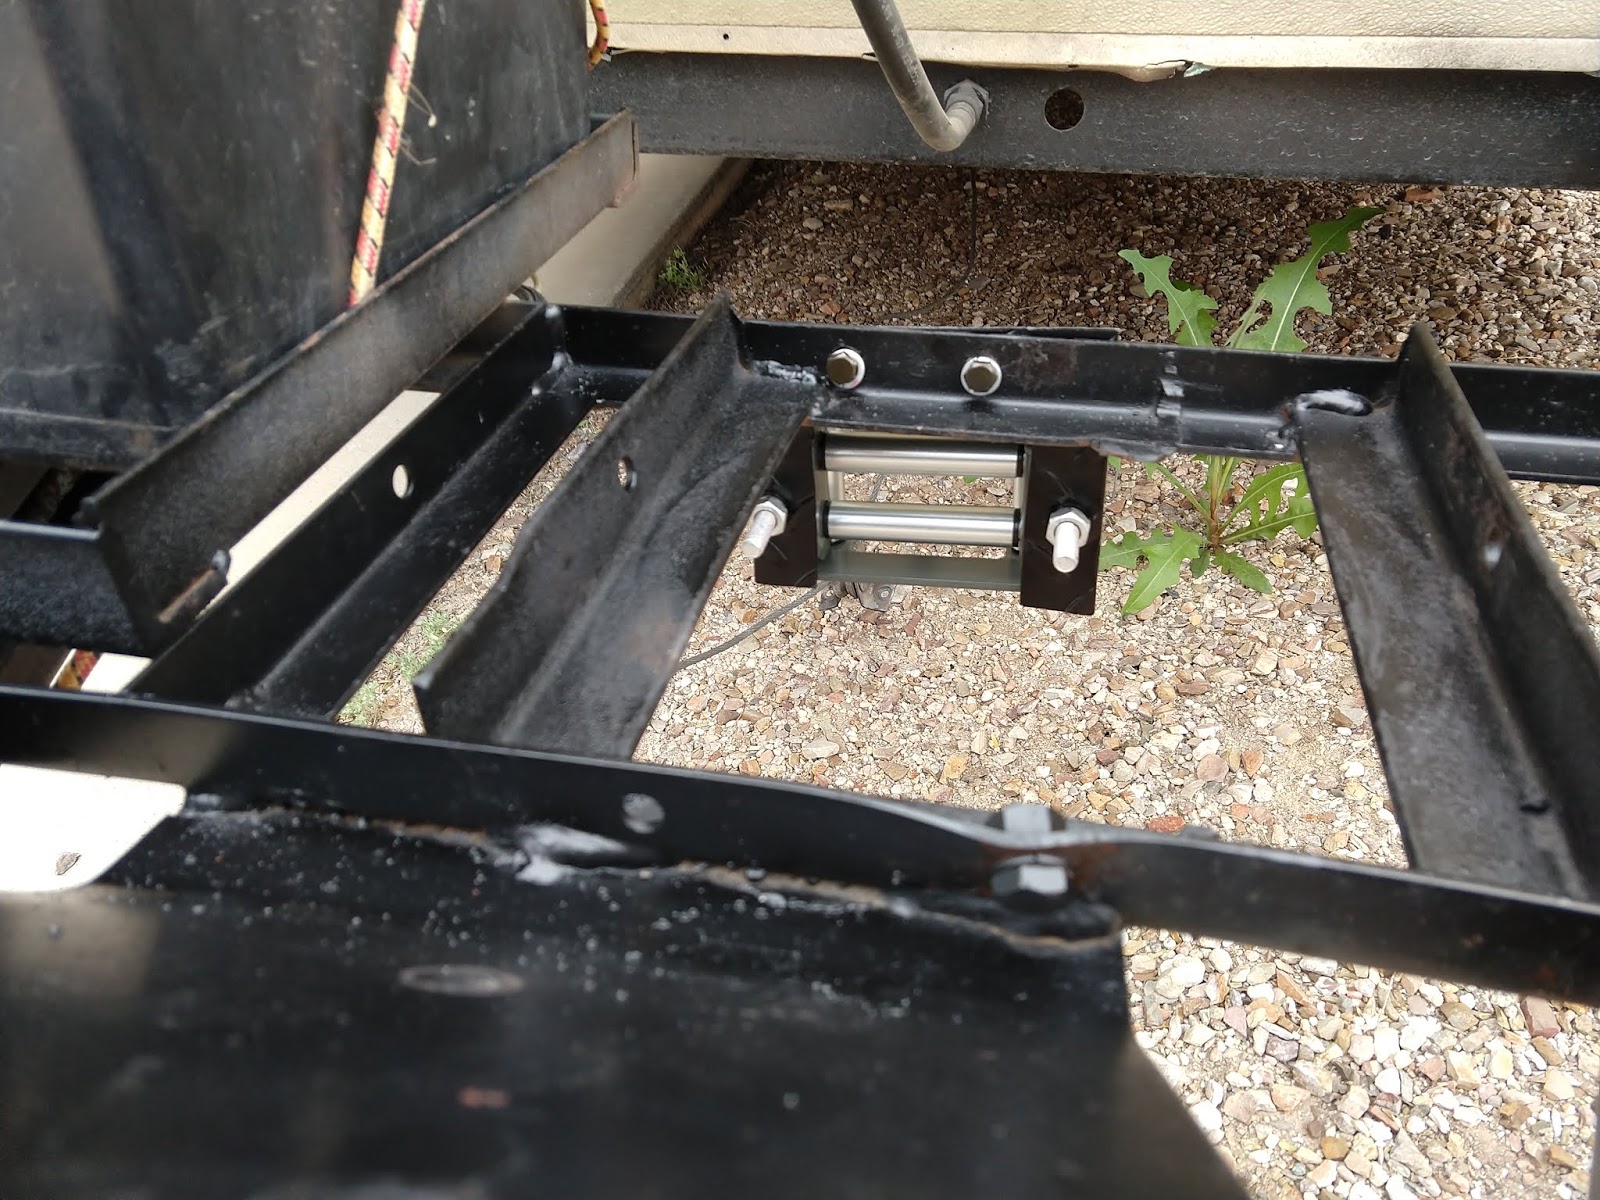
Next was the mounting of the pulley that came with the winch. We used the same diamond plate steel, used the shape of the pulley, and added 1.5" as a mounting tab. We cut out clearance for the pulley and the cable, drilled holes in the mounting bracket and frame and secured the pulley and the bracket to the frame with grade 8 bolts, lock washers, red Threadlocker, and Ny-Locks.
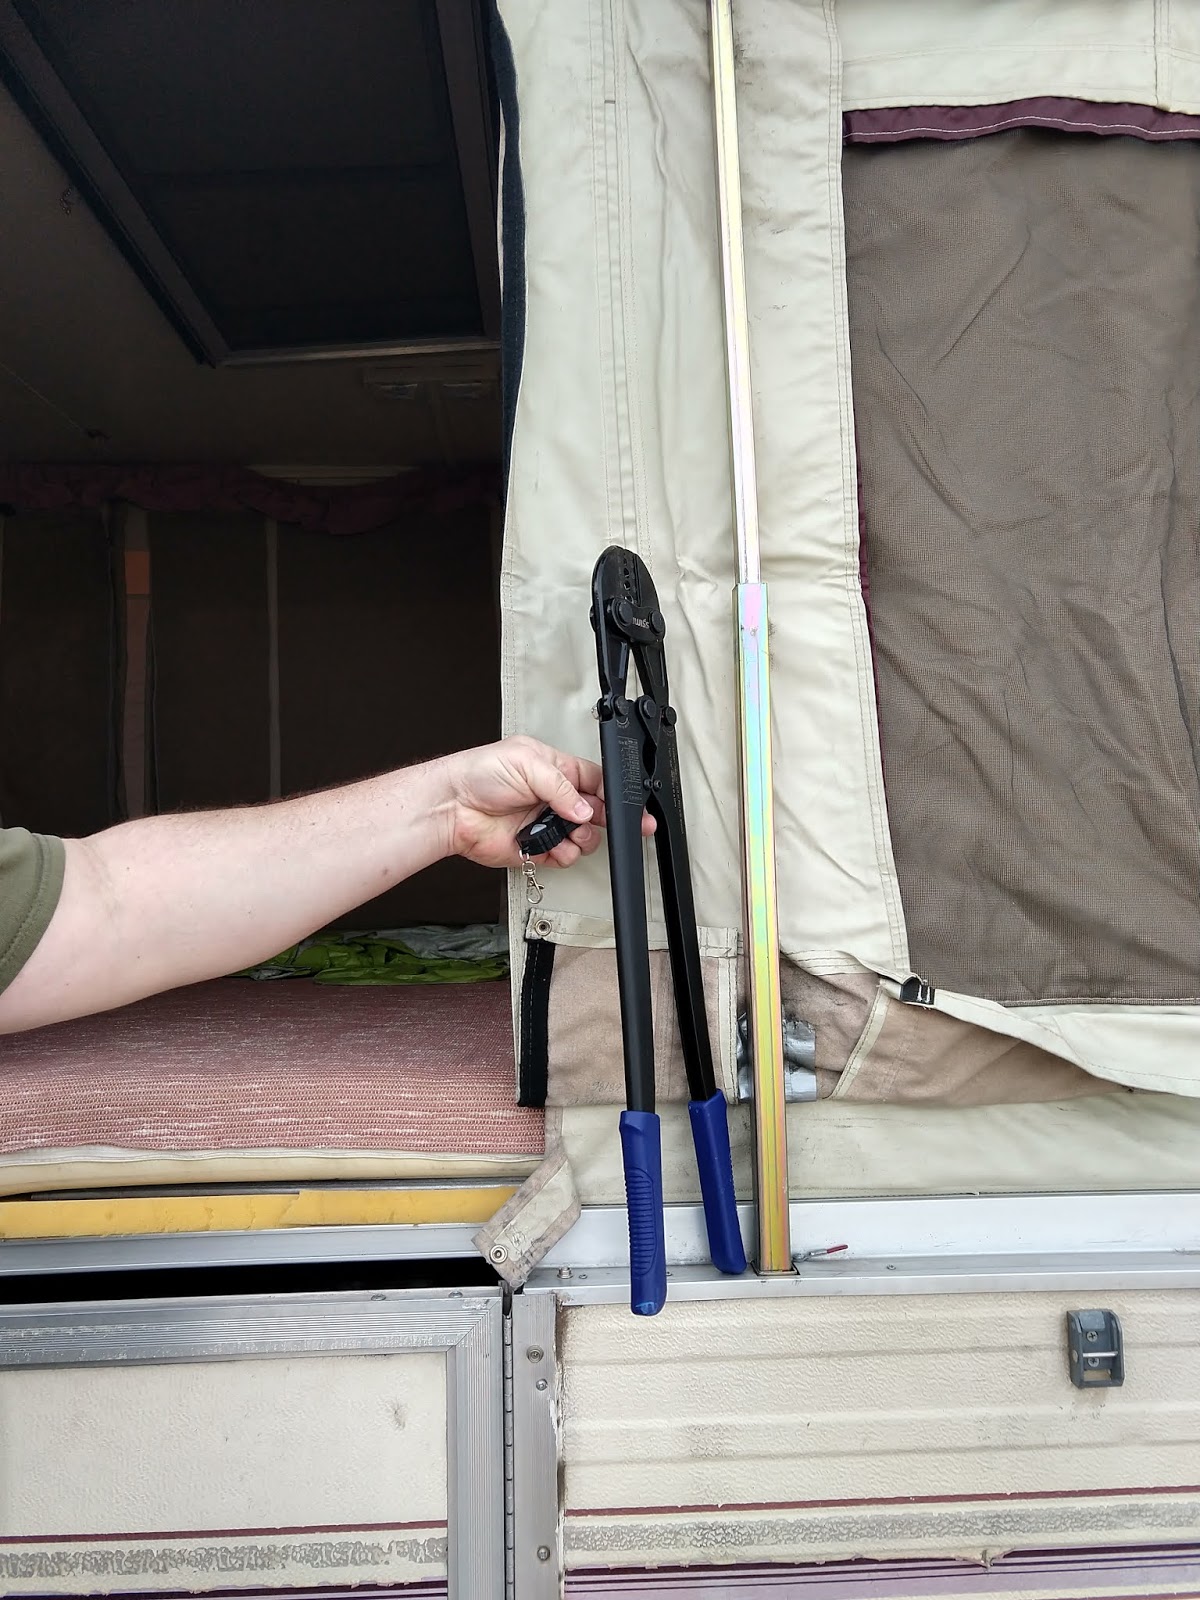
We cut off the stock hook that came with the winch, ran out the cable several extra feet we didn't need. We had previously measured the correct length of the cable under the trailer to get it fully raised. We used two #4 cable ferrules and attached the cable from the winch to the trailer with an iWiss ferrule crimper (amazon link). We tested the setup by backing the truck up to attach the power cables directly to the battery, fully raised and lowered the trailer several times. We had 6" to spare before the ferrules would hit the pulley.
What we learned:
The 2500 pound winch is just enough to pull the top up. In hindsight we may have used the 3500 but this one does do what is needed. We are glad we did not get the 1500 pound winch.
On a scale of 1-5 for difficulty, this is a 4. If you have a welder you could just weld the plates, mounting tab, etc. We however do not have a welder. If you do not have a welder, a jigsaw, a metal file, a full on wrench set with deep well sockets, electrical testers, and a ferrule crimper, it would probably cost less to hire someone to install a winch.
An extra set of hands is really helpful. They can help secure the steel plate while it's being cut, hand over items while someone is under the trailer working on the ferrules/cable etc.
Winches, ferrules, and mold
You've probably figured out from the title that it's been a long week working on the camper.
First, let's talk winches. We were around 3 hours in and darn near finished. We bought a large steel plate and used a jigsaw to create mounting plates. It worked out beautifully! My husband did the winch work, but having a second set of hands will definitely save time; extra hands can help hold the plate while cutting, grab tools and supplies, etc. The problem came when the winch and the spool were already mounted. We went to use the two large ferrules to clamp the cables together, and discovered our ferrule crimper was nowhere near big enough to handle the job. No one locally had one big enough so we had to order it online and wait. Look at the size of this thing! We had to use the largest setting on it to boot.
Once we had the new monster-sized crimper, it only took another hour to finish up the job. The winch works beautifully!
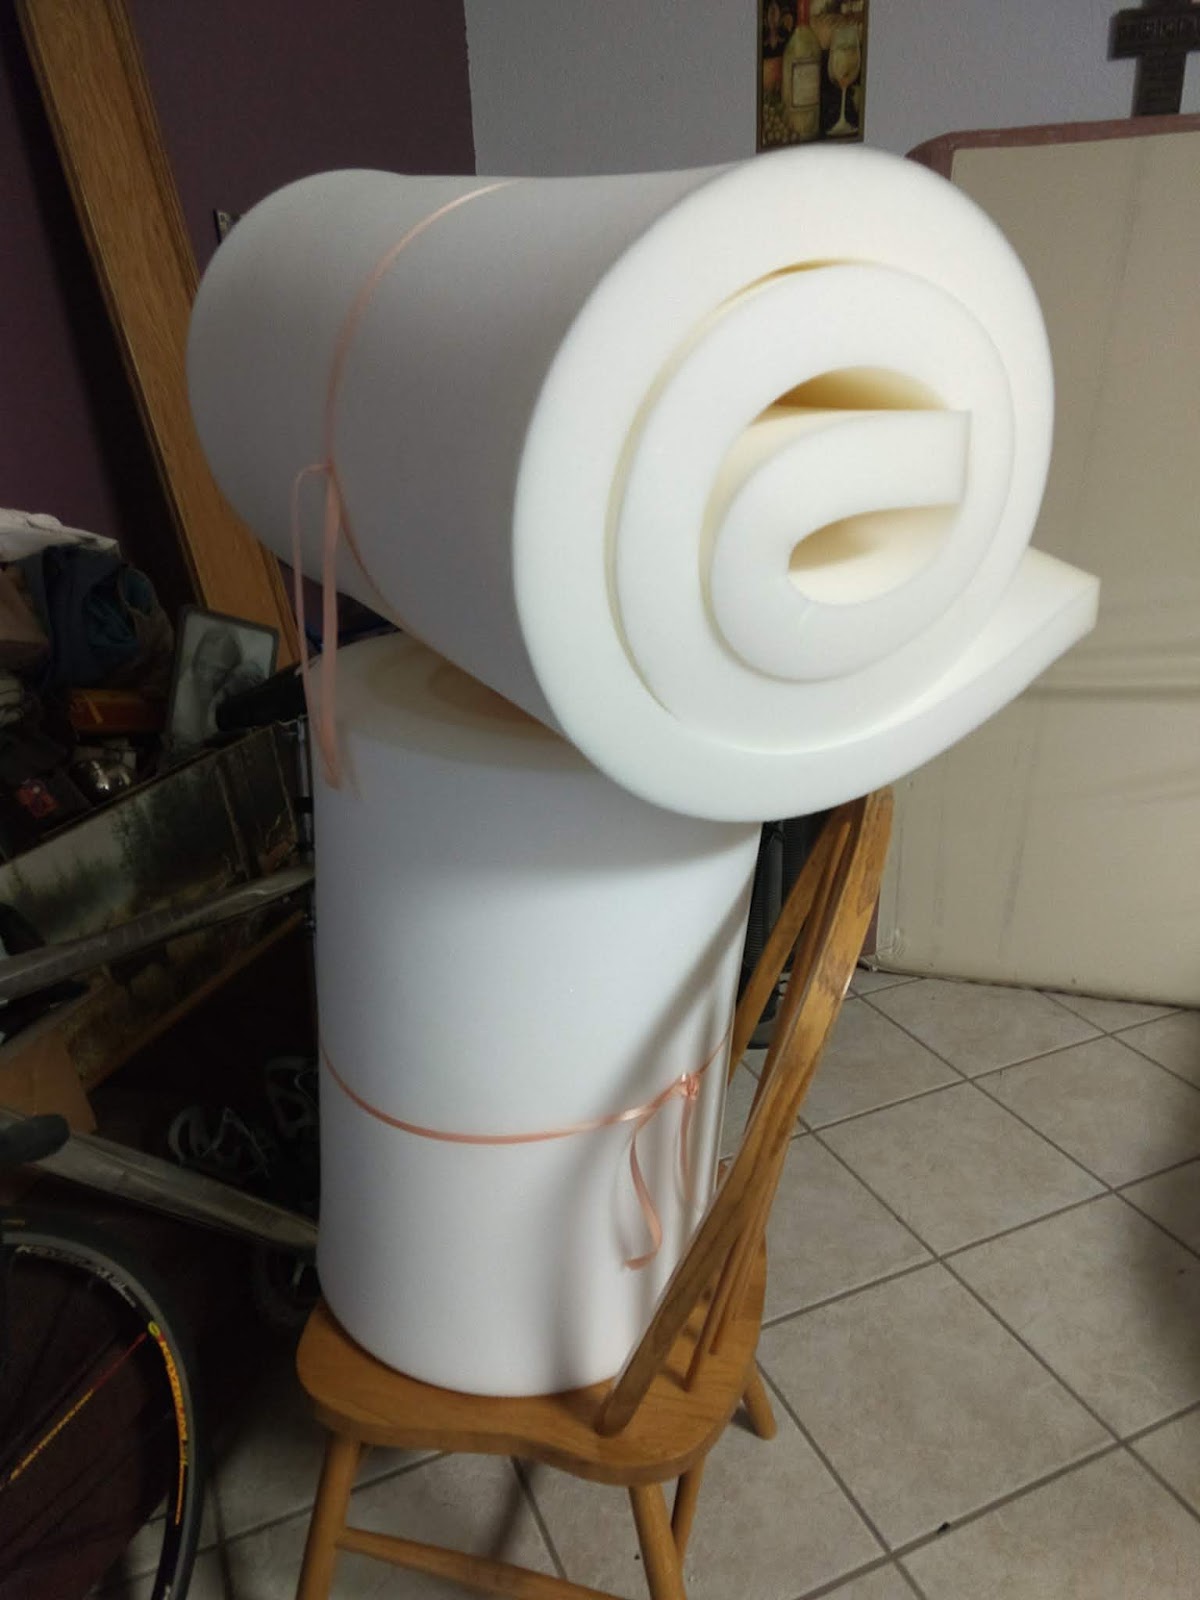
Once the winch was up and running, we immediately opened it just to retrieve all the cushions inside, along with the singular privacy curtain and the valance. I was ready to start reupholstering. We only had the camper open once previously, and at that time noticed the musty smell and attributed it to the 27 year old fabric. The seats and bed felt comfortable so I was just going to recover them. Unfortunately I found the foam had a bit of mold. So I am behind schedule again as I hunt down some good deals for foam online. We went to SAS Fabrics today and picked up their last two rolls of 2" x 24" x 96". While awaiting foam delivery, now I can at least get a couple items reupholstered.
I will do a more detailed post on the winch installation...but first, dinner. Give me a shout if you have any questions in the meantime!
Monday, March 4, 2019 - Countdown!
T-5 days until Operation Renovation! I'm a bit excited to begin the PUP project, what can I say?
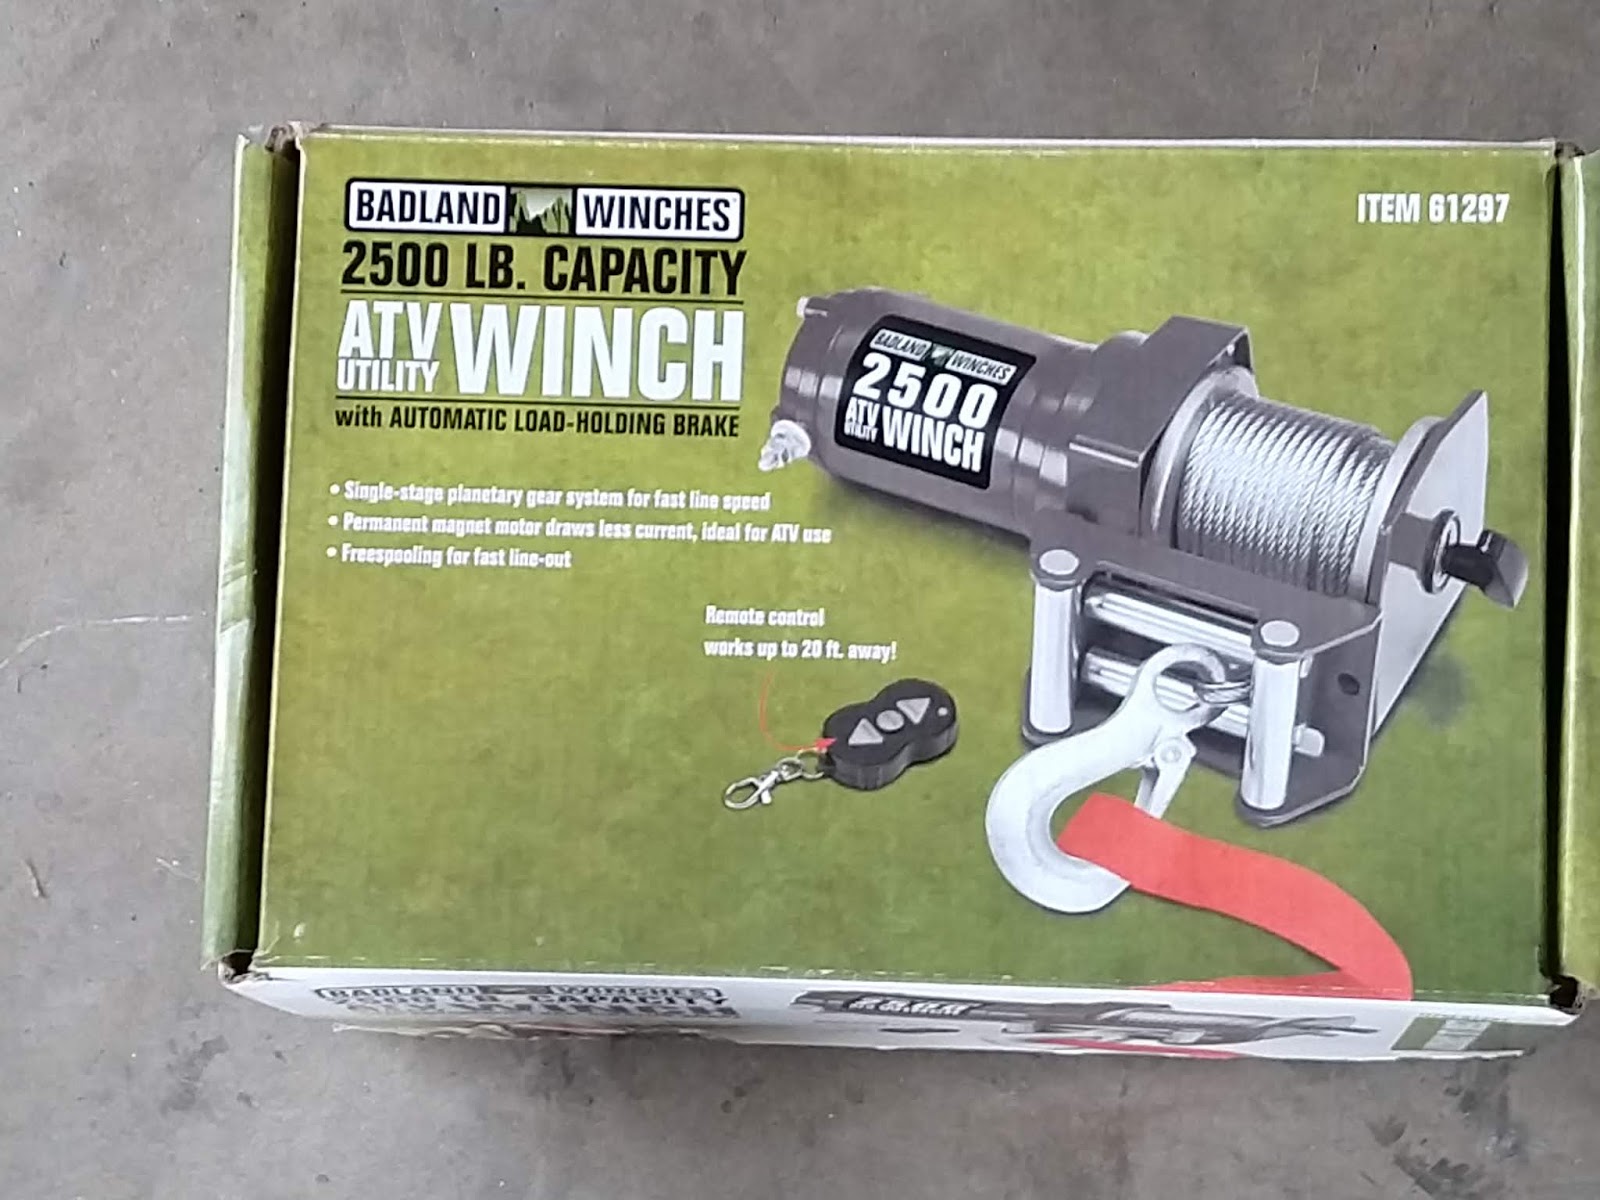
With our Costco rebate funds, we picked up a small winch for the PUP. I'm physically unable to open the pup myself (more on that another day), so this will provide me some much-needed independence. After researching, we opted to get it from the local Harbor Freight. It's the Badlands 2500 pound ATV/Utility Winch. It even comes with a remote control key fob. That wasn't a necessity of course, but it's a nice extra. We are installing it Friday, and of course will share how that goes and how it works out. If you haven't visited a Harbor Freight but plan to, be sure to sign up for their text coupons. They also often have 20% coupons in those weekly junk mail ads in snail mail.
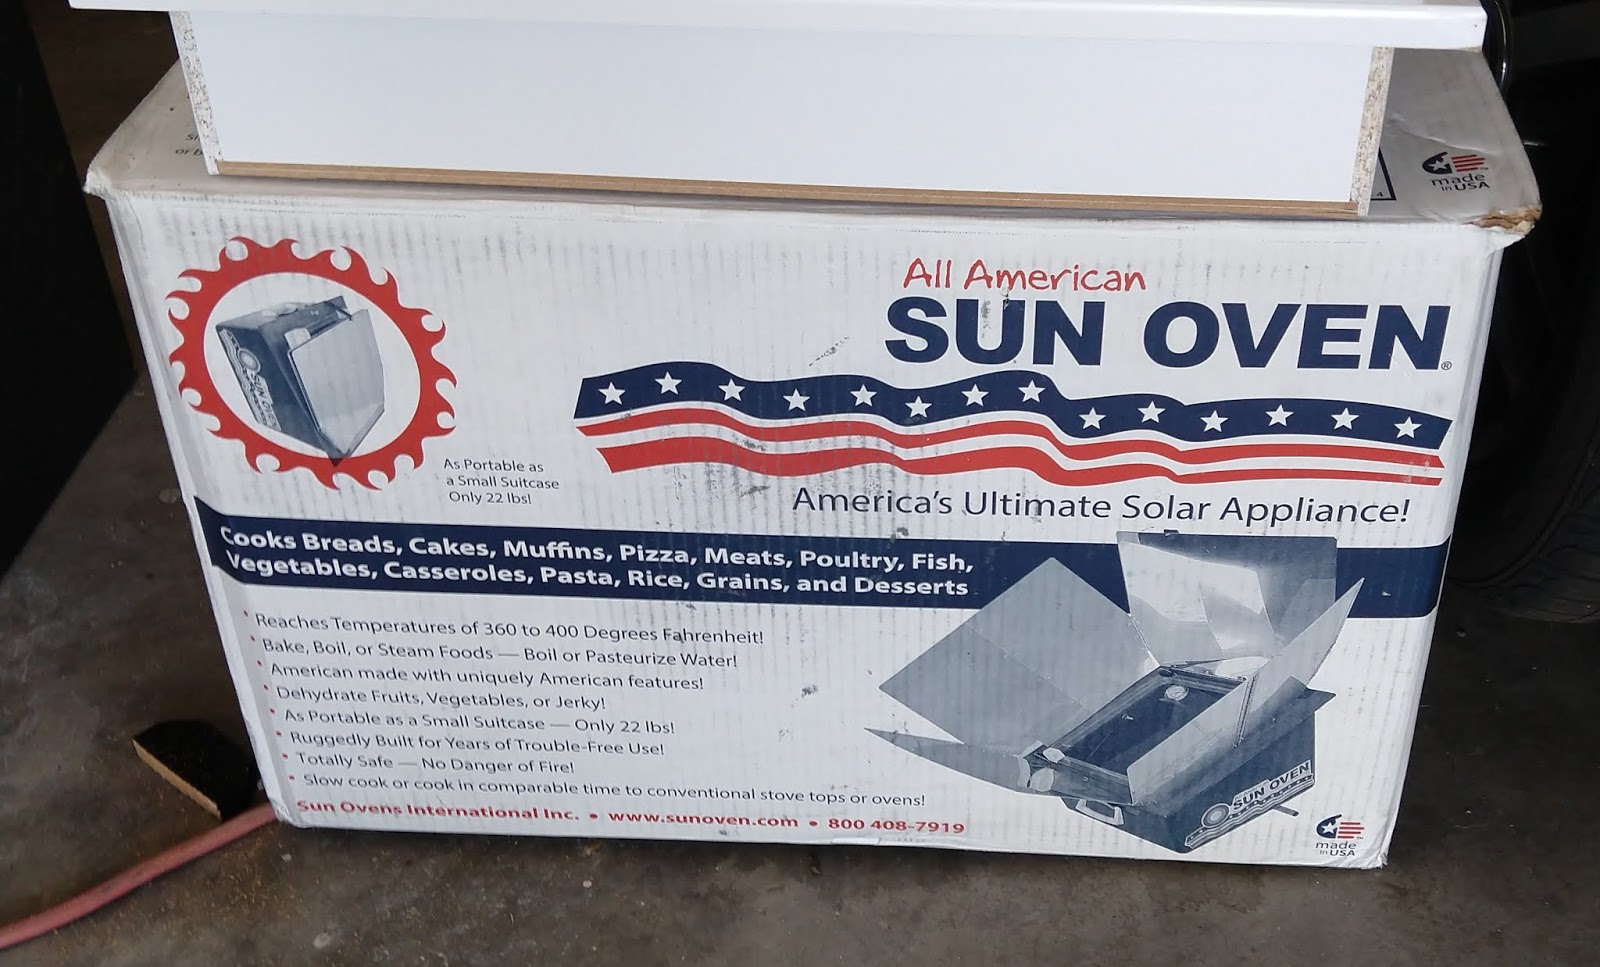
Last week I was also able to get a solar oven from a gentleman on Craigslist who was downsizing. It's the one I'd wished we could get but at $399, was way out of our price range. He needed it gone quickly because of his move and let us have it for $100 (although he said he was sad to see it go, but was glad it's got a good new home). It looks brand new and he included the accessories he got with it. I am going to experiment with it soon. Maybe it's time to make some peanut butter cookies! We will be using this both with the PUP as well as Small Home. Check them out: www.sunoven.com
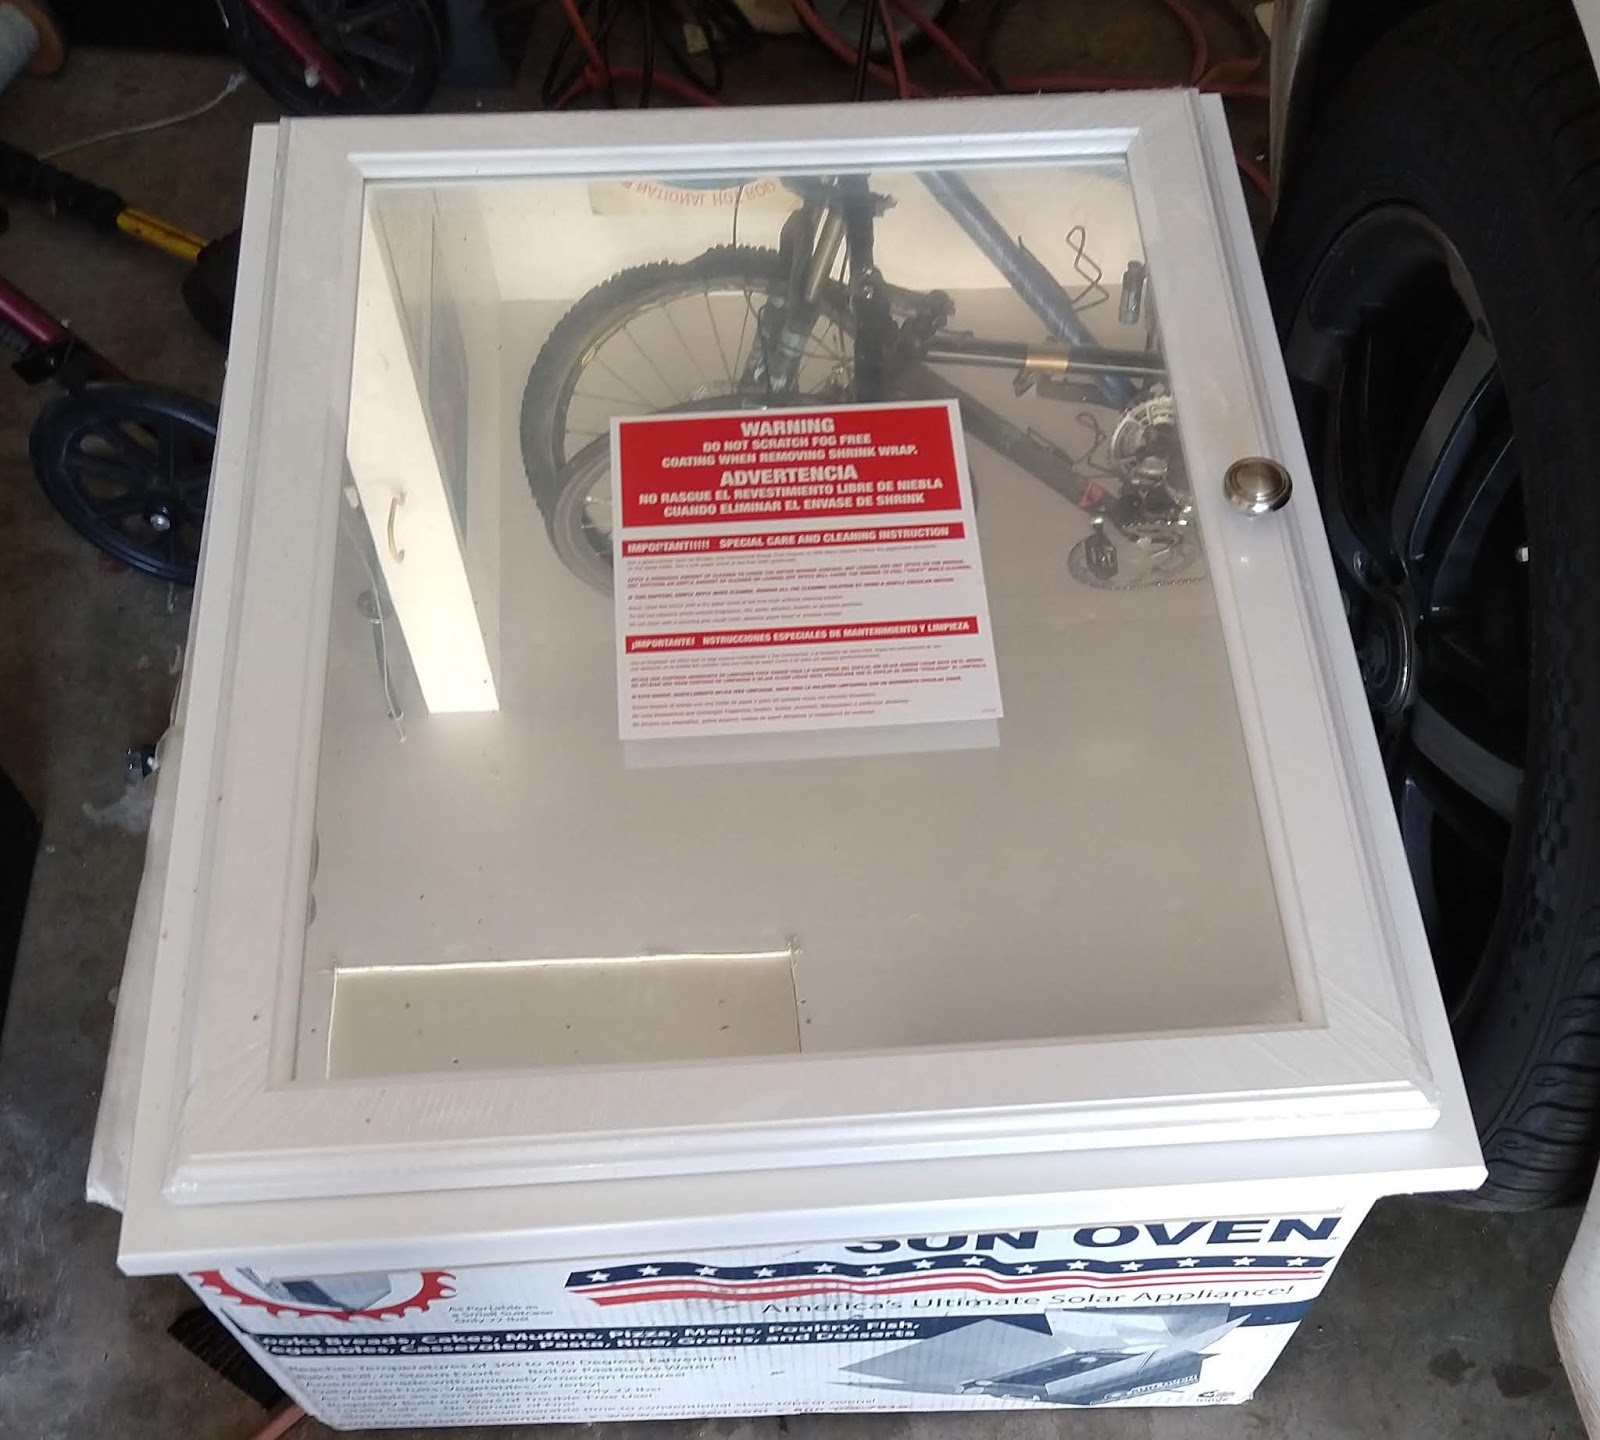
Our other find at Gerson's (local used building materials) the other day when we got our door was a medicine cabinet for Small Home. I'd been hoping to locate a used one that wasn't like the standard tract home ones. I've been seeing those daily for so many years, and I wanted something different. Surprisingly, I found one there, and it was new! It's just missing the shelves inside, but that's a piece of cake to take care of. It was $35.
With each find, we get more excited about our big adventure in 14 months. But first we have to get this PUP taken care of! I'll be back Friday with a winch installation update!
*I do not have any affiliates. I'm just sharing where we are locating our items in case it helps someone. Should we ever have an affiliate in the future, it will be immediately disclosed.*
Friday, March 1, 2019 - Snow in the desert (aka slowing me down)!
I have always heard you should double the amount of time you expect your renovation to take, and I already have one example of why that is!
My original plan was to already have knocked out the interior PUP (pop up) renovation. Then reality hit in the form of a flood, unusual for this time of year. After a few days of that, our desert dwelling received an even more unusual visitor: 6" of snow. While we do receive a dusting from time to time, it rarely sticks around until the next day. This time it lasted six. It was a beautiful treat but also prevented me from working outdoors on the PUP.
There is only one week of school before Easter vacation, so I am waiting a few days to begin the renovation. This gives me two helpers in the form of my two teenagers. It should not only speed things up, but it will be fun to work on this project together.
I have still been working on Small Home stuff during this unexpected down time. I monitor local sales sites (CraigsList, Freecycle, LetGo) and purchase used materials whenever possible. This lifestyle change requires heavy downsizing so I frequently list and sell items. The funds go directly toward our FH build. My first official purchase is an important one: a potty.
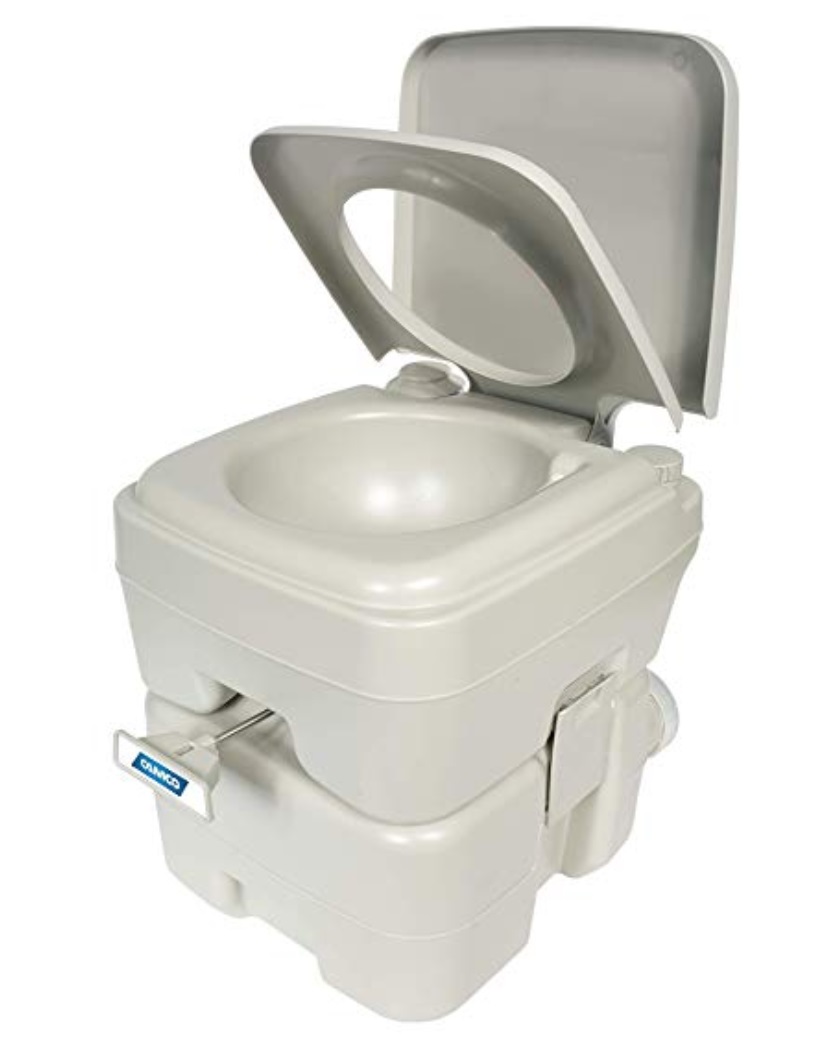
This is a Camco Standard Portable Travel Toilet (5.3 gallon). Having to go outside to do your business behind a tree isn't always practical. I raised $45 selling stuff and bought this potty on Craigslist for $41 (normal price at this time is $73.50). It is in the original box and has never been used. It weighs 11.5 pounds empty, and can support a person up to 330 pounds. The fresh water tank holds up to 2.5 gallons so you can flush without worry, as waste is sealed off. Capacity is around 5.3 pounds and can be carried outside periodically and emptied through the designated valve, or it can be composted. The potty will be used in the PUP and then the Small Home.
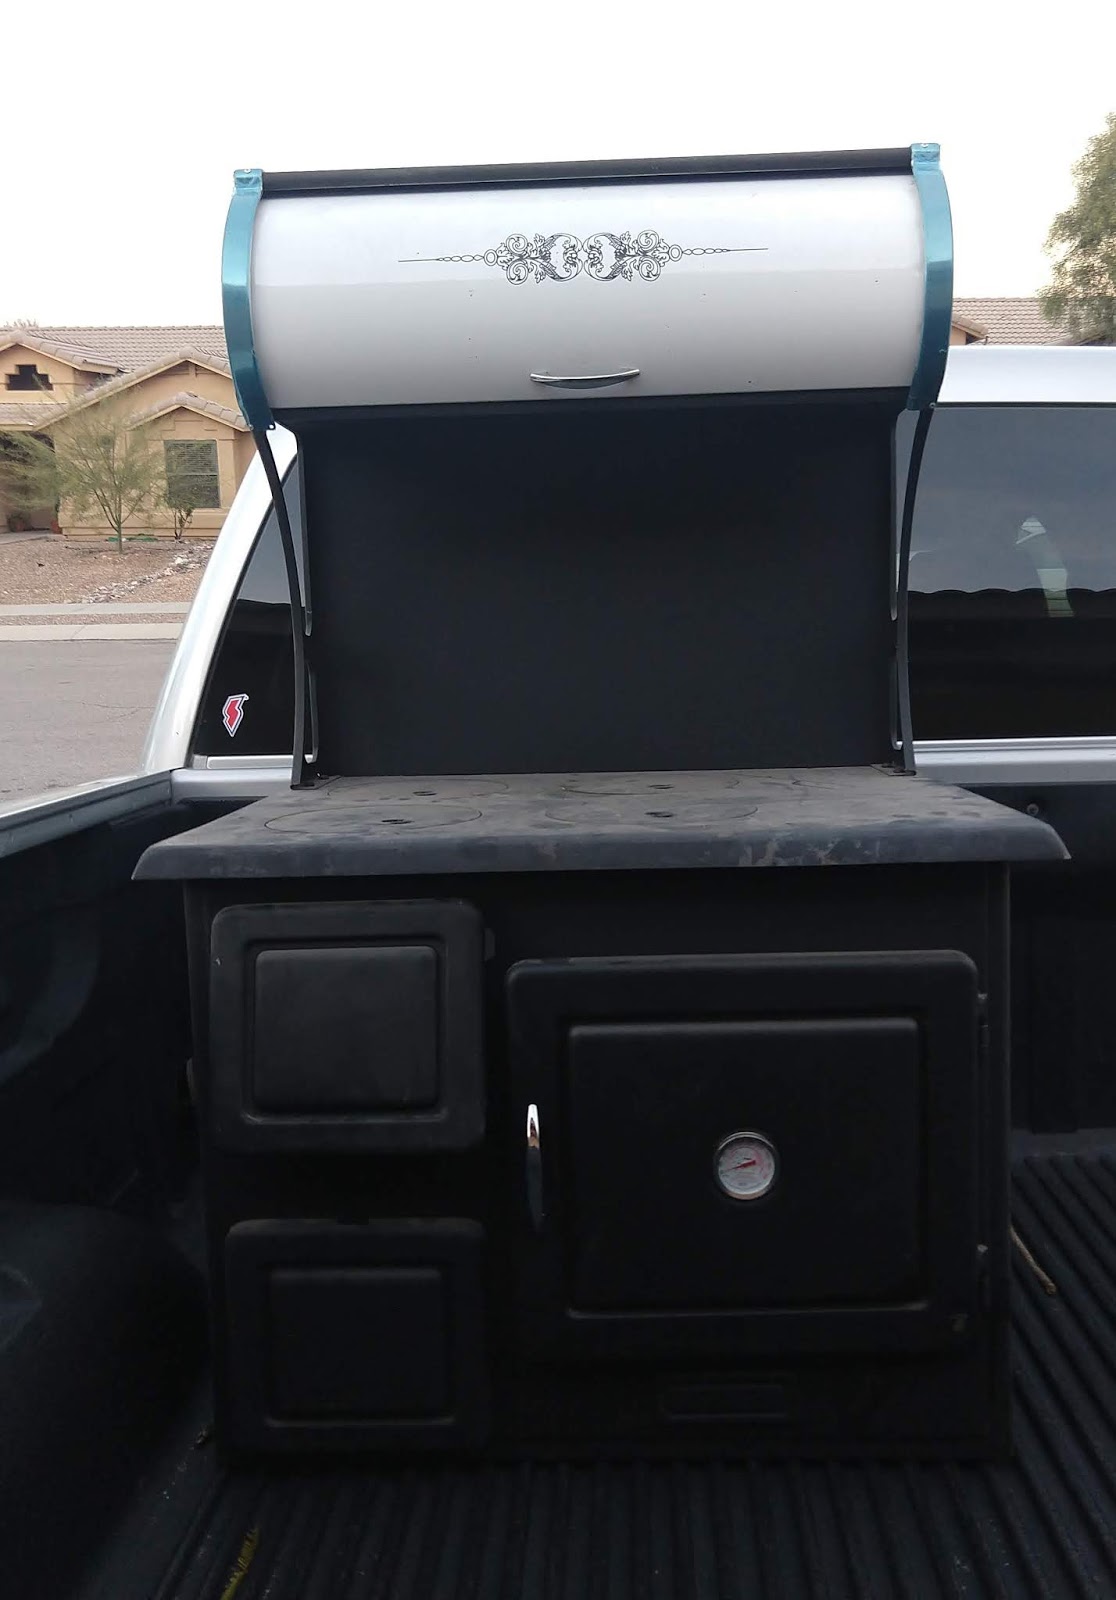
This is my favorite Small Home find so far: an old-fashioned wood burning stove. Someone brought it up from Mexico, where these items are a lot more common and cost effective than in the United States. I watched wood stoves come and go online, but this was the first that fit our needs and didn't cost thousands. It has four burners, a built-in thermometer, a bread warmer (the shelf on top). It even comes with the little tool to pop out the burner covers. We paid $400 for this heavy little beauty.
Next up: solar oven, PUP winch, front door, & medicine cabinet!
Sunday, February 17, 2019 - Our dreams and plans
So what are our plans? Well, since we still have a child with one year left of high school, we are taking advantage of that remaining time. After graduation we will leave our current home and relocate. We expect to purchase land in the coming months.
We plan to live off our land, quite literally. Gardens will provide food, and we plan to get enough land so we can also safely hunt on it. I have a pretty green thumb, but I know that does not mean it will be easy. I have been researching the soil in our future area, and have documented the agricultural extensions as a resource. I am studying what will and will not grow there, as well as planting and harvesting times. I do need to spend some serious time studying how to can foods for the winter. Other than pickling, I have no experience canning. On Black Friday last year I picked up an Instant Pot for half off to use for this purpose. What's even better is that it also can be used as a rice cooker and a slow cooker. I just sold our rice cooker and I'm about to sell the crock. Why have all of these appliances taking up room in the kitchen when one item can take the place of them all?
That leads me to extremely important issue. Other than canning why do we want to consolidate? It's because we are going to build our own home on our land. While the house will be very small, much like a hunter's cabin, I wouldn't call it a stereotypical "tiny home." We will have a permanent foundation, a main bedroom, and a guest/storage room. The living room and kitchen will be open to help our little home feel bigger. We considered purchasing a home plan from one of the many outstanding tiny home websites, but we finally opted to use an online drafting system to design the plans ourselves. If we did not have prior drafting experience, I would not recommend this. I still believe the many plans available for purchase online are ideal for those who are unable or simply would rather not draft their own plans.
The next big thing for us, even before the move, is considering where to live on the land while the build takes place. We looked at small pre-built structures such as sheds or even tiny pre-built cabins. We know we need a safe place to sleep at night, and somewhere to take cover from inclement weather. It didn't need to be fancy since it's to be a temporary dwelling. Our final decision? A used pop-up camper.
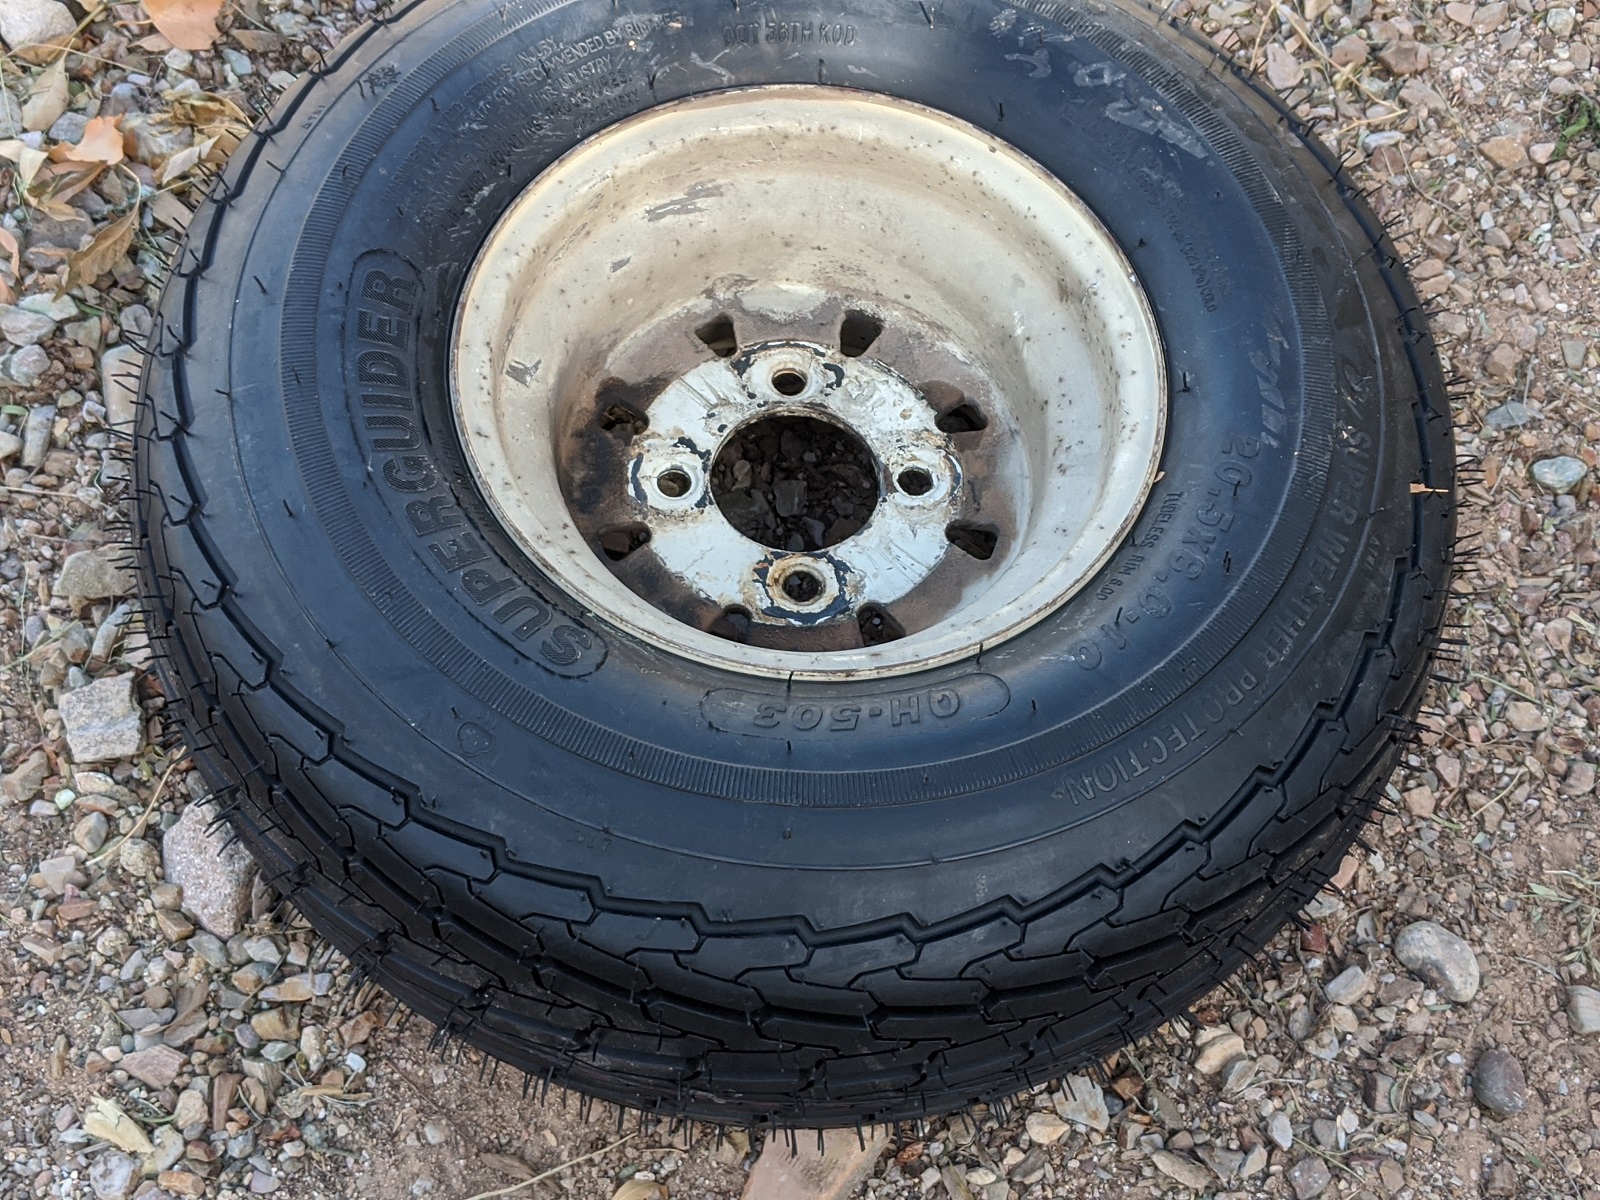
We found a couple of pop ups that were available locally, and for a very reasonable price. However, they sold too quickly for us. Then one day while we were with our dear friends (another married couple) we mentioned in passing our search for a pop up. Although we have known them for nearly 15 years, and they live nearby, we never knew they had a popup. They bought it used from a family who upgraded to a larger set up, and our friends wanted to get rid of it. They initially asked us for $500, which is what they paid for it. The next day though they decided they would much rather just give it to us in exchange for help with various home projects. None are major, but an extra set of hands is invaluable, especially considering they don't have much experience with such things. And so, it was a deal. We are now the happy owners of a 1992 Palomino Filly pop up camper. Structurally there is nothing major wrong with it other than needing new tires. We even have the original purchase paperwork along with the title and all maintenance records. Its exterior shows its age but is structurally sound. The interior is fine as well but definitely screams early 90s!
Since we got the popup last month I have been studying how to renovate them. Ultimately, I have decided to overhaul the inside, since it is going to be our home for at least a couple months. (We do have plans for its use once we are in our small home, but I'll save that for another post!)
So, here is what I am going to do to breathe new life into our Filly:
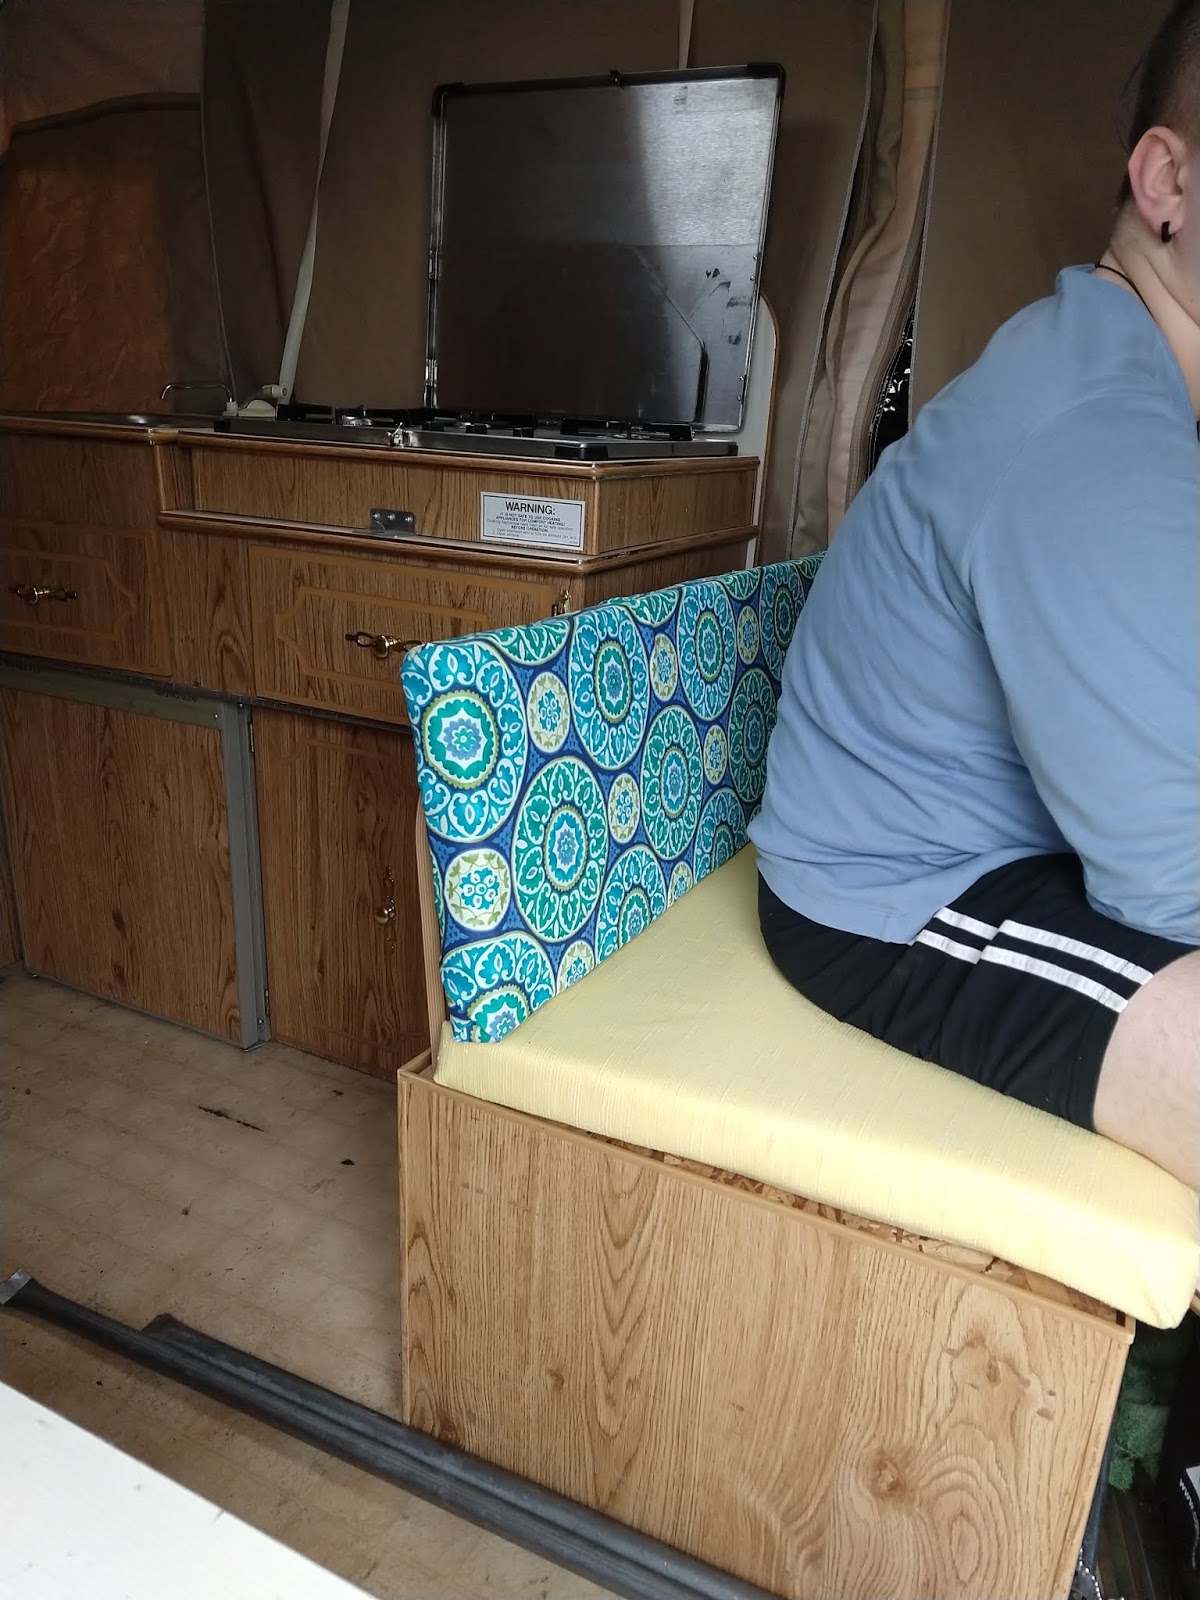
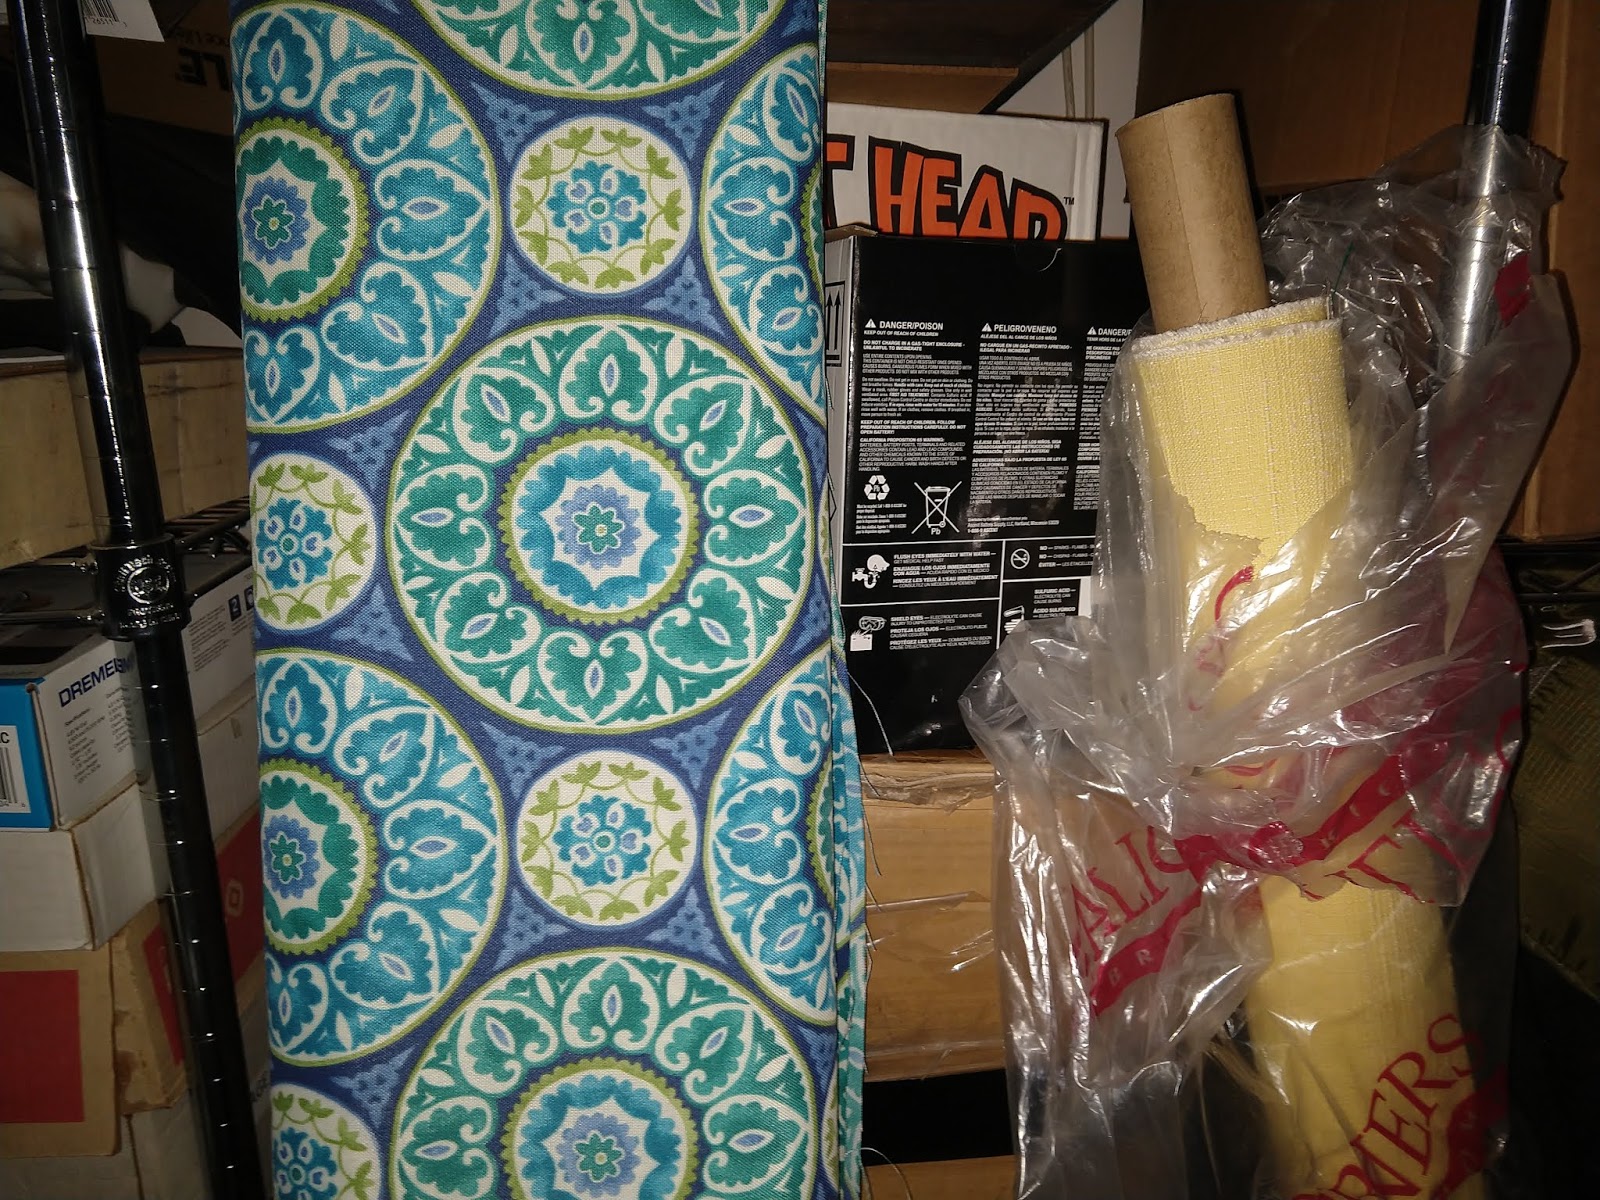
The bold material below is for the dinette's upright seat cushions. It's not my typical style, but I am going for a lighter and brighter interior. I ordered it from a retail store's website. The yellow material is a bolt I bought at a thrift store a couple years ago and will use for the privacy curtains.
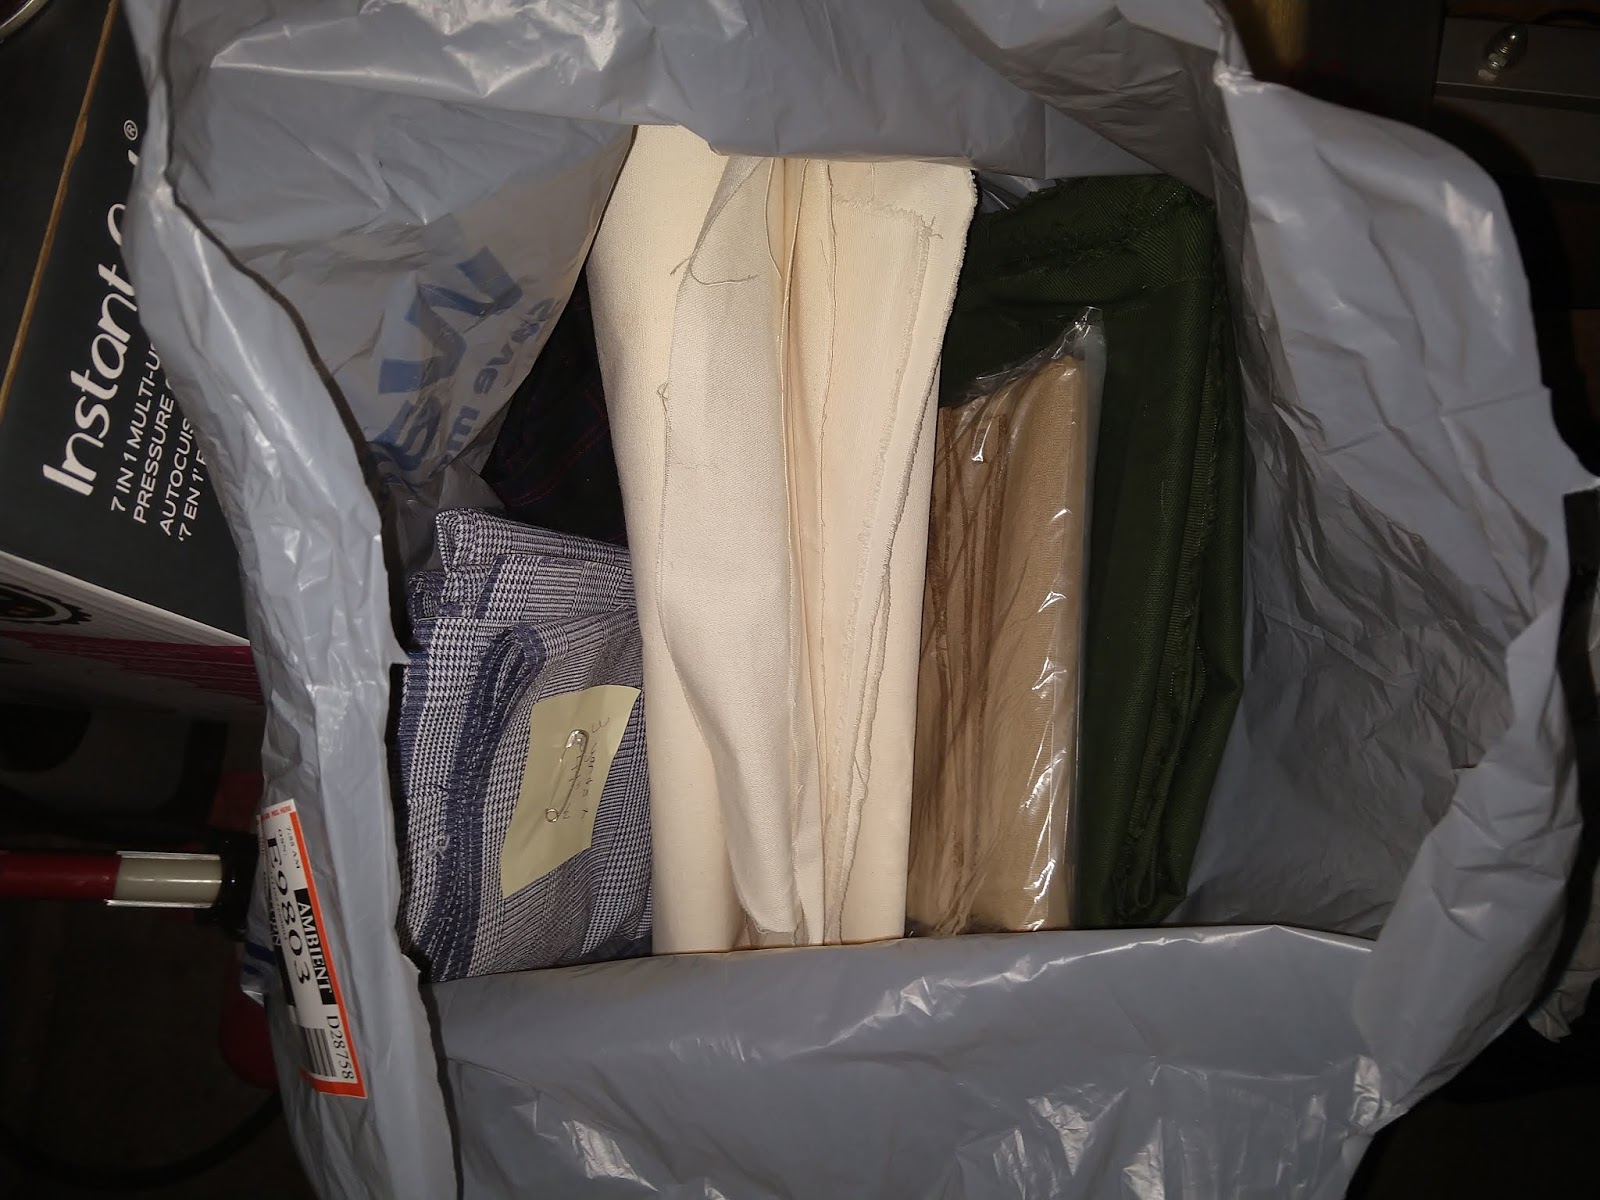
This is a bag of various fabric remnants I have had for years. They are for the (hidden) rear of the dinette's upright seat cushions, the (hidden) cushion bottoms, the two beds, and some throw pillows.
I hope to begin the remodel this week. We had heavy rains the last few days and I'm waiting for that to subside.
Next post: Our accomplishments so far in preparing for our new lifestyle.
We plan to live off our land, quite literally. Gardens will provide food, and we plan to get enough land so we can also safely hunt on it. I have a pretty green thumb, but I know that does not mean it will be easy. I have been researching the soil in our future area, and have documented the agricultural extensions as a resource. I am studying what will and will not grow there, as well as planting and harvesting times. I do need to spend some serious time studying how to can foods for the winter. Other than pickling, I have no experience canning. On Black Friday last year I picked up an Instant Pot for half off to use for this purpose. What's even better is that it also can be used as a rice cooker and a slow cooker. I just sold our rice cooker and I'm about to sell the crock. Why have all of these appliances taking up room in the kitchen when one item can take the place of them all?
That leads me to extremely important issue. Other than canning why do we want to consolidate? It's because we are going to build our own home on our land. While the house will be very small, much like a hunter's cabin, I wouldn't call it a stereotypical "tiny home." We will have a permanent foundation, a main bedroom, and a guest/storage room. The living room and kitchen will be open to help our little home feel bigger. We considered purchasing a home plan from one of the many outstanding tiny home websites, but we finally opted to use an online drafting system to design the plans ourselves. If we did not have prior drafting experience, I would not recommend this. I still believe the many plans available for purchase online are ideal for those who are unable or simply would rather not draft their own plans.
The next big thing for us, even before the move, is considering where to live on the land while the build takes place. We looked at small pre-built structures such as sheds or even tiny pre-built cabins. We know we need a safe place to sleep at night, and somewhere to take cover from inclement weather. It didn't need to be fancy since it's to be a temporary dwelling. Our final decision? A used pop-up camper.
We found a couple of pop ups that were available locally, and for a very reasonable price. However, they sold too quickly for us. Then one day while we were with our dear friends (another married couple) we mentioned in passing our search for a pop up. Although we have known them for nearly 15 years, and they live nearby, we never knew they had a popup. They bought it used from a family who upgraded to a larger set up, and our friends wanted to get rid of it. They initially asked us for $500, which is what they paid for it. The next day though they decided they would much rather just give it to us in exchange for help with various home projects. None are major, but an extra set of hands is invaluable, especially considering they don't have much experience with such things. And so, it was a deal. We are now the happy owners of a 1992 Palomino Filly pop up camper. Structurally there is nothing major wrong with it other than needing new tires. We even have the original purchase paperwork along with the title and all maintenance records. Its exterior shows its age but is structurally sound. The interior is fine as well but definitely screams early 90s!
Since we got the popup last month I have been studying how to renovate them. Ultimately, I have decided to overhaul the inside, since it is going to be our home for at least a couple months. (We do have plans for its use once we are in our small home, but I'll save that for another post!)
So, here is what I am going to do to breathe new life into our Filly:
- Reupholster the two beds, the dinette cushions, the privacy curtains for each bed, and the valence around the interior.
- Repaint the particle board cabinets that are currently covered with the standard issue contact paper type covering that is supposed to look like wood.
- Redo the cabinetry hardware.
- Redo the countertop.
The bold material below is for the dinette's upright seat cushions. It's not my typical style, but I am going for a lighter and brighter interior. I ordered it from a retail store's website. The yellow material is a bolt I bought at a thrift store a couple years ago and will use for the privacy curtains.
This is a bag of various fabric remnants I have had for years. They are for the (hidden) rear of the dinette's upright seat cushions, the (hidden) cushion bottoms, the two beds, and some throw pillows.
I hope to begin the remodel this week. We had heavy rains the last few days and I'm waiting for that to subside.
Next post: Our accomplishments so far in preparing for our new lifestyle.
Saturday, February 16, 2019 - Our introductions
Greetings all! My family is about to embark on a life-changing journey, and we are glad for the company. Thankyou for being here!
Just to tell you a little about us, we are a family of four. Our kids are 17 and 16 years old; one is getting ready to join the military and the other is a junior in high school. We also have three dogs: a 3 year old German Shepherd service dog, a six-year-old white miniature Schnauzer, and our newest member of the family is an ancient little Maltese.
So, why are we about to do all of this? Well, I grew up in the boonies of the South while my husband is from a major metropolitan city in the southwest. Our backgrounds are different as night and day, but we both share a love of nature and the outdoors. We currently live in a small suburban area of primarily tract homes, one practically on top of another. This is a first for me and although we have lived here for over a decade, I've never really adjusted to it. My husband is also ready for a permanent change, one we hope that although a challenge, will bring us more joy and contentment.
We believe people should have the right to live the way they want, provided their actions are not having a negative impact on others. If a person enjoys living in a big city high-rise, more power to them. If they want to live on their own private land and stay off grid, then that should be within their right.
As for our work backgrounds, my husband used to work in public safety until being injured. He now works in customer service. I was a teacher until being diagnosed with a serious illness; I no longer work outside of the home.
The next blog post will be about our plans, what we have already done, what we are currently working on, and what is to come.
Feel free to introduce yourself in the comments section!
Copyright © 2020 www.LittleCabinBigWoods.com
